Playbooks

Trips TE Flex

Specialists3DRBGadgetSLWR

Overview

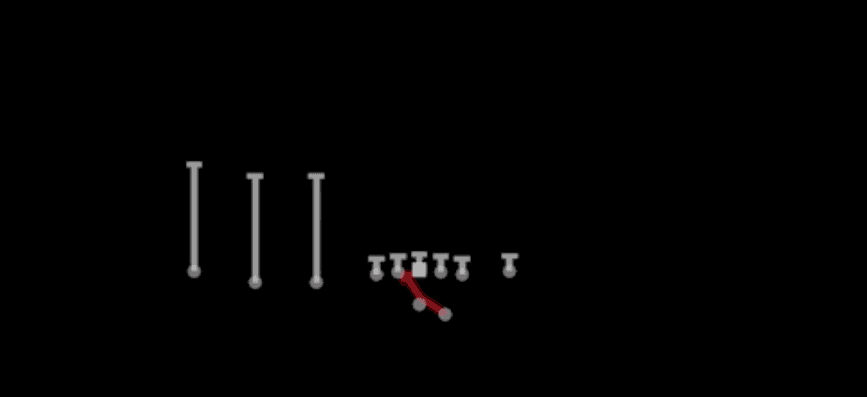
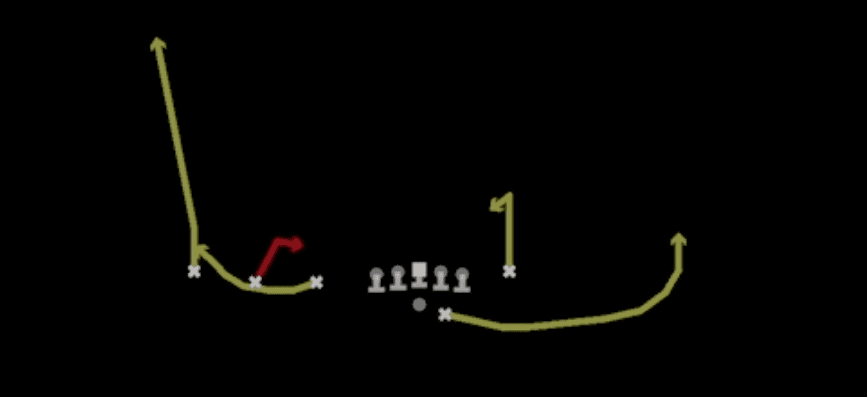
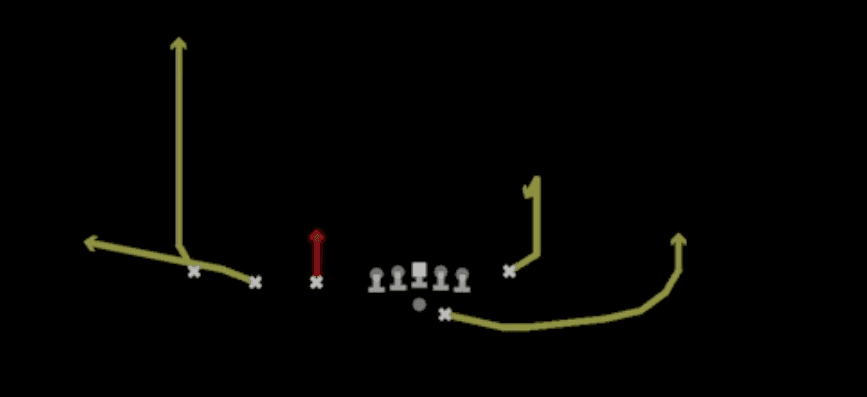
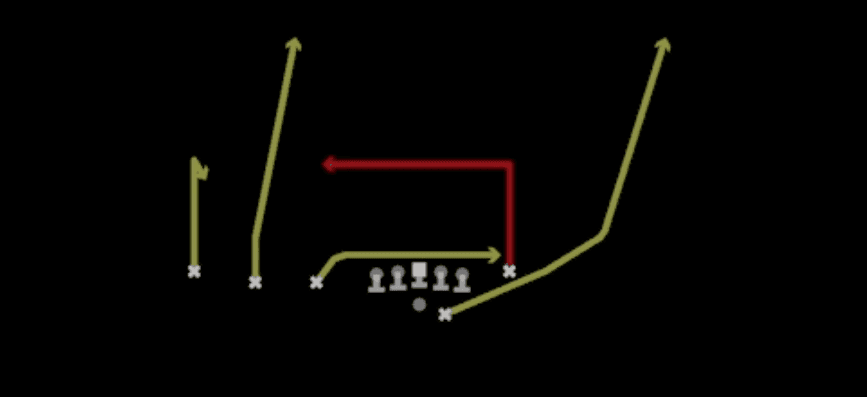
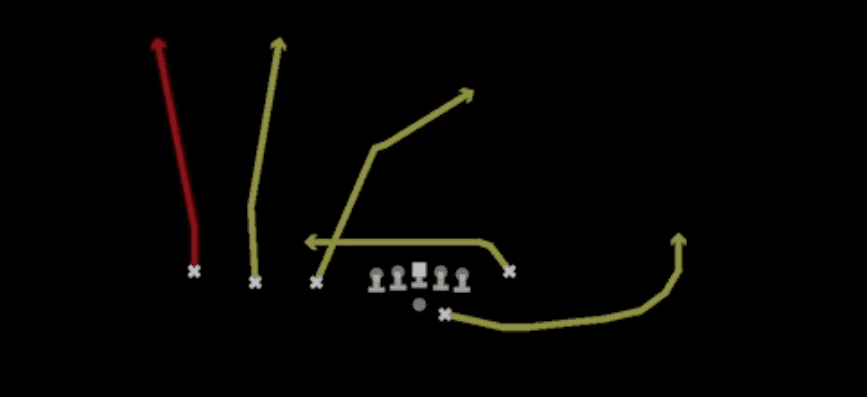
Trips TE Flex takes standard 11 personnel and stacks three receivers to one side with the tight end flexed off the line as part of that surface, leaving a single receiver isolated on the backside with the running back offset in the gun. That alignment is the whole point: instead of the tight end being attached like he is in most Shotgun sets, he becomes a flexed slot body who wins against safeties and linebackers in space. Defenses either travel a nickel or dime body over to the trips side and leave the backside receiver on an island, or they stay balanced and let your tight end run choice and pivot routes against a linebacker.

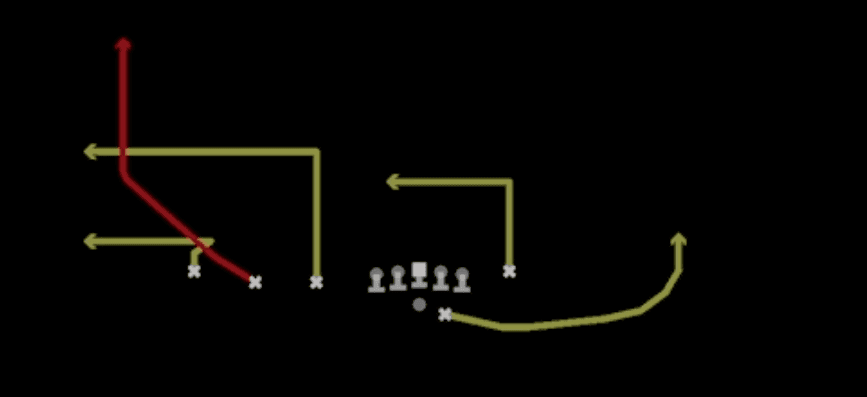
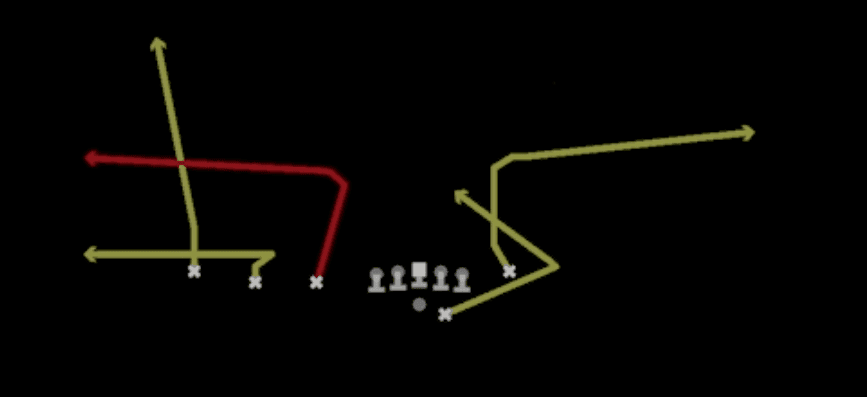
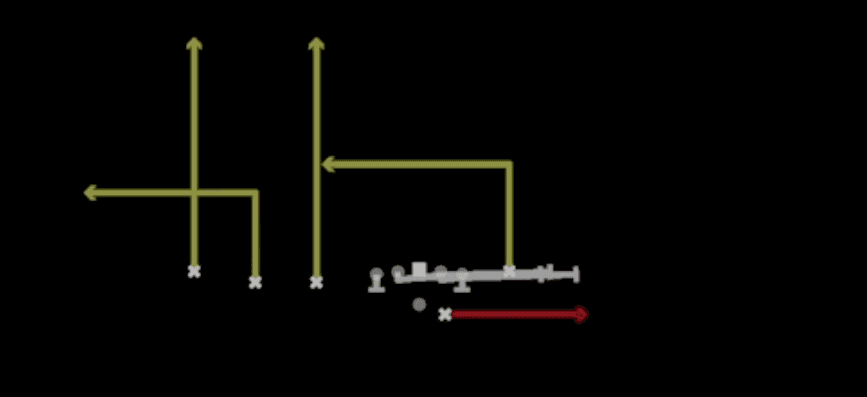
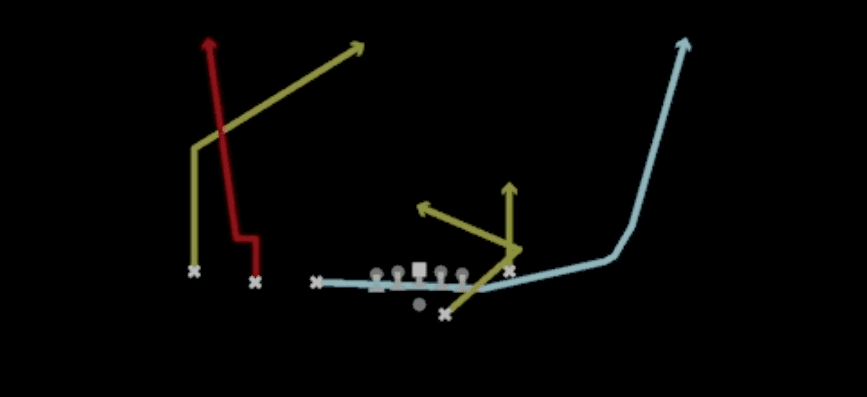
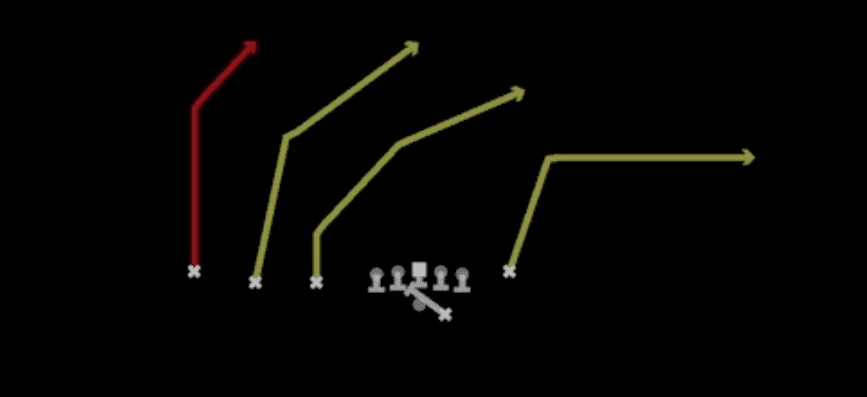
The set differs from tighter Shotgun looks because everything is built off leverage and numbers rather than pure formation width. You get flood and vertical stretch concepts (Levels Sail, Double In Sail, Verticals, Post Rail, Dagger) that attack a three-deep or quarters shell with layered routes to the same side, plus isolation reads on the single receiver when the defense rotates. Play action shows up heavily here with PA Fork, PA Crossers, and Mtn Fork H Choice, which sell inside run action from a spread look and open up crossers behind aggressive linebackers who are keying the back.

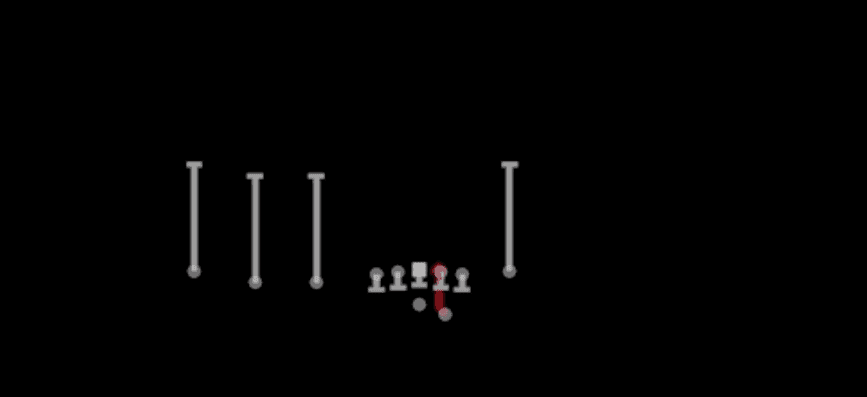
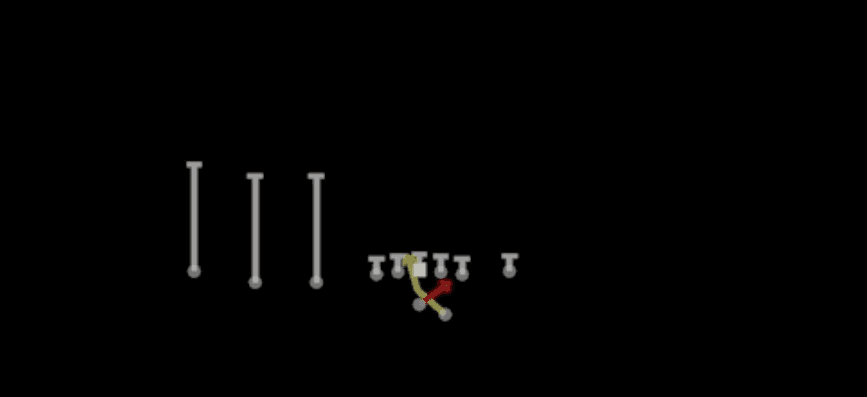
The run game is not an afterthought. Inside Zone, Outside Zone, Read Option, HB Draw, and RPO Zone Alert Omaha give you legitimate answers when a defense over-rotates to the trips surface, because you are running into a lighter box. The 3DRB and SLWR tags mean this set wants your best pass catching back and your top slot on the field at once, which is exactly the personnel combination that forces a defense to choose between covering HB Angle and HB Slip Screen out of the backfield or bracketing the flexed tight end.

Strengths

  • Trips side flood concepts like Levels Sail and Double In Sail put three route levels in the same coverage window, which shreds Cover 3 flat defenders and any single high shell that cannot get numbers to the strong side.
  • The flexed tight end becomes a matchup nightmare on Mtn Fork H Choice and Over Pivot, since a linebacker or strong safety in man coverage has no chance against a choice or pivot route with no press help.
  • Backside isolation is built in: read the rotation pre-snap, and if the defense travels bodies to the trips surface, hot route the single receiver to a slant, fade, or streak for a one on one throw with the whole field to work with.
  • Heavy play action menu (PA Fork, PA Crossers, Mtn Fork H Choice) punishes users who commit a defender to the box on Inside Zone and Read Option looks, and the crossers hit right behind vacated middle zones.
  • Vertical stretch plays like Verticals, Post Rail, Mtn Y Post, and Y Out N Up all attack the deep middle and seams from the same alignment, so you can bait a user safety one way and throw the opposite seam.
  • Backfield route concepts (HB Angle, Scat, HB Slip Screen) give you a reliable checkdown and blitz beater without needing a hot route, which matters when a defense sends a nano blitz off the weak edge.

Weaknesses

  • The trips surface tells the defense where you want to throw, and a user who slides coverage strong side and rolls a safety over can suffocate the whole flood side while still keeping the backside covered.
  • Only five blockers with a spread alignment means weak side edge pressure and A gap nano blitzes get home fast, and the flexed tight end offers zero help in protection unless you manually block him.
  • User-controlled defenders sitting in the middle of the field feast on the in breaking routes (TE In, Dagger dig, Double In Sail) because those concepts all funnel through the same intermediate window.
  • Run game is limited to zone and read concepts, so a defense that plays heavy fronts or pinches the line will stuff Inside Zone and Outside Zone without needing extra bodies in the box.
  • Bunched and stacked releases can get disrupted by press man, and if your slot and tight end are not high release rated the timing on Stick, Levels Sail, and Over Pivot falls apart.

Usage Tips

Check the rotation pre-snap: if the defense drops a safety over the trips side, go backside with the isolated receiver on a slant or fade hot route rather than forcing the flood concept into extra bodies.

On second and medium against a single high look, Levels Sail or Double In Sail gives you a high low read on the flat defender, and you can throw the sail on rhythm the moment the linebacker widens.

Set up your play action off Inside Zone and Read Option early, then come back with PA Crossers or Mtn Fork H Choice on the same down and distance to hit the crosser behind the linebacker who is now flying up.

When you see man coverage with a linebacker on your flexed tight end, run Mtn Fork H Choice or Over Pivot and user the throw yourself, since the choice and pivot break wins clean without any help from the trips traffic.

Keep HB Angle and Scat in your rotation as blitz answers, and hot route block the back on Verticals or Post Rail when you suspect weak side edge pressure so you are not sacked before the vertical stretch develops.

Use RPO Zone Alert Omaha on short yardage against light boxes to punish defenses that rotate coverage strong side and leave five in the box.

Plays (23)

Plays in Trips TE Flex
PlayDiagramOpen
Charger WheelWheel, Pass Play
DaggerDagger, Pass Play, Cover 2 Beater +1
Double In SailIn, Sail, Pass Play +2
HB AngleAngle, Pass Play
HB DrawDraw, Run Play
HB Slip ScreenScreen Pass, Hb Screen, Pass Play
Inside ZoneInside Zone, Run Play, Zone Run
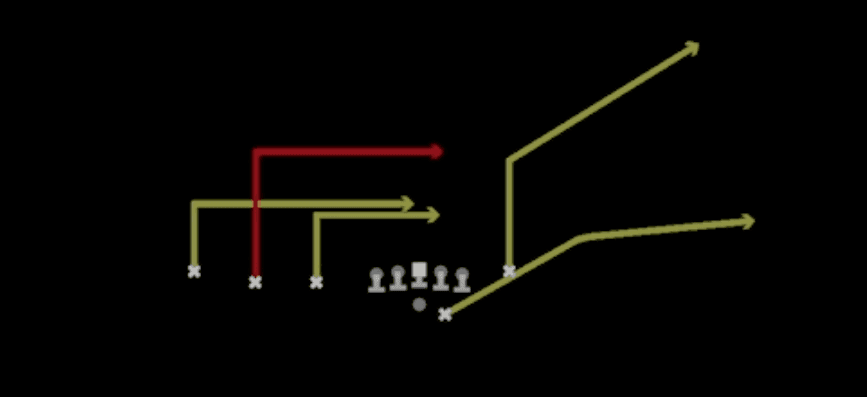
Levels SailLevels, Sail, Pass Play +2
Mtn Fork H ChoiceOption Route, Motion, Pass Play
Mtn Hitch N GoHitch, Go, Stop And Go +3
Mtn Y PostPost, Motion, Pass Play
Outside ZoneOutside Zone, Run Play, Zone Run
Over PivotPivot, Pass Play
PA CrossersPlay Action, Crosser, Pass Play
PA ForkPlay Action, Pass Play
Post RailPost, Pass Play
Read OptionRead Option, Run Play
RPO Zone Alert OmahaRPO, Pass Play, Run Play
ScatScat, Pass Play
StickStick, Stick Concept, Pass Play
TE InIn, Pass Play
VerticalsFour Verts, Pass Play, Cover 2 Beater +1
Y Out N UpOut, Out And Up, Pass Play +1

Other Sets in Shotgun

4wr Pack Trips

18 Plays · 1 RB, 0 TE, 4 WR

4WR Trips Strong

18 Plays · 1 RB, 0 TE, 4 WR

5WR Flex Trey

16 Plays · 0 RB, 1 TE, 4 WR

5WR Tight

12 Plays · 0 RB, 0 TE, 5 WR

5WR Trio

24 Plays · 1 RB, 1 TE, 3 WR

5WR Trips

18 Plays · 0 RB, 0 TE, 5 WR

Ace

28 Plays · 1 RB, 2 TE, 2 WR

Ace Offset

15 Plays · 1 RB, 2 TE, 2 WR

Ace Slot

16 Plays · 1 RB, 2 TE, 2 WR

Ace Slot Offset

19 Plays · 1 RB, 2 TE, 2 WR

Box

18 Plays · 1 RB, 0 TE, 4 WR

Box HB Strong

6 Plays · 1 RB, 1 TE, 3 WR

Box Offset Wk

19 Plays · 1 RB, 1 TE, 3 WR

Box Y Off

6 Plays · 1 RB, 1 TE, 3 WR

Bunch

53 Plays · 1 RB, 1 TE, 3 WR

Bunch HB Str

12 Plays · 1 RB, 1 TE, 3 WR

Bunch Offset

31 Plays · 1 RB, 1 TE, 3 WR

Bunch Offset Close

11 Plays · 1 RB, 1 TE, 3 WR

Bunch Open

9 Plays · 1 RB, 0 TE, 4 WR

Bunch Open Offset

18 Plays · 1 RB, 1 TE, 3 WR

Bunch Open TE

13 Plays · 1 RB, 1 TE, 3 WR

Bunch Quads

9 Plays · 1 RB, 1 TE, 3 WR

Bunch Quads Close

6 Plays · 1 RB, 1 TE, 3 WR

Bunch Spread

24 Plays · 1 RB, 1 TE, 3 WR

Bunch Spread Nasty

35 Plays · 1 RB, 1 TE, 3 WR

Bunch Str Nasty

33 Plays · 1 RB, 1 TE, 3 WR

Bunch Str Offset

45 Plays · 1 RB, 1 TE, 3 WR

Bunch TE

51 Plays · 1 RB, 1 TE, 3 WR

Bunch TE Str

13 Plays · 1 RB, 1 TE, 3 WR

Bunch TE Wk

18 Plays · 1 RB, 1 TE, 3 WR

Bunch Trio Open

12 Plays · 1 RB, 1 TE, 3 WR

Bunch Wide

26 Plays · 1 RB, 1 TE, 3 WR

Bunch Wide Nasty

23 Plays · 1 RB, 1 TE, 3 WR

Bunch X Nasty

61 Plays · 1 RB, 1 TE, 3 WR

Bunch Y-Flex

32 Plays · 1 RB, 1 TE, 3 WR

Bunch Y-Trips

15 Plays · 1 RB, 1 TE, 3 WR

Cluster

14 Plays · 1 RB, 1 TE, 3 WR

Cluster HB Str

18 Plays · 1 RB, 1 TE, 3 WR

Dbls Flex Y Off Close

21 Plays · 1 RB, 1 TE, 3 WR

Deebo Package

6 Plays · Unknown

Deuce

18 Plays · 1 RB, 2 TE, 2 WR

Deuce Close

47 Plays · 1 RB, 2 TE, 2 WR

Doubles

65 Plays · 1 RB, 1 TE, 3 WR

Doubles Flex

27 Plays · 1 RB, 1 TE, 3 WR

Doubles Flex WK Pats

13 Plays · Unknown

Doubles Flex Wk Swap

12 Plays · 1 RB, 1 TE, 3 WR

Doubles Flex Y Off Close

21 Plays · 1 RB, 1 TE, 3 WR

Doubles HB Wk

46 Plays · 1 RB, 1 TE, 3 WR

Doubles Hip

13 Plays · 1 RB, 1 TE, 3 WR

Doubles Off Close

10 Plays · 1 RB, 1 TE, 3 WR

Doubles Off Close Wk

13 Plays · 1 RB, 1 TE, 3 WR

Doubles Offset

43 Plays · 1 RB, 1 TE, 3 WR

Doubles Offset Wk

42 Plays · 1 RB, 1 TE, 3 WR

Double Stack

13 Plays · 1 RB, 1 TE, 3 WR

Doubles Y-Flex

28 Plays · 1 RB, 1 TE, 3 WR

Doubles Y-Flex Offset

15 Plays · 1 RB, 1 TE, 3 WR

Doubles Y Off

42 Plays · 1 RB, 1 TE, 3 WR

Doubles Y Off Nasty

20 Plays · 1 RB, 1 TE, 3 WR

Doubles Y Off WK

2 Plays · 1 RB, 1 TE, 3 WR

Doubles Z Close

14 Plays · 1 RB, 1 TE, 3 WR

Doubles Z Close Wk

17 Plays · 1 RB, 1 TE, 3 WR

Double Wing

9 Plays · 2 RB, 3 TE, 0 WR

Duo Slot Open

10 Plays · 2 RB, 0 TE, 3 WR

Duo Twins Flex

9 Plays · 2 RB, 1 TE, 2 WR

Empty Ace

12 Plays · 1 RB, 2 TE, 2 WR

Empty Base

33 Plays · 1 RB, 1 TE, 3 WR

Empty Base Flex

35 Plays · 1 RB, 1 TE, 3 WR

Empty Base Trio

17 Plays · 1 RB, 1 TE, 3 WR

Empty Bunch

9 Plays · 1 RB, 1 TE, 3 WR

Empty Bunch Open

17 Plays · 1 RB, 1 TE, 3 WR

Empty Bunch Tight

12 Plays · 1 RB, 1 TE, 3 WR

Empty Bunch Wide

13 Plays · 1 RB, 1 TE, 3 WR

Empty Bunch Y Flex

9 Plays · 1 RB, 1 TE, 3 WR

Empty Chips

9 Plays · 1 RB, 1 TE, 3 WR

Empty Chips Nasty

10 Plays · 1 RB, 1 TE, 3 WR

Empty Chips Quads

9 Plays · 1 RB, 1 TE, 3 WR

Empty Chips Tight

11 Plays · 1 RB, 1 TE, 3 WR

Empty HB Wide

13 Plays · 1 RB, 1 TE, 3 WR

Empty Quads

9 Plays · 0 RB, 1 TE, 4 WR

Empty Sketch Stack

10 Plays · 1 RB, 1 TE, 3 WR

Empty Steeler

12 Plays · 1 RB, 1 TE, 3 WR

Empty Strong Slots

9 Plays · 1 RB, 1 TE, 3 WR

Empty Trey

21 Plays · 1 RB, 1 TE, 3 WR

Empty Trey Flex

12 Plays · Unknown

Empty Trey Stack

15 Plays · 1 RB, 1 TE, 3 WR

Empty Triple Stack

3 Plays · 1 RB, 1 TE, 3 WR

Empty Trips Speed

15 Plays · 1 RB, 1 TE, 3 WR

Empty Y Slot

15 Plays · 1 RB, 1 TE, 3 WR

Flanker Close

14 Plays · 1 RB, 0 TE, 4 WR

Flex Y Off

20 Plays · 1 RB, 1 TE, 3 WR

Flex Y Off Close

16 Plays · 1 RB, 1 TE, 3 WR

Flex Y Off Wk

27 Plays · 1 RB, 1 TE, 3 WR

Gadget Backfield

6 Plays · 3 RB, 1 TE, 1 WR

Gadget Package

6 Plays · 3 RB, 1 TE, 1 WR

Go Go Twins Flex

9 Plays · 2 RB, 1 TE, 2 WR

Heavy Panther

9 Plays · 2 RB, 3 TE, 0 WR

Monster

3 Plays · 1 RB, 1 TE, 3 WR

Normal Flex Snug

17 Plays · 1 RB, 1 TE, 3 WR

Normal Flex Wing

12 Plays · 1 RB, 1 TE, 3 WR

Normal Off Close Wk

21 Plays · 1 RB, 1 TE, 3 WR

Normal Y Off

50 Plays · 1 RB, 1 TE, 3 WR

Normal Y Off Close

49 Plays · 1 RB, 1 TE, 3 WR

Normal Y Off Wk

34 Plays · 1 RB, 1 TE, 3 WR

Open Flex

10 Plays · 1 RB, 1 TE, 3 WR

Slot Left

9 Plays · 1 RB, 1 TE, 3 WR

Slot Right

22 Plays · 1 RB, 1 TE, 3 WR

Slot WR Backfield

7 Plays · Unknown

Split Close

30 Plays · 2 RB, 0 TE, 3 WR

Split Close Pro

15 Plays · 2 RB, 1 TE, 2 WR

Split Cowboy

17 Plays · 1 RB, 1 TE, 3 WR

Split Flanker Close

9 Plays · 2 RB, 0 TE, 3 WR

Split Offset

34 Plays · 2 RB, 0 TE, 3 WR

Split Pro Offset Wk

6 Plays · 2 RB, 1 TE, 2 WR

Split Slot Offset

41 Plays · 2 RB, 0 TE, 3 WR

Split Slot Open

33 Plays · 2 RB, 0 TE, 3 WR

Split Twins

6 Plays · 2 RB, 1 TE, 2 WR

Split Twins Offset

13 Plays · 2 RB, 1 TE, 2 WR

Split Twins Stack

6 Plays · 2 RB, 1 TE, 2 WR

Split Wing Nasty

6 Plays · 2 RB, 2 TE, 1 WR

Split WR Backfield

9 Plays · 1 RB, 1 TE, 3 WR

Split Y-Flex

15 Plays · 2 RB, 1 TE, 2 WR

Split Y Off

19 Plays · 2 RB, 1 TE, 2 WR

Split Y Off Close

10 Plays · 1 RB, 1 TE, 3 WR

Spread

69 Plays · 1 RB, 0 TE, 4 WR

Spread 4wr

1 Play · 1 RB, 1 TE, 3 WR

Spread Dbl Flex

40 Plays · 1 RB, 1 TE, 3 WR

Spread Dbl Flex Wk

22 Plays · 1 RB, 1 TE, 3 WR

Spread Flex

15 Plays · 1 RB, 1 TE, 3 WR

Spread Slots Close

22 Plays · 1 RB, 0 TE, 4 WR

Spread Y-Flex

54 Plays · 1 RB, 1 TE, 3 WR

Spread Y-Flex Wk

40 Plays · 1 RB, 1 TE, 3 WR

Spread Y-Slot

61 Plays · 1 RB, 1 TE, 3 WR

Spread Y-Slot Wk

49 Plays · 1 RB, 1 TE, 3 WR

Stack HB WK

9 Plays · 1 RB, 1 TE, 3 WR

Stack Y-Flex

15 Plays · 1 RB, 1 TE, 3 WR

Stack Y Off

14 Plays · 1 RB, 1 TE, 3 WR

Tackle Over

9 Plays · 1 RB, 1 TE, 3 WR

Tackle Over Trips

10 Plays · 1 RB, 1 TE, 3 WR

Tight

31 Plays · 1 RB, 1 TE, 3 WR

Tight Base Flex

9 Plays · 2 RB, 1 TE, 2 WR

Tight Doubles

18 Plays · 1 RB, 1 TE, 3 WR

Tight Flex

25 Plays · 1 RB, 1 TE, 3 WR

Tight Flex Wk

18 Plays · 1 RB, 1 TE, 3 WR

Tight Offset TE

18 Plays · 1 RB, 1 TE, 3 WR

Tight Open

52 Plays · 1 RB, 1 TE, 3 WR

Tight Slot Flip

9 Plays · 1 RB, 1 TE, 3 WR

Tight Slot Open

10 Plays · 1 RB, 1 TE, 3 WR

Tight Slots

36 Plays · 1 RB, 1 TE, 3 WR

Tight Slots HB Wk

19 Plays · 1 RB, 1 TE, 3 WR

Tight Y Off

42 Plays · 1 RB, 1 TE, 3 WR

Tight Y Off Wk

47 Plays · 1 RB, 1 TE, 3 WR

Trey

12 Plays · 1 RB, 1 TE, 3 WR

Trey 4WR

21 Plays · 1 RB, 0 TE, 4 WR

Trey Offset

24 Plays · 1 RB, 1 TE, 3 WR

Trey Open

68 Plays · 1 RB, 1 TE, 3 WR

Trey Open HB Str

22 Plays · 1 RB, 1 TE, 3 WR

Trey Open Offset

37 Plays · 1 RB, 1 TE, 3 WR

Trey Y-Flex

38 Plays · 1 RB, 1 TE, 3 WR

Trey Y-Flex Str

21 Plays · 1 RB, 1 TE, 3 WR

Trey Y Iso

15 Plays · 1 RB, 1 TE, 3 WR

Trio

30 Plays · 1 RB, 1 TE, 3 WR

Trio HB Wk

30 Plays · 1 RB, 1 TE, 3 WR

Trio Offset

18 Plays · 1 RB, 1 TE, 3 WR

Trio Offset Wk

12 Plays · 1 RB, 1 TE, 3 WR

Trio Rt Open

1 Play · 1 RB, 1 TE, 3 WR

Trio Y-Flex

30 Plays · 1 RB, 1 TE, 3 WR

Trips

39 Plays · 1 RB, 0 TE, 4 WR

Trips HB Wk

53 Plays · 1 RB, 0 TE, 4 WR

Trips Slots Close

27 Plays · 1 RB, 0 TE, 4 WR

Trips TE

59 Plays · 1 RB, 1 TE, 3 WR

Trips TE Offset

22 Plays · 1 RB, 1 TE, 3 WR

Trips TE Offset Wk

14 Plays · 1 RB, 1 TE, 3 WR

Trips X Nasty

22 Plays · 1 RB, 1 TE, 3 WR

Trips X Nasty Offset WK

12 Plays · 1 RB, 1 TE, 3 WR

Trips X Nasty Off Wk

12 Plays · 1 RB, 1 TE, 3 WR

Trips Y-Flex

21 Plays · 1 RB, 1 TE, 3 WR

Trips Y Slot Str

6 Plays · 1 RB, 1 TE, 3 WR

U Off Stack

13 Plays · 1 RB, 2 TE, 2 WR

U Off Trips

22 Plays · 1 RB, 2 TE, 2 WR

U Off Trips Flex

15 Plays · 1 RB, 2 TE, 2 WR

U Off Trips Wk

17 Plays · 1 RB, 2 TE, 2 WR

Wide 5wr

24 Plays · Unknown

Wide Slot Left

16 Plays · Unknown

Wide Slot Right WK

15 Plays · 1 RB, 1 TE, 3 WR

Wide Trips

15 Plays · 1 RB, 0 TE, 4 WR

Wide Y Trips WK

16 Plays · Unknown

Wing

15 Plays · 1 RB, 2 TE, 2 WR

Wing Flex Offset

22 Plays · 1 RB, 2 TE, 2 WR

Wing Flex Offset Wk

24 Plays · 1 RB, 2 TE, 2 WR

Wing HB Wk Close

9 Plays · 1 RB, 2 TE, 2 WR

Wing Pair

16 Plays · 1 RB, 3 TE, 1 WR

Wing Slot Offset

68 Plays · 1 RB, 2 TE, 2 WR

Wing Slot Wk

47 Plays · 1 RB, 2 TE, 2 WR

Wing Stack

21 Plays · 1 RB, 2 TE, 2 WR

Wing Stack Wk

13 Plays · 1 RB, 2 TE, 2 WR

Wing Tight

9 Plays · 1 RB, 3 TE, 1 WR

Wing Tight Flip

12 Plays · 1 RB, 3 TE, 1 WR

Wing Tight Nasty

6 Plays · 1 RB, 3 TE, 1 WR

Wing Tight Z

10 Plays · 1 RB, 3 TE, 1 WR

Wing Trio

15 Plays · 1 RB, 1 TE, 3 WR

Wing Trips Wk Nasty

15 Plays · 1 RB, 1 TE, 3 WR

Y Off Trio Close

25 Plays · 1 RB, 1 TE, 3 WR

Y Off Trio Wk

55 Plays · 1 RB, 1 TE, 3 WR

Y Off Trips

54 Plays · 1 RB, 1 TE, 3 WR

Y Off Trips Close

31 Plays · 1 RB, 1 TE, 3 WR

Y Off Trips Nasty

15 Plays · 1 RB, 1 TE, 3 WR

Y Off Trips Pats

32 Plays · Unknown

Y Off Trips Stack

3 Plays · Unknown

Y Off Trips Wk

60 Plays · 1 RB, 1 TE, 3 WR

Y Trio Offset Wk

23 Plays · 1 RB, 1 TE, 3 WR

Y Trips 1 Slot

1 Play · 1 RB, 1 TE, 3 WR

Y Trips Offset

25 Plays · 1 RB, 1 TE, 3 WR

Y Trips Offset Wk

15 Plays · 1 RB, 1 TE, 3 WR

Y Trips Wk

92 Plays · 1 RB, 1 TE, 3 WR