Playbooks

At a Glance
Overview
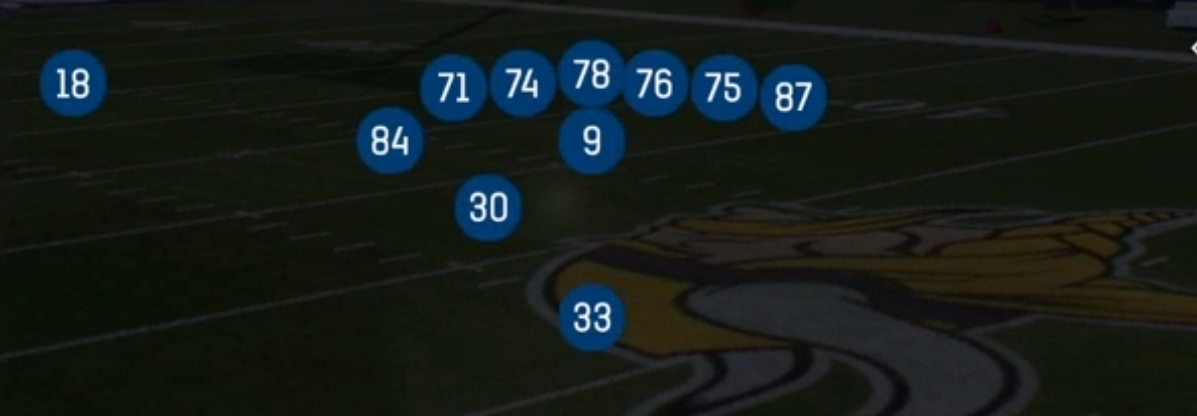
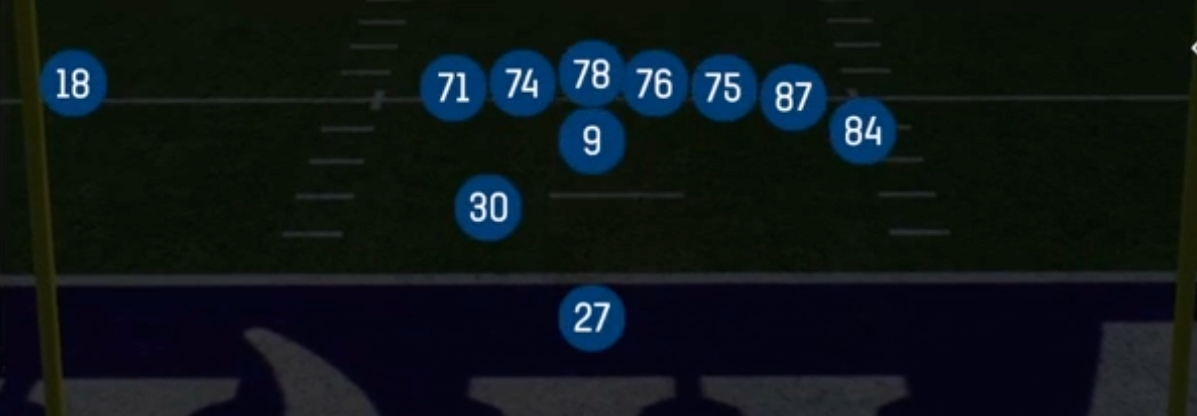
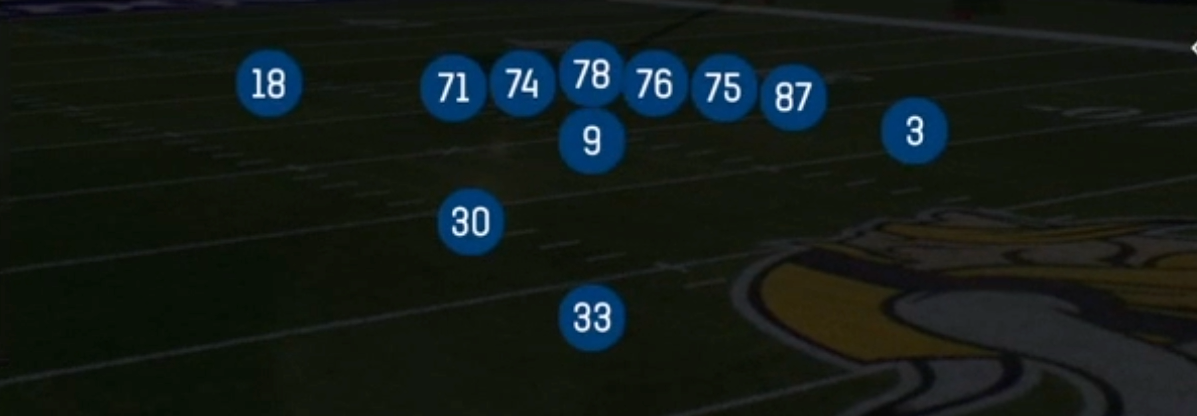
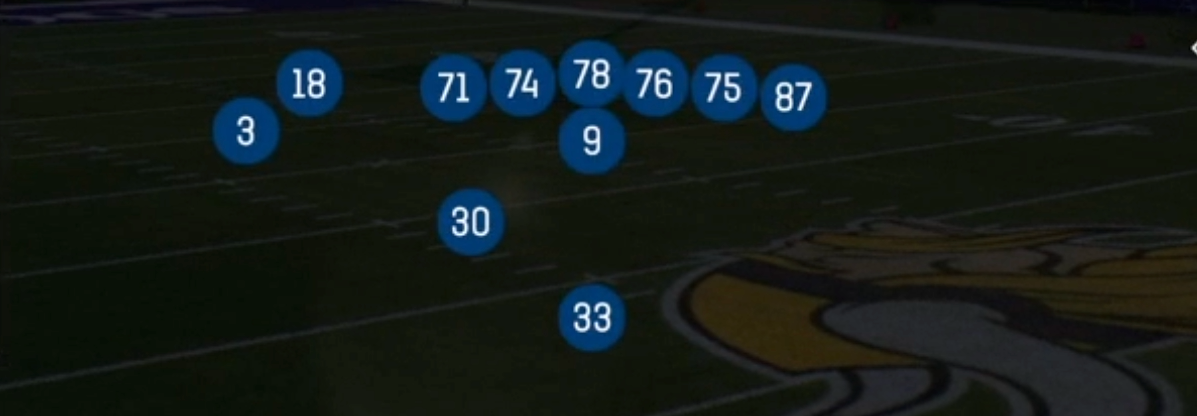
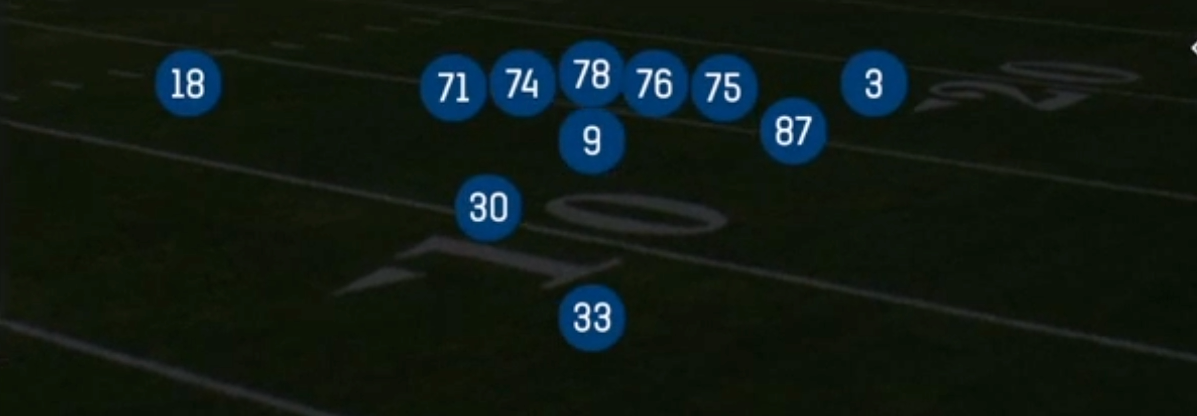
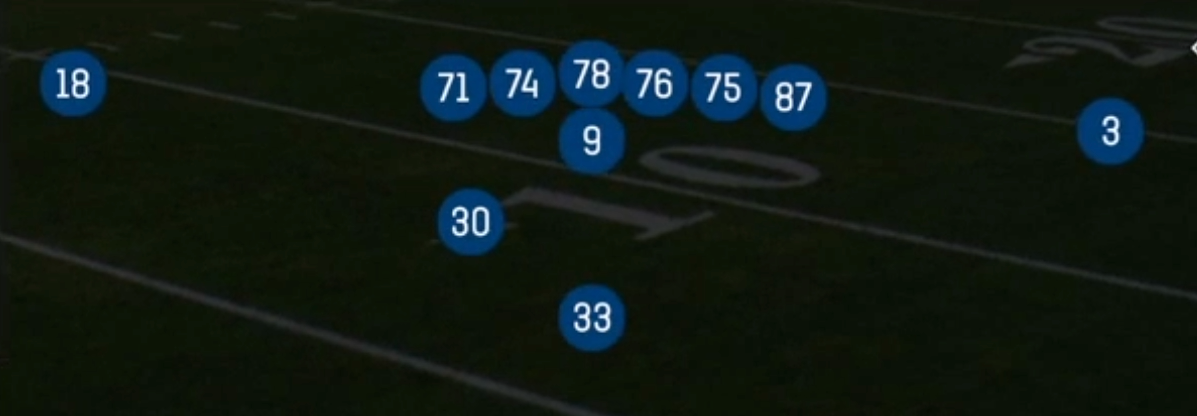
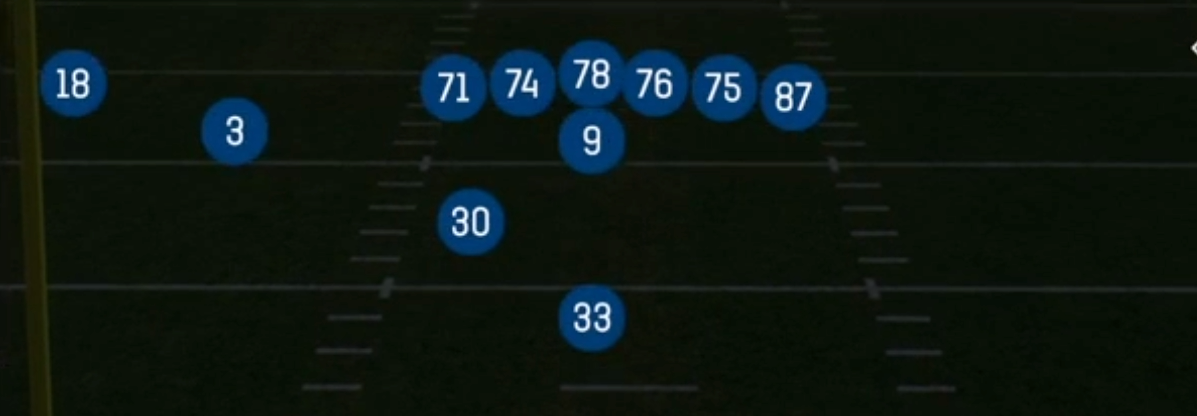
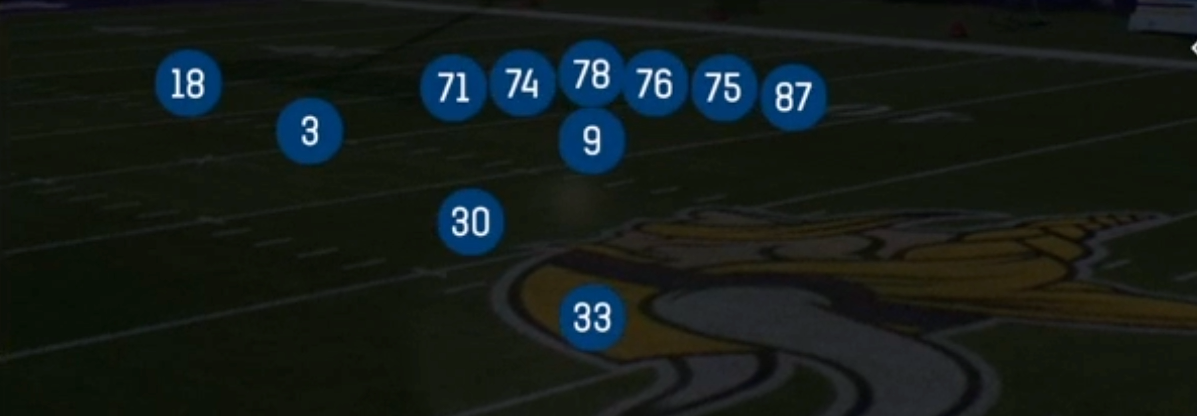
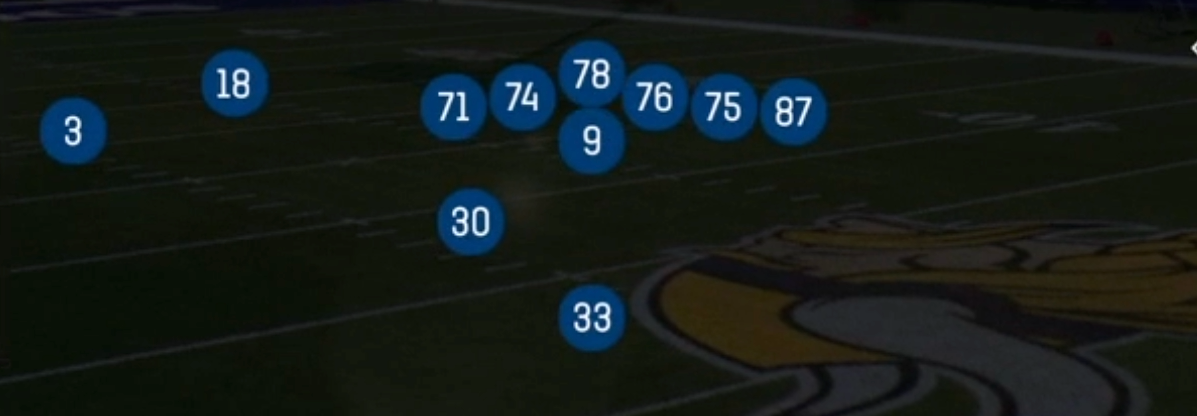
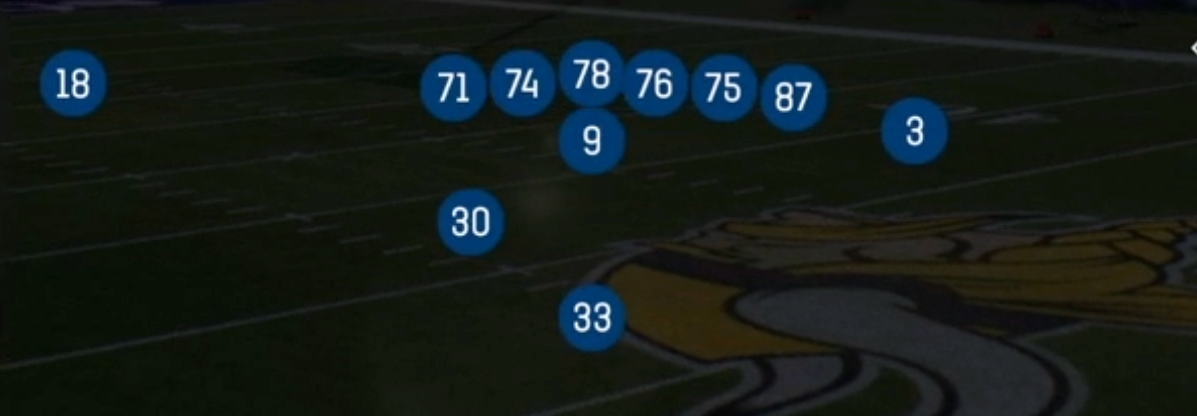
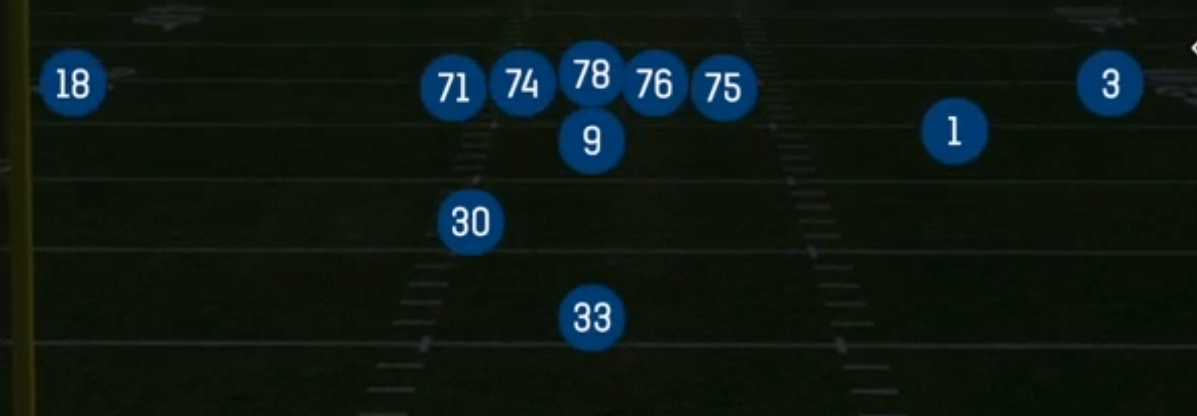
The Wing set in Weak I is a heavy 22 personnel look that pairs the classic offset I backfield (fullback shaded to the weak side, halfback deep) with a second tight end aligned as a wingback just outside the inline TE. Most Weak I sets spread the field with two or three receivers. Wing condenses the formation into a compact, gap heavy surface with only one true wideout, the X. That extra blocker on the edge gives you a numbers advantage at the point of attack. Defenses either load the box with a base 4-3 or 3-4 front, or they risk getting gashed by Power O, Counter Weak, and FB Power downhill.
The wing TE is the key piece. He can kick out the end man on the line, arc block to the second level, or release cleanly off the edge on play action. Because the defense has to respect him as a blocker, linebackers flow hard to run keys. That opens up PA TE Slide and PA Boot Slide, where the wing TE crosses the formation into the flat behind flowing defenders. Condensing the formation also leaves the X receiver isolated on the backside. Heavy fronts usually mean single high safety and man or Cover 3 on the outside, so X Slant and Post Shot become one on one shots.
The Gadget tag reflects how much misdirection lives in this set. Counter Weak, PA Power O, and the boot concepts all show the same pre snap picture and early backfield action as the base run game. Opponents who key the pulling guard or the fullback's path get punished by the opposite call. Use Wing to build a run heavy identity, then steal chunk plays with play action off the exact same look.
Strengths
- Two TE plus fullback surface creates an extra gap on the play side, making HB Power O and FB Power reliable against base fronts and light boxes
- Counter Weak and PA Power O mirror the Power O backfield action, punishing linebackers who flow hard on run keys and users who crash the play side A gap
- PA TE Slide and PA Boot Slide get the wing TE crossing into the flat behind a flowing defense, a strong zone beater against Cover 3 and Cover 4 where flat defenders bite on the fake
- The isolated X receiver sees single high man or Cover 3 cloud looks frequently, making X Slant a quick man beater and Post Shot a legit deep shot against Cover 1 when the safety is spun down into the box
- Middle Hooks and TE Drag give reliable underneath answers against zone blitz and Cover 2 looks, with tight ends sitting in the voids between hook defenders
Weaknesses
- Only one wide receiver means limited vertical stress, so defenses can play Cover 1 Robber or Cover 0 and load the box without fearing multiple deep threats
- Boot and slide concepts leave the QB exposed on the backside, and an edge pressure or contain blitz from the boot side can sack you before the TE clears the formation
- A user controlled linebacker or safety sitting in the middle hole shuts down Middle Hooks and TE Drag, since the tight ends have limited speed to separate
- Heavy personnel tips run tendencies, and opponents who nano blitz through the A gaps or stunt the interior can blow up Power O and HB Gut before the pulling guard arrives
- Tight end and fullback route runners lack separation against quality man coverage, so opponents who press and match with linebackers can smother the short passing game
Usage Tips
Establish HB Power O and HB Gut early on first and second down, then call PA Power O or PA Boot Slide once the opponent starts crashing linebackers or shading safeties down
Read the safety rotation pre snap: if you see a single high safety with the X in press man, check to X Slant or Post Shot and consider hot routing the wing TE to block for extra protection
On short yardage and goal line, FB Power and HB Power O are your best calls, but flip the play with a mirror audible if the defense overloads the strong side edge
Against edge heavy blitz looks, hot route the HB or FB to a block on boot concepts, or abandon the boot and audible to Middle Hooks for a quick throw between collapsing zones
Use Counter Weak as your answer when the user defender starts cheating to the strength of the formation, since the backside cutback lane opens instantly against over pursuit
Plays (12)
 94 WillRun Play, Power Run, Power +1
 Counter WeakCounter, Run Play, Power Run
 FB PowerPower, Run Play, Power Run
 HB GutDive, Run Play
 HB Power OPower, Run Play, Power Run
 Middle HooksPass Play, Curl, Hitch +7
 PA Boot SlidePlay Action, Slide, Pass Play +4
 PA Power OPlay Action, Pass Play, Corner +3
 PA TE SlidePlay Action, Slide, Pass Play +5
 Post ShotPost, Pass Play, Deep Cross +2
 TE DragDrag, Pass Play, Corner +3
 X SlantSlant, Pass Play, Flat +1