Playbooks

At a Glance
In 2 playbooks
Overview
The Y Off Trio set in the Singleback formation is a trips-style 11 personnel look that stacks three eligible receivers to one side, with the tight end aligned off the line of scrimmage as the Y inside the trio. Unlike standard Singleback sets such as Ace or Doubles, which balance the field or keep the tight end attached to the tackle, Y Off Trio flexes the TE into a detached, move-style role and leaves the X receiver isolated on the backside. The halfback stays in a traditional Singleback alignment behind the quarterback, so defenses still have to respect the run even though the formation reads as a passing look.
The off-ball tight end is the key to the set. Because the Y is not attached to the line, he gets a free release off the snap and is hard to jam, which makes him a dangerous option on crossers, glance routes, and shallow drags through the middle of the field. The trio side creates natural spacing and rub concepts for Mesh, Inside Cross, and Y Shallow Cross, while the backside X gets one-on-one matchups on Slants, Curl Flat, and Four Verticals when defenses rotate coverage toward the strength of the formation.
The Gadget and SLWR tags reflect how flexible this set is. You can sub a slot receiver or hybrid weapon into the Y spot to create mismatches against linebackers and safeties, or keep a true pass-catching TE there to punish nickel defenses with size. With HB Power O and Mtn Zone Wk available, plus play action off PA Slide, PA Cross Dig, and PA Y Glance, Y Off Trio gives you a complete pass-first package that can still punish light boxes on the ground.
Strengths
- The off-ball Y releases cleanly against press and zone drops, making Y Shallow Cross, PA Y Glance, and Inside Cross reliable chain movers against Cover 3 and Cover 1 hook defenders.
- Trips alignment forces the defense to declare its coverage rotation pre-snap, and if the safety rolls to the trio side, the isolated X receiver becomes a premium man beater on Slants or a backside Four Verticals shot.
- Mesh and Inside Cross generate natural rubs from the stacked trio side, giving you consistent separation against man coverage and user-controlled linebackers who try to chase crossers.
- Play action from this set is effective because HB Power O and Mtn Zone Wk sell a real run threat, which pulls linebackers down and opens the middle for PA Cross Dig and PA Slide rollouts.
- The Gadget and SLWR tags let you swap a speed slot or hybrid weapon into the Y spot, creating mismatches against base defenses that stay in with a linebacker covering the off-ball position.
Weaknesses
- With only five linemen and a single back, protection is thin, so overload blitzes and nano pressure from the boundary side of the trio can collapse the pocket before deeper concepts like Four Verticals develop.
- The off-ball TE is removed from the edge, which weakens run blocking to the trio side and makes outside runs vulnerable to edge crashes and slanting defensive ends.
- A disciplined user in the middle of the field can sit on the crossers from Mesh, Y Shallow Cross, and Inside Cross, since so much of the set's passing game funnels through the hook and curl zones.
- The backside X is isolated, so a lockdown corner in press man with safety help over the top can take away your best one-on-one matchup and force throws into the crowded trio side.
- Defenses that stay in Cover 2 Man or Cover 4 with quarters matching can bracket the trio side and minimize the rub concepts that make this set dangerous.
Usage Tips
Read the safety rotation pre-snap: if the defense rolls coverage to the trio side, audible to Slants or hot route the X on a fade or slant for a backside isolation throw.
On 3rd and short to medium against man coverage, call Mesh or Inside Cross and target the crosser who wins the rub, with a streak or flat hot route on the outside to clear space.
Use HB Power O and Mtn Zone Wk early against nickel and dime personnel to punish light boxes, then come back with PA Cross Dig or PA Y Glance once linebackers start triggering downhill.
Against heavy blitz looks, slide protection toward the pressure side and hot route the HB to a block or quick flat, or audible to Curl Flat or Y Shallow Cross to get the ball out fast.
Sub a speed SLWR or gadget player into the Y spot on obvious passing downs to force a linebacker or safety into coverage, then attack that matchup on Y Shallow Cross or a hot-routed drag.
Plays (12)
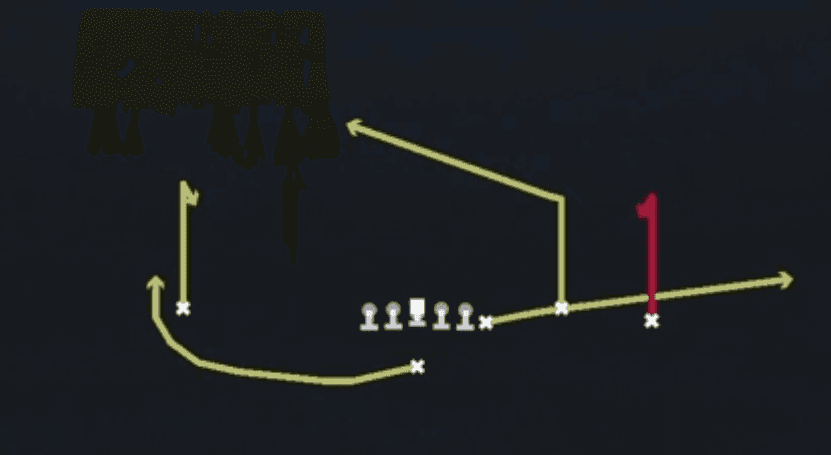 Curl FlatFlat, Curl, Curl Flat +5
 Four VerticalsFour Verts, Pass Play, Cover 2 Beater +5
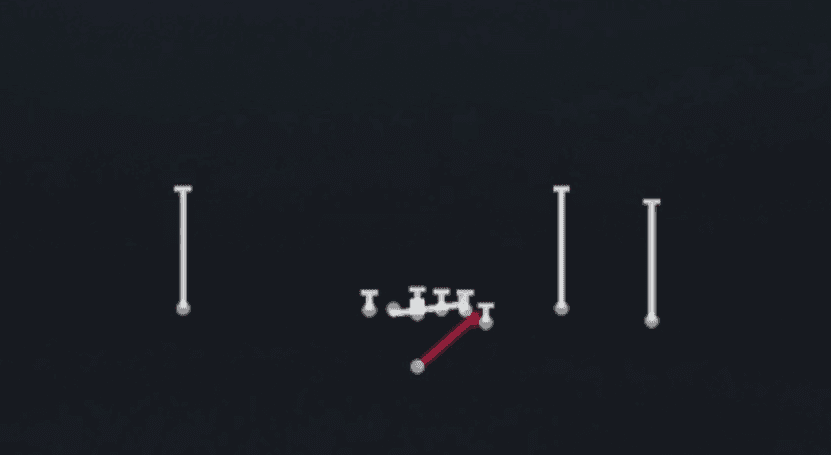 HB Power OPower, Run Play, Power Run
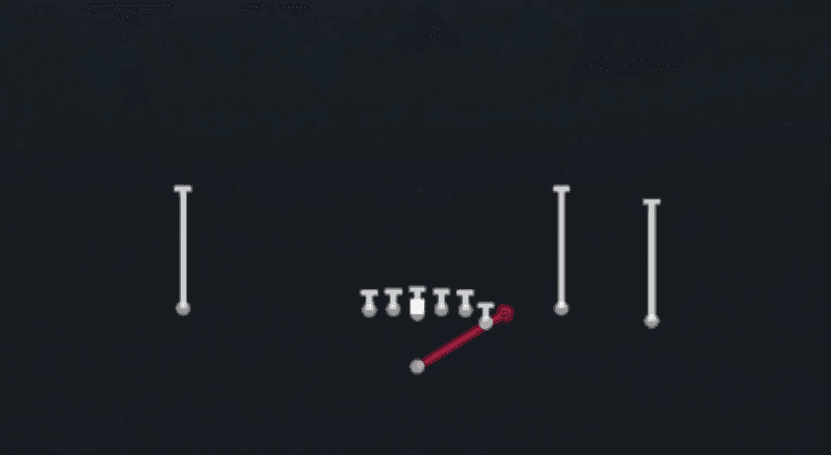 HB Slant 18Run Play
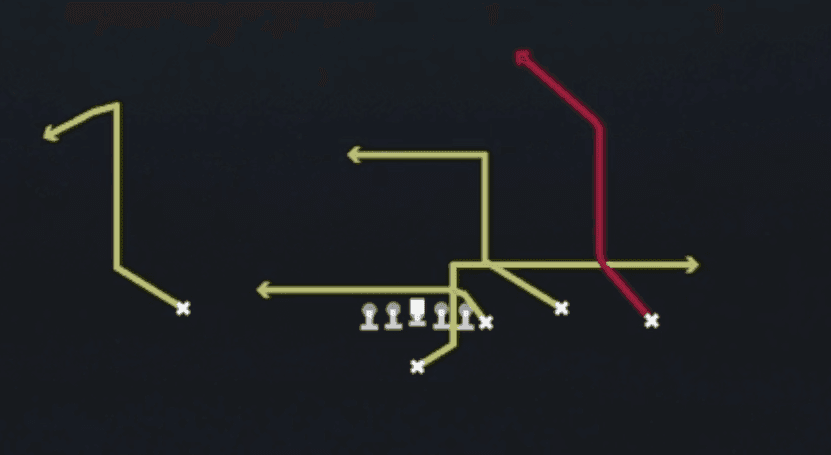 Inside CrossCrosser, Pass Play, Comeback +4
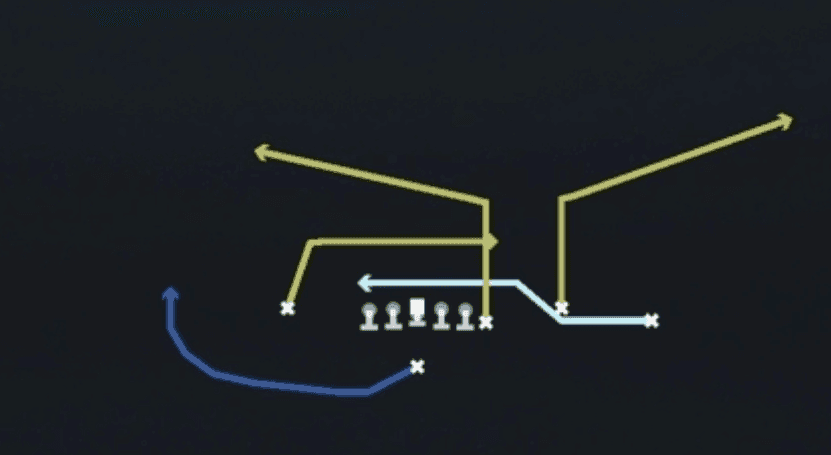 MeshMesh, Pass Play, Man Beater +5
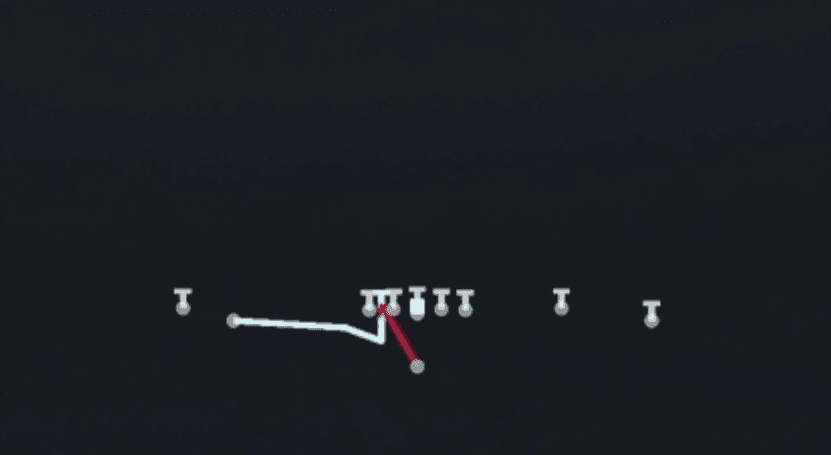 Mtn Zone WkInside Zone, Motion, Run Play +1
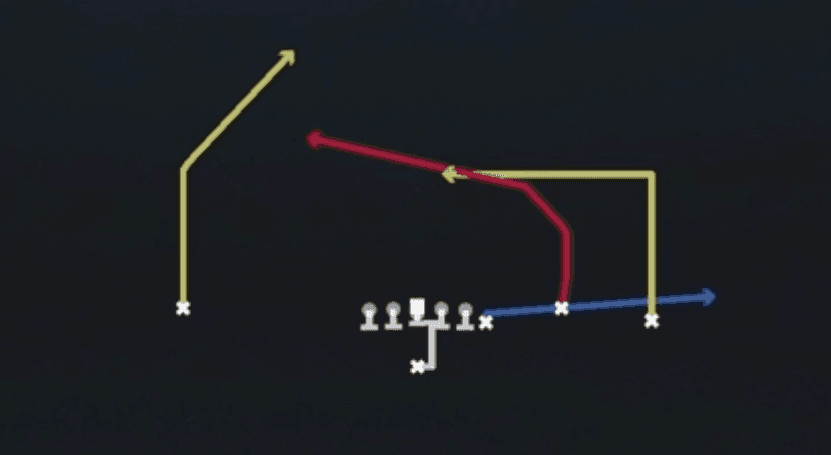 PA Cross DigPlay Action, Dig, Crosser +4
 PA SlidePlay Action, Slide, Pass Play +5
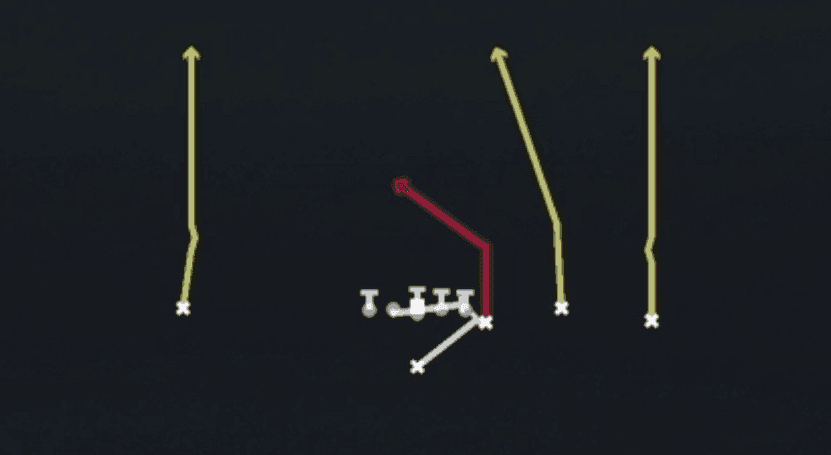 PA Y GlancePlay Action, Pass Play, Stop And Go +2
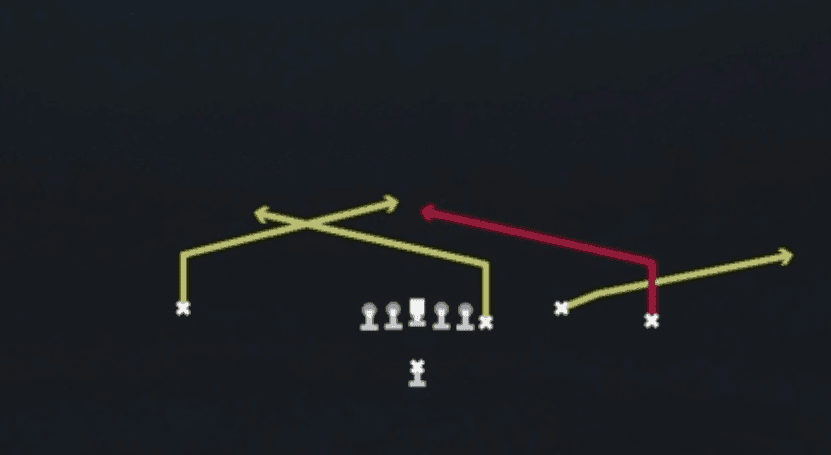 SlantsSlant, Pass Play, Flat
 Y Shallow CrossShallow Cross, Crosser, Pass Play +5









