Playbooks

At a Glance
In 1 playbook
Overview
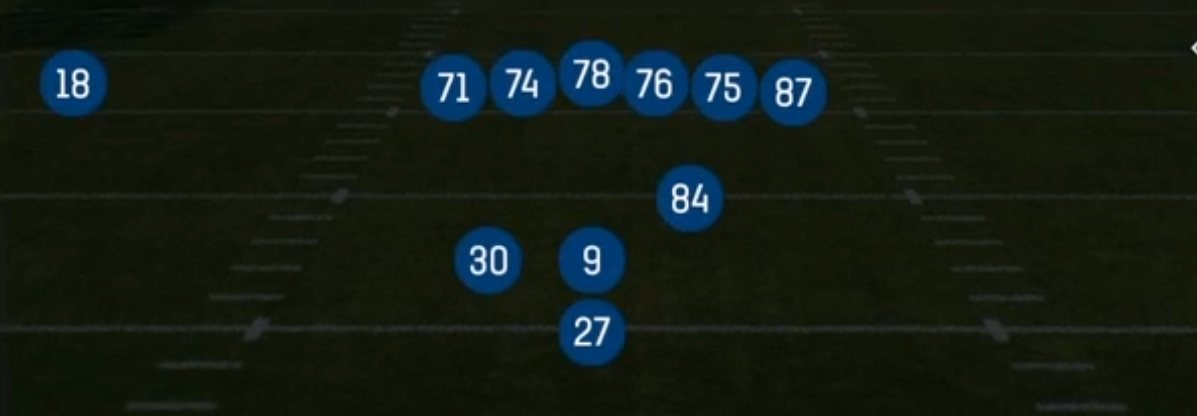
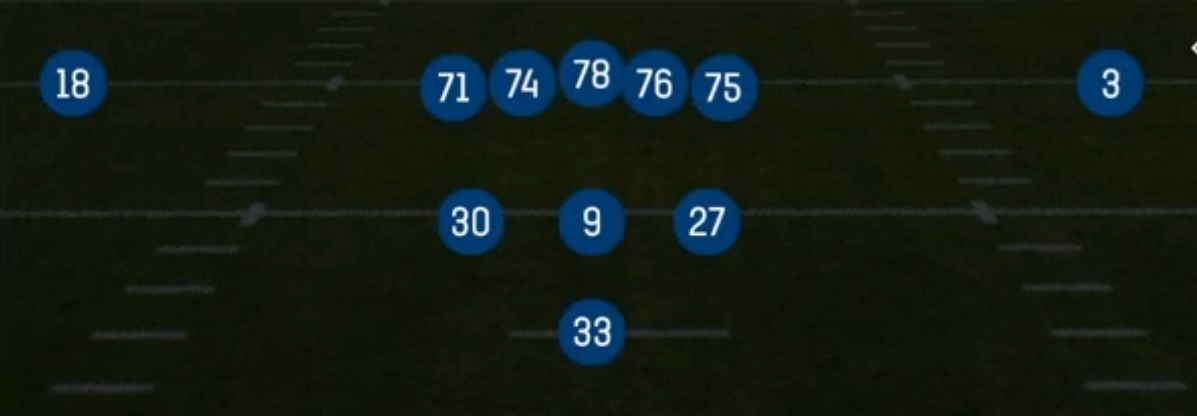
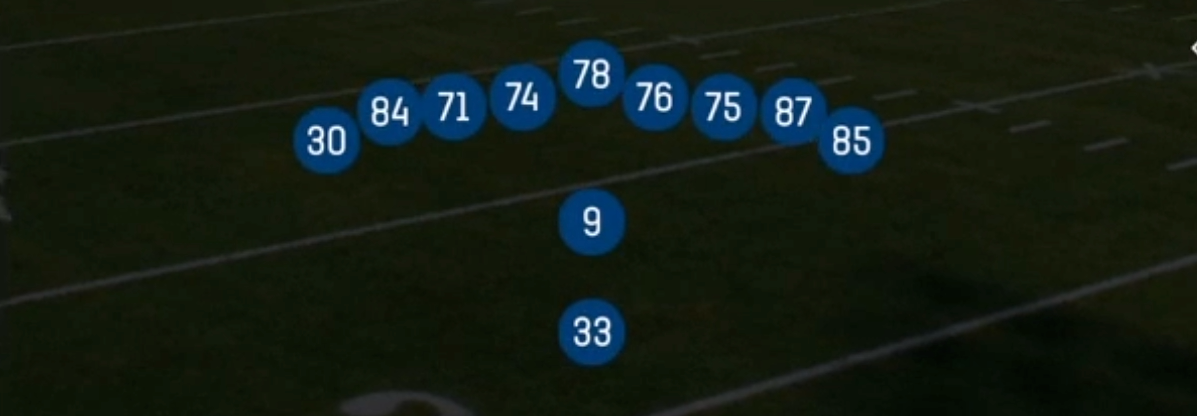
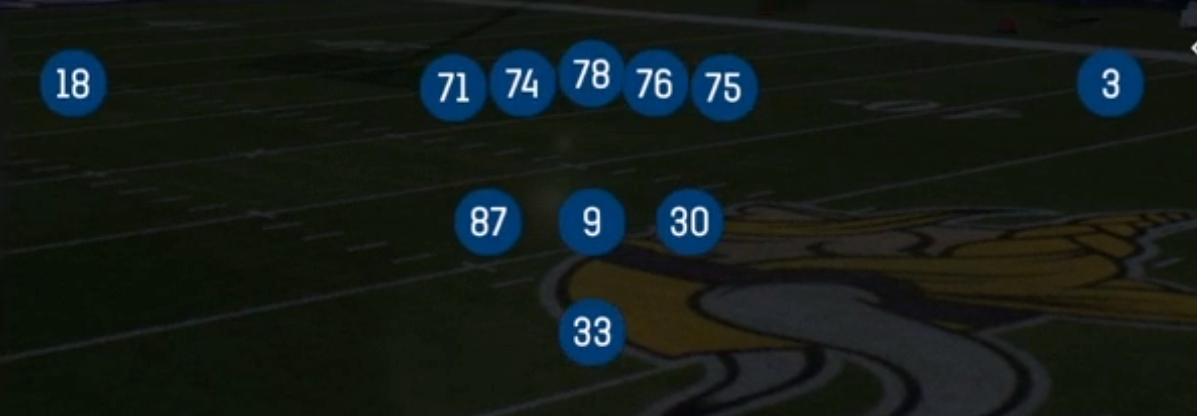
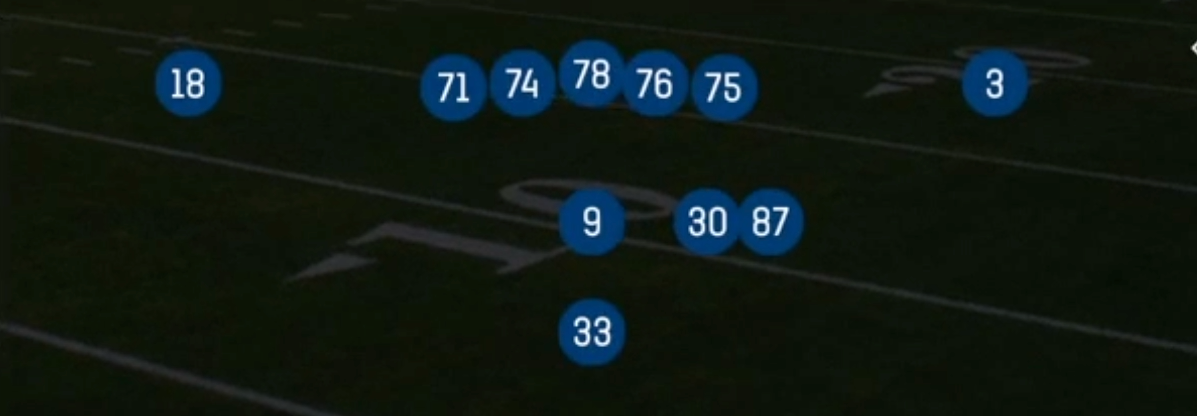
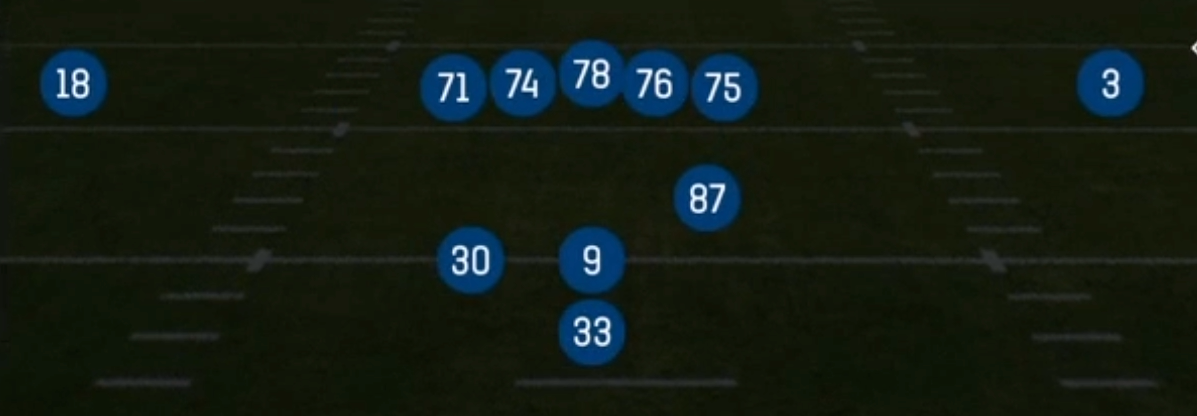
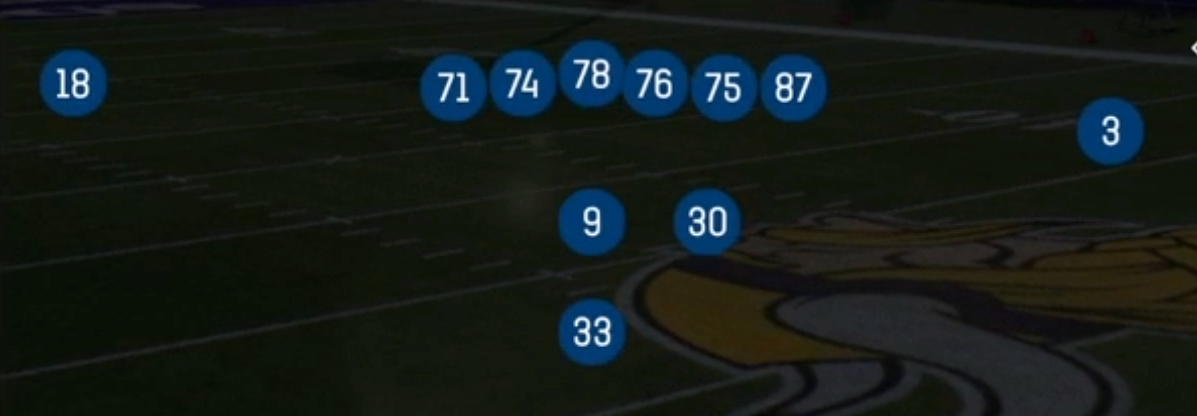
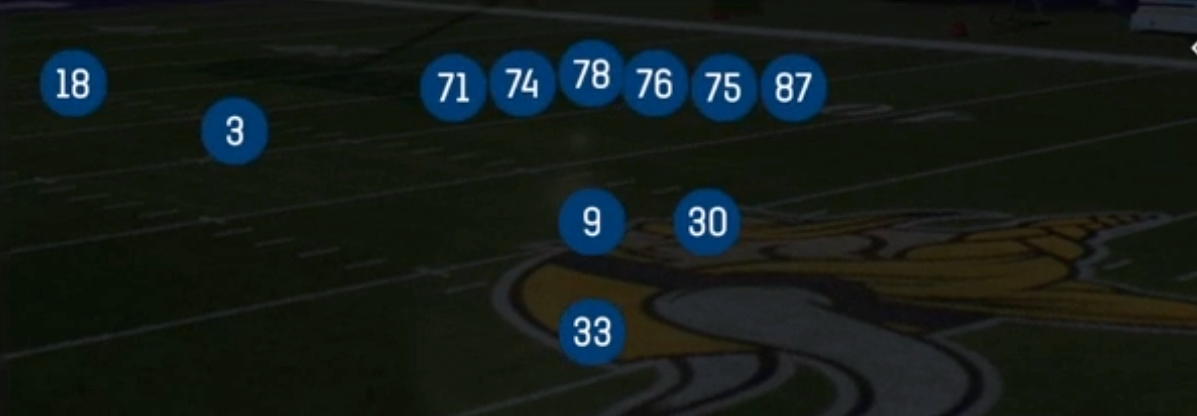
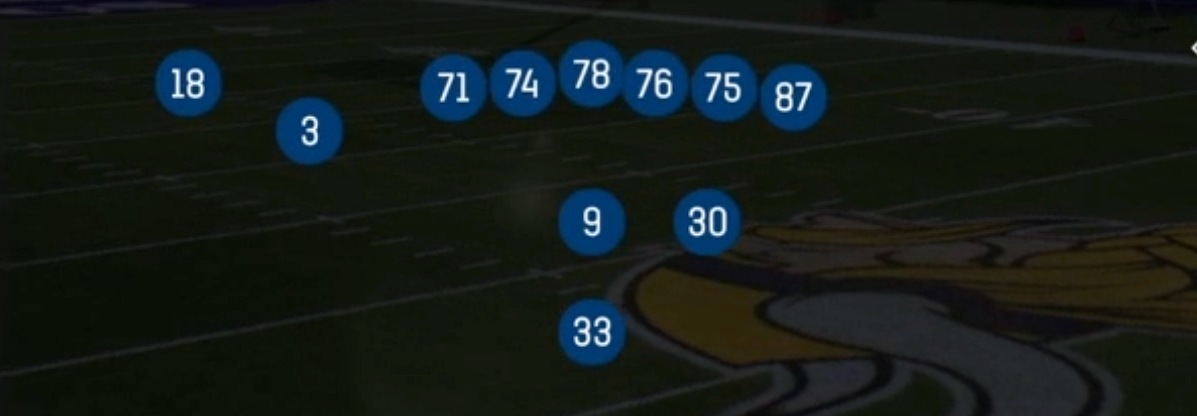
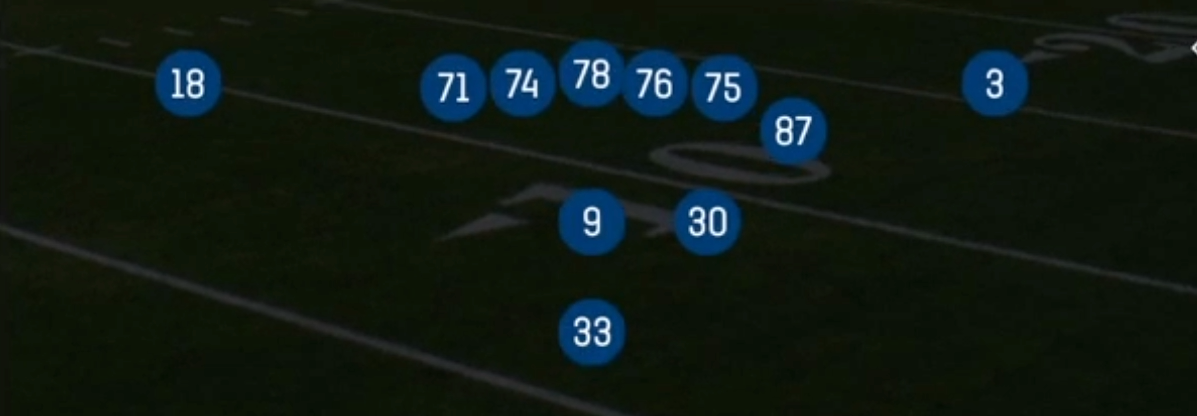
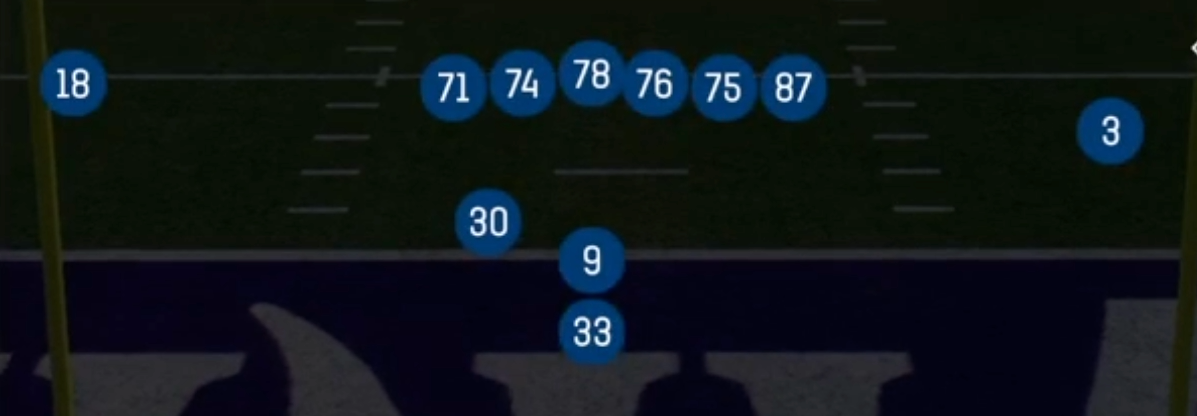
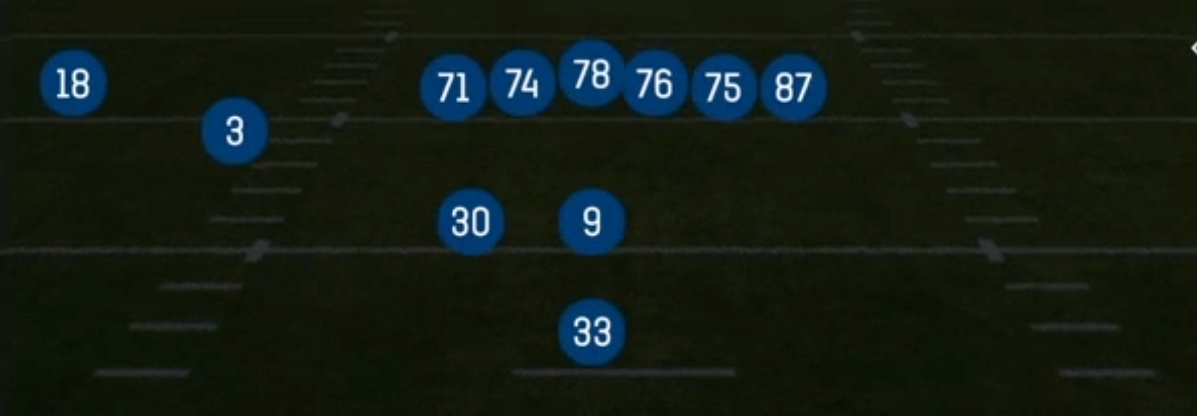
The Weak I Wing set in the Pistol formation pairs 22 personnel with a downhill run game. The QB sits in the short Pistol alignment, the halfback lines up directly behind him, and a fullback offsets to the weak side. One tight end is attached inline, a second sits in a wing alignment just off the edge, and a lone X receiver is split wide. Standard Pistol sets spread the field with 11 or 12 personnel. This one compresses the formation and puts nine potential blockers in the box picture, so defenses are forced to match with base or heavy fronts.
The weak side offset fullback and the wing tight end give you blocking angles on both edges. That is why HB Power O, PA Power O, Counter Weak, and HB Gut all hit cleanly. The fullback can kick out or lead through the B gap, while the wing seals the edge or pulls across the formation. Because the HB stays directly behind the QB in Pistol, the defense gets no directional tell from backfield alignment, which makes the counter and power reads harder to key pre snap.
The pass game is built off that run threat. PA TE Slide and PA Boot Slide get a tight end leaking across the formation into the flat while linebackers bite on the run fake. Post Shot and X Slant isolate the single X receiver against whatever the defense leaves outside, often a corner on an island with the safety pulled down to stop the run. The Gadget tag adds a trick element that punishes defenses selling out against the run, so the set can steal chunk plays from base defenses.
Strengths
- Power run variety with HB Power O, Counter Weak, and HB Gut lets you attack every gap from one look while the Pistol alignment hides run direction.
- PA TE Slide and PA Boot Slide are strong zone beaters against Cover 3 and Cover 4, since the flat and crossing tight end come open behind flowing linebackers and in front of sinking hook defenders.
- The lone X receiver gets isolated against single high safety looks, making Post Shot and X Slant dangerous man beaters when the defense walks a safety into the box.
- Forcing 22 personnel onto the field pulls base or goal line defensive packages, creating matchup edges for tight ends against linebackers in coverage.
- The Gadget tag play punishes aggressive run fits and users who crash the line of scrimmage early.
Weaknesses
- With only one wide receiver, Cover 0 and Cover 1 man looks with an extra box defender can smother the pass game since there are few pure separation routes.
- Opponents who user the Will or Mike linebacker into the B gap can blow up Power O and Gut reads before the fullback reaches his block.
- Edge pressure and nano blitzes off the boot side make PA Boot Slide risky because the QB rolls directly into the rusher if the playside end is not accounted for.
- Stacking eight or nine in the box with a Goal Line or 4 4 front limits run lanes and forces you to win on play action alone.
- The set is a clear run tendency, so defenses that pattern read heavy personnel can sit on the run and bait play action throws into robber coverage.
Usage Tips
Use the set on 1st and 10 and in short yardage to establish Power O and Counter Weak, then call PA Power O or PA TE Slide once the linebackers start filling downhill.
Read the safety pre snap: a single high safety rotated down into the box is your cue to audible to Post Shot or X Slant for the isolated X receiver.
Against heavy blitz looks, hot route the wing tight end to a quick flat or slant and slide protection toward the pressure side before running any boot concept.
In the red zone, pair HB Gut with PA Boot Slide to attack the flat and back pylon when defenses crowd the goal line.
Save the Gadget tag play for after two or three successful runs, when your opponent is most likely to trigger early on run action.
Plays (9)
 94 WillRun Play, Power Run, Power +1
 Counter WeakCounter, Run Play, Power Run
 HB GutDive, Run Play
 HB Power OPower, Run Play, Power Run
 PA Boot SlidePlay Action, Slide, Pass Play +4
 PA Power OPlay Action, Pass Play, Corner +3
 PA TE SlidePlay Action, Slide, Pass Play +5
 Post ShotPost, Pass Play, Deep Cross +2
 X SlantSlant, Pass Play, Flat +1