Playbooks

At a Glance
Overview
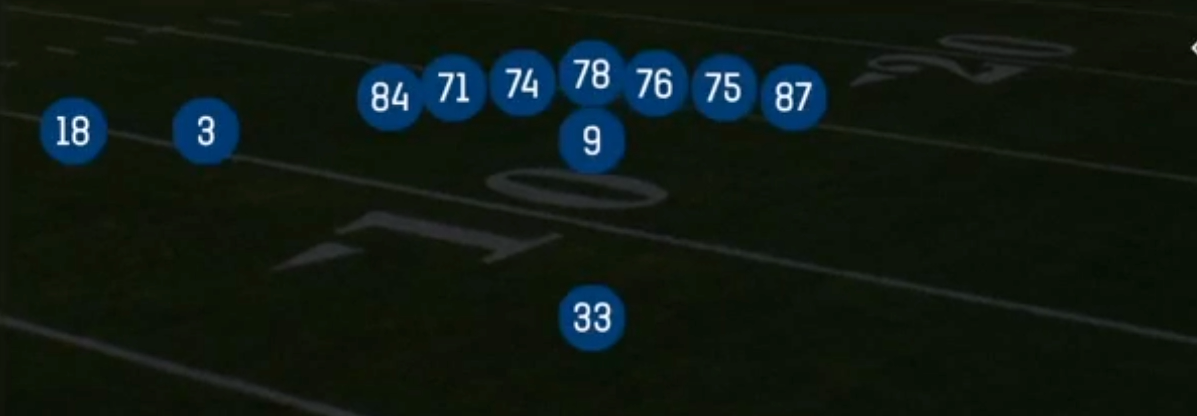
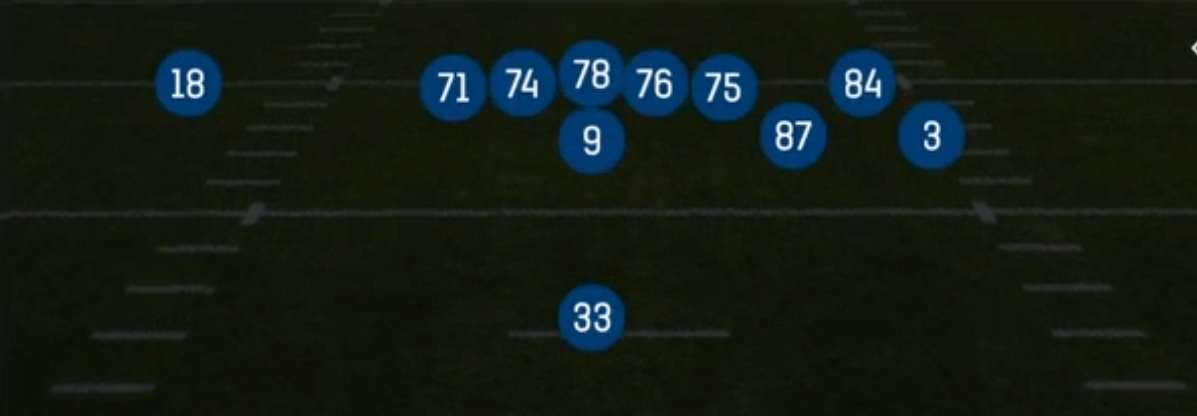
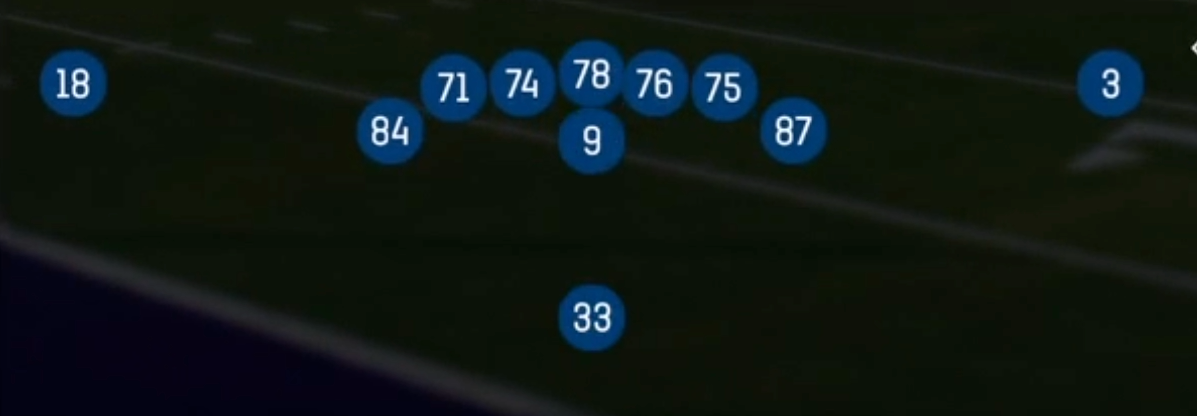
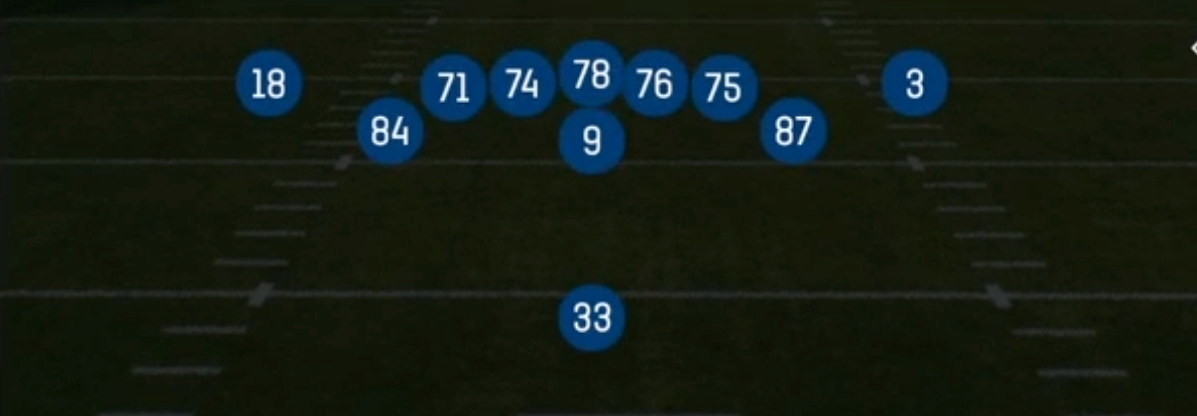
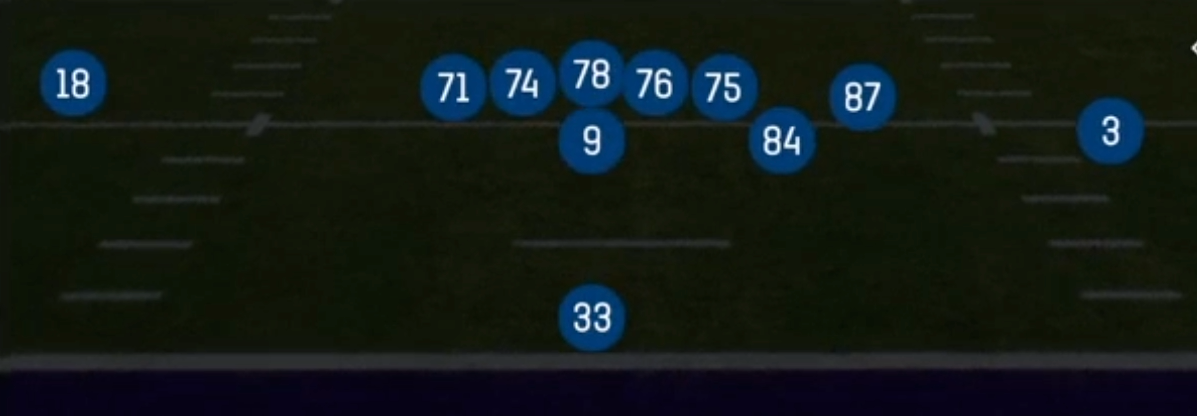
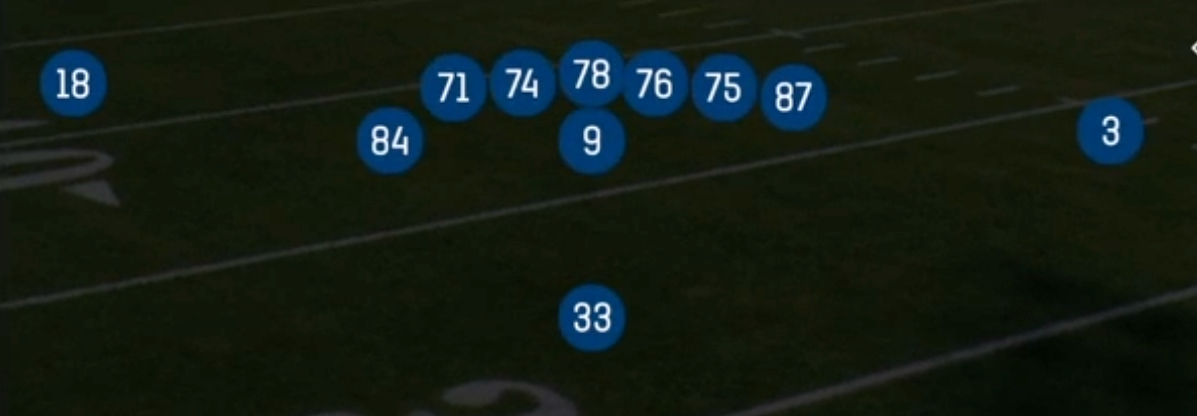
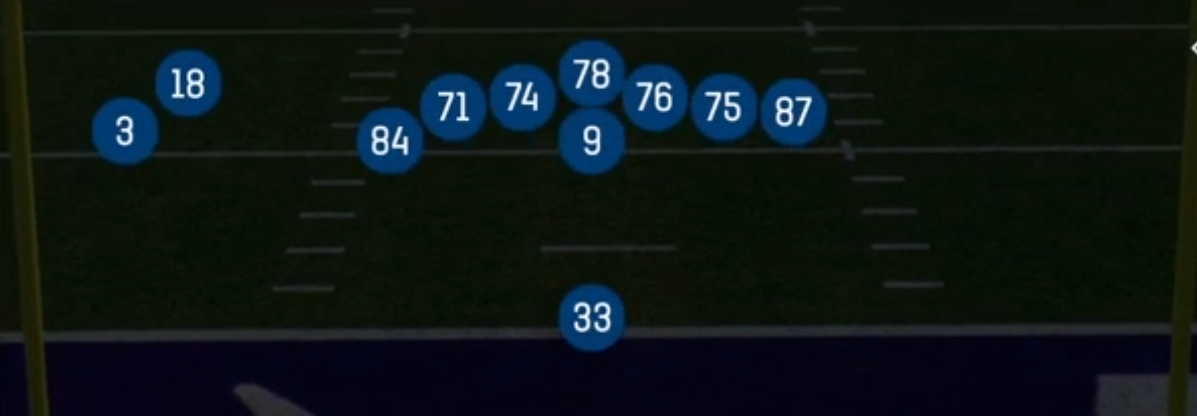
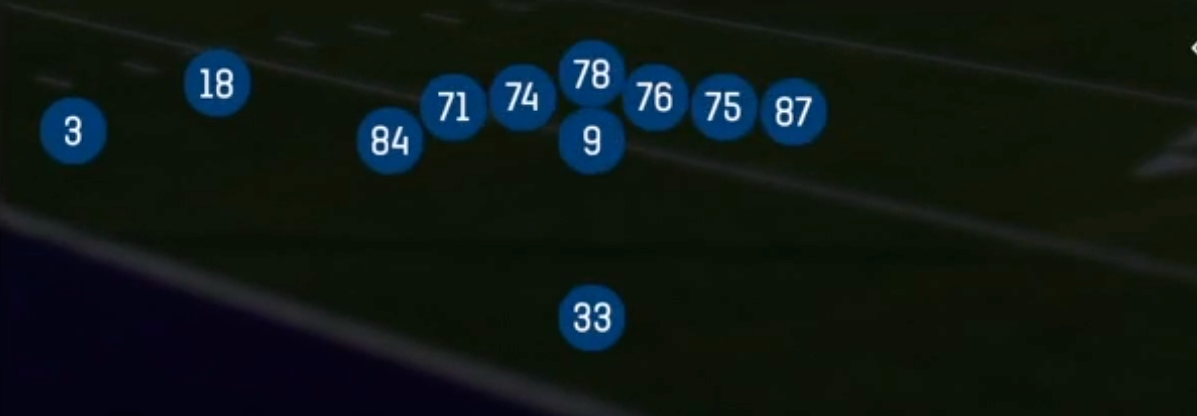
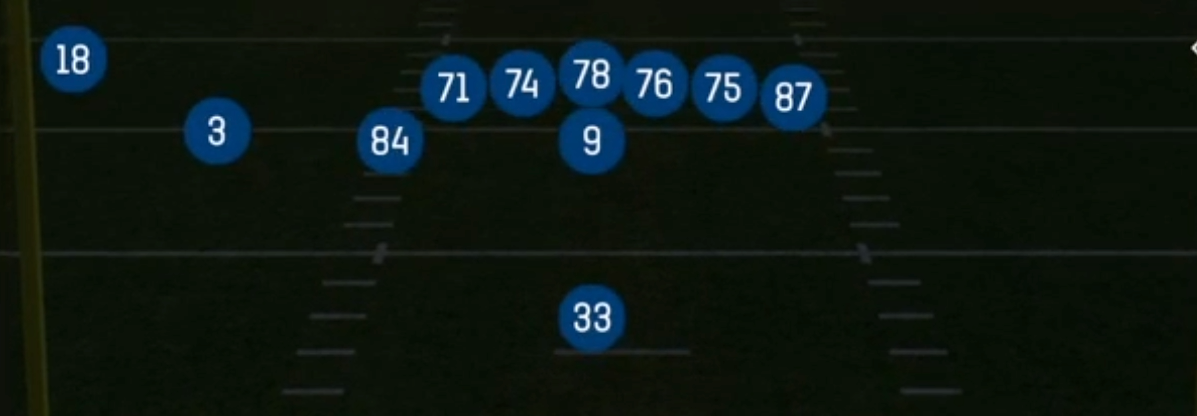
Y Trips TE Slot is a 12 personnel look in the Singleback formation that stacks a three-man surface to one side, with a tight end aligned in the slot rather than inline. Unlike the balanced Singleback sets that split the two tight ends or keep them attached to the line, this alignment puts both tight ends on the trips side alongside a wideout and leaves a single receiver isolated on the backside. Defenses see heavy personnel, but the spacing looks like a spread trips set, which creates a personnel mismatch before the snap.
The slotted tight end is the key to the set. Against base defense, he draws a linebacker or strong safety in man coverage, which gives you size-on-speed or speed-on-size advantages depending on your roster. Against nickel, you can hand off behind two blocking tight ends and hit a lighter box with Power O, HB Counter, and HB Zone Wk. The backside X receiver often sees true one-on-one coverage because the defense has to rotate help toward the three-man side.
The play list covers a lot of ground. Stick, Smash, Curl Combo, and Levels Switch give you quick trips-side reads against zone, while Slot Drive, Y-Trail, and PA Slot Cross flood the field with crossers and layered routes. Sluggo Seam and Four Verticals attack the middle of the field with a tight end running up the seam, and the Gadget tag reflects plays like PA Slot Wheel and Slot 2 Buc that use misdirection and unusual release patterns to catch defenders out of position.
Strengths
- Forces a personnel dilemma: base defense puts linebackers on the slot TE in the passing game, while nickel or dime leaves the box light for Power O and HB Counter behind two tight ends.
- The isolated backside X receiver frequently draws press man with no safety help, making a streak, slant, or fade hot route a reliable man beater when the defense rotates toward trips.
- Trips-side concepts like Smash, Stick, and Levels Switch give clean high-low and horizontal stretch reads against Cover 3 and Cover 4, especially when the flat defender is stuck deciding between the TE and the outside WR.
- PA Slot Cross and PA Slot Wheel sell heavy run action from a 12 personnel look, pulling linebackers downhill and opening the intermediate crosser and the wheel up the sideline against Cover 1 and Cover 3.
- Sluggo Seam and Four Verticals put a tight end up the seam against a single high safety, splitting Cover 3 and stressing the hook defender who cannot carry vertically.
Weaknesses
- Overloading one side telegraphs strength, so savvy opponents shade their coverage toward trips or bring a nano blitz from the boundary where only the RB and one lineman can pick it up.
- With both tight ends detached or on the trips surface, backside edge pressure has an easier path, and pass pro is thinner than in Singleback sets with an inline TE on each side.
- A user-controlled middle linebacker or safety sitting in the hook zone can clog Slot Drive, Y-Trail, and PA Slot Cross because so many of the best reads funnel through the middle of the field.
- If your tight ends lack speed or route running, Cover 2 man and 2 man under can wall off the seams and sit on short concepts, turning the set into a run-first tell.
- Run tendencies are easy to key: opponents who spot the trips alignment can slant or pinch their line toward the strength and blow up Power O and HB Stretch before they develop.
Usage Tips
Read the defensive personnel before the snap: if the defense shows base 4-3 or 3-4, target the slot TE on a linebacker with Stick or Y-Trail; if they sub to nickel, audible to Power O or HB Counter and run at the smaller box.
Watch the backside cornerback and safety alignment; if the safety rotates to trips and the corner presses, hot route the X to a fade or slant for an easy one-on-one throw.
On 3rd and short, use Stick or Curl Combo for quick trips-side reads, and flip the play if the defense overloads coverage to your trips side.
Establish HB Zone Wk and Power O early on 1st and 10, then call PA Slot Cross or PA Slot Wheel on 2nd and short when linebackers start triggering on run action.
Against Cover 3 in the red zone or on deep shot downs, call Sluggo Seam or Four Verticals and hold the middle safety with your eyes before hitting the seam, or hot route the RB to a block to buy time against pressure.
Plays (18)
 Curl ComboCurl, Pass Play, Flat +1
 Four VerticalsFour Verts, Pass Play, Cover 2 Beater +6
 HB CounterCounter, Run Play, Power Run
 HB DiveDive, Run Play
 HB DrawDraw, Run Play
 HB StretchOutside Zone, Run Play, Zone Run
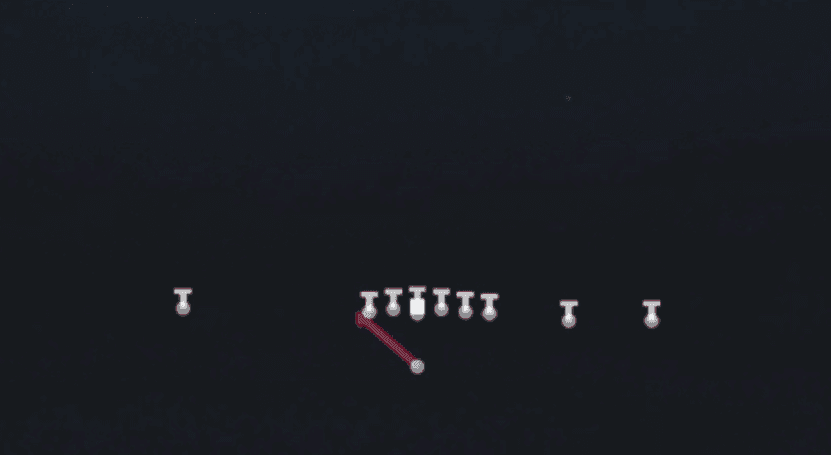 HB Zone WkInside Zone, Run Play, Zone Run
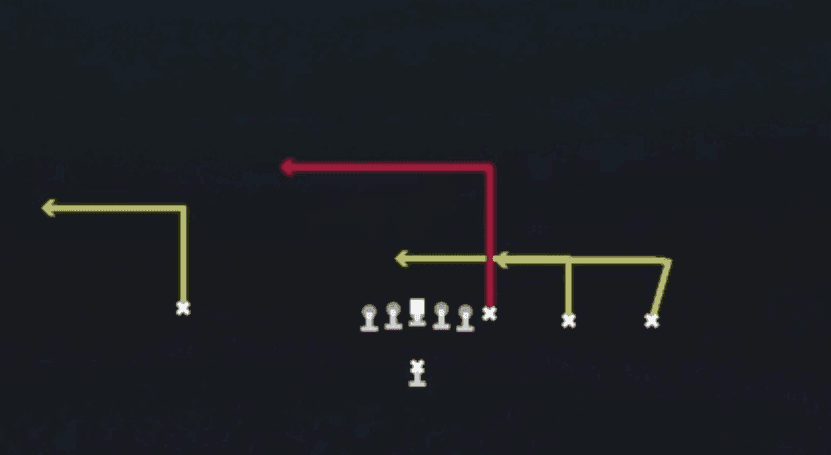 Levels SwitchLevels, Pass Play, Cover 2 Beater +3
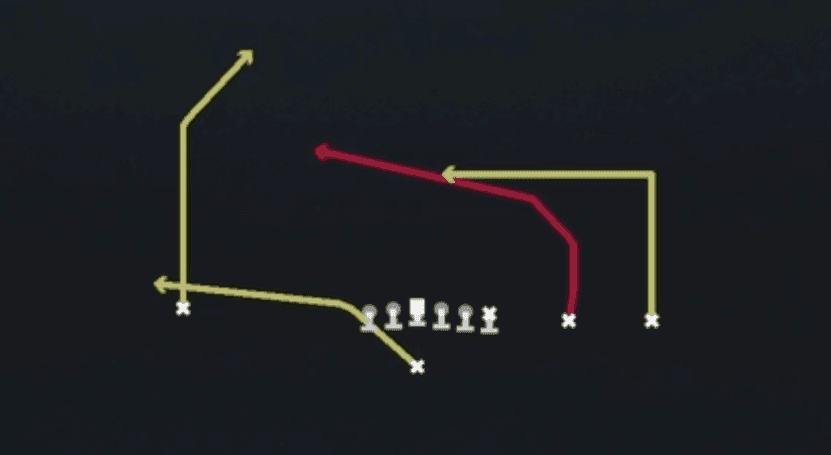 PA Slot CrossPlay Action, Crosser, Pass Play +4
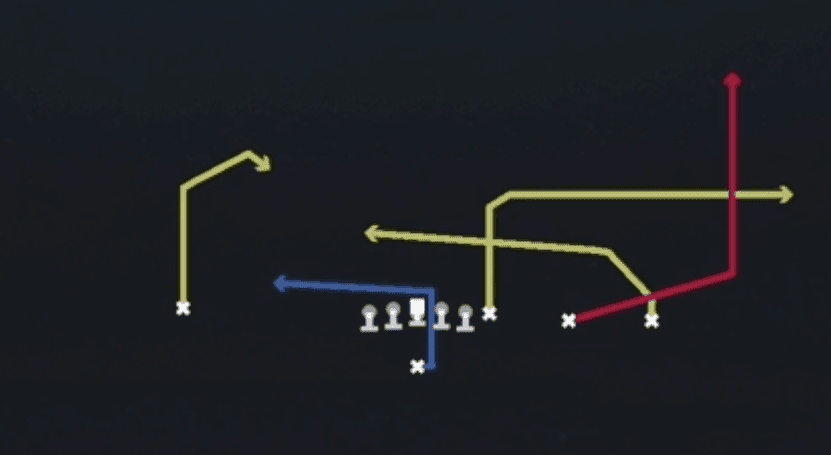 PA Slot WheelPlay Action, Wheel, Pass Play +5
 Power OPower, Run Play, Power Run
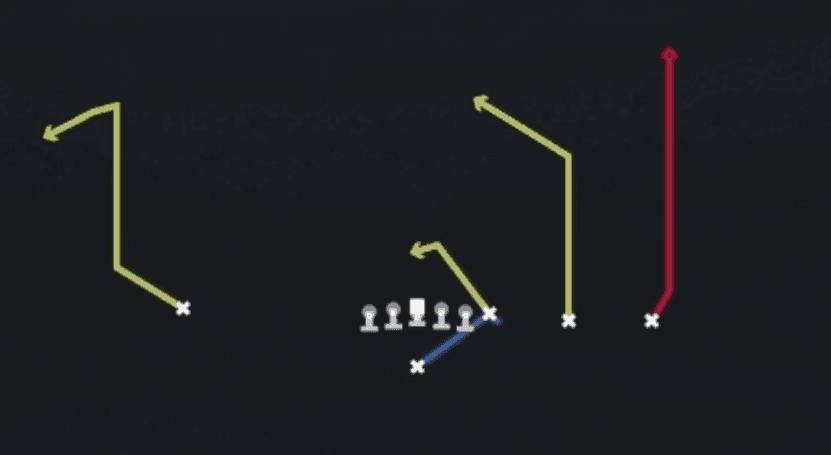 Slot 2 BucPass Play, Go, Corner +7
 Slot DriveDrive, Pass Play, Cover 4 Beater +6
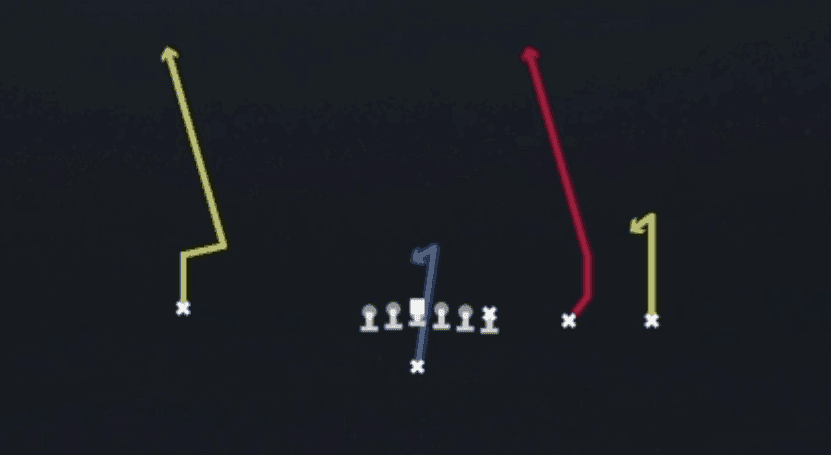 Sluggo SeamSeam, Sluggo, Pass Play +4
 SmashSmash, Pass Play, Cover 2 Beater +5
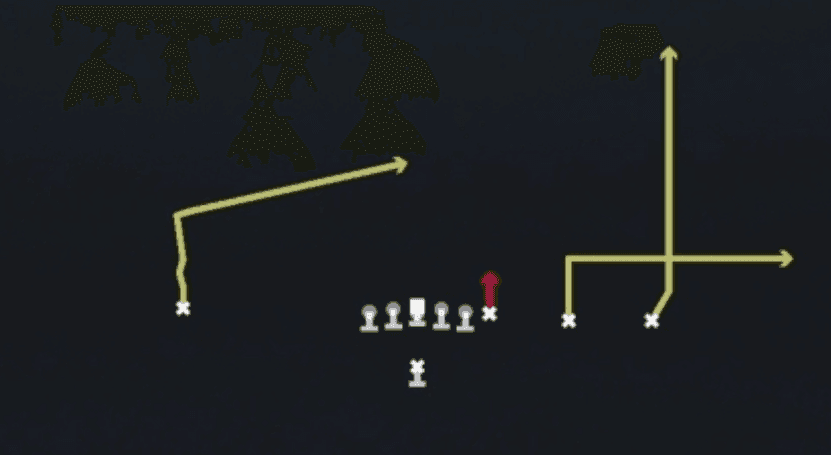 StickStick, Stick Concept, Pass Play +3
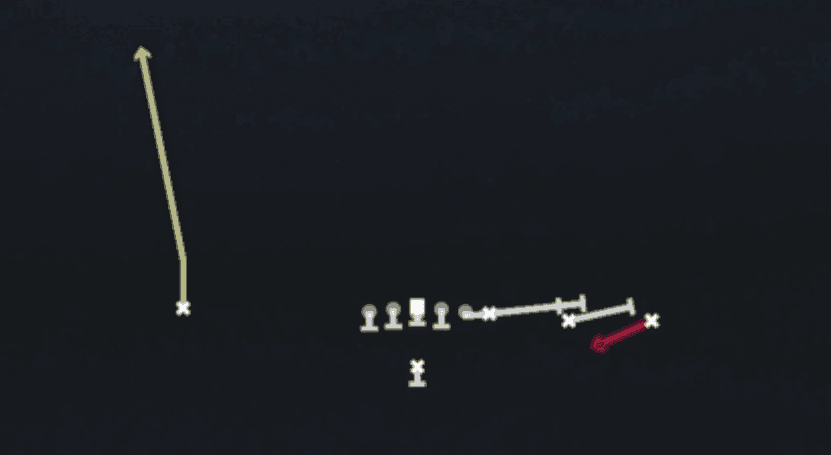 WR ScreenScreen Pass, Wr Screen, Pass Play +2
 Y-TrailTrail, Pass Play, Post +3