Playbooks

At a Glance
In 13 playbooks
Overview
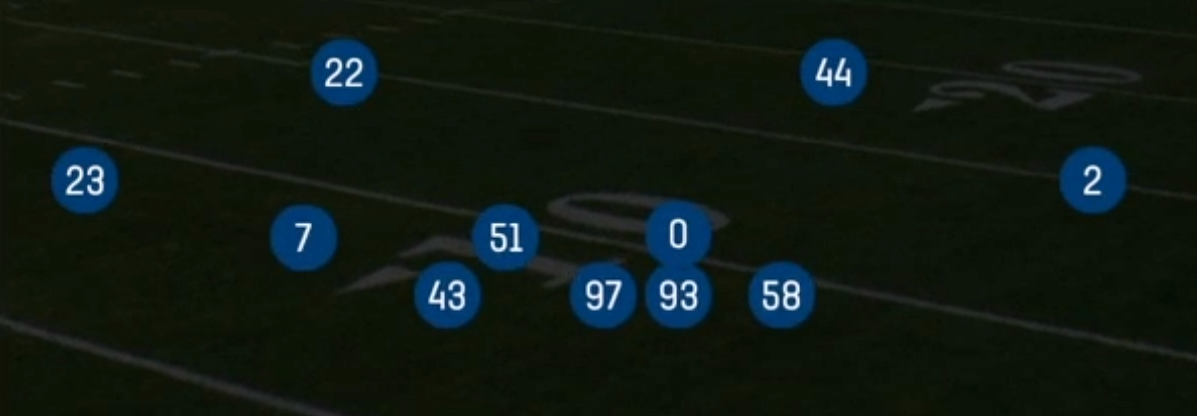
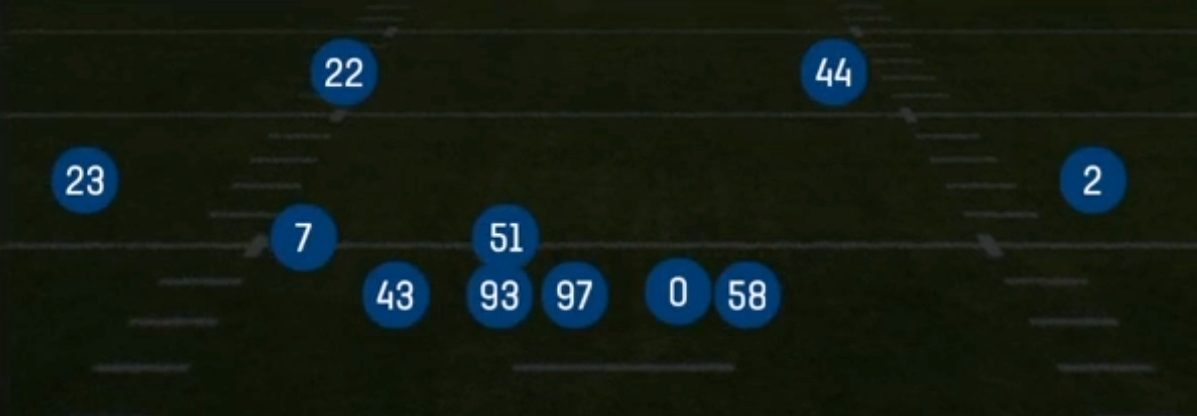
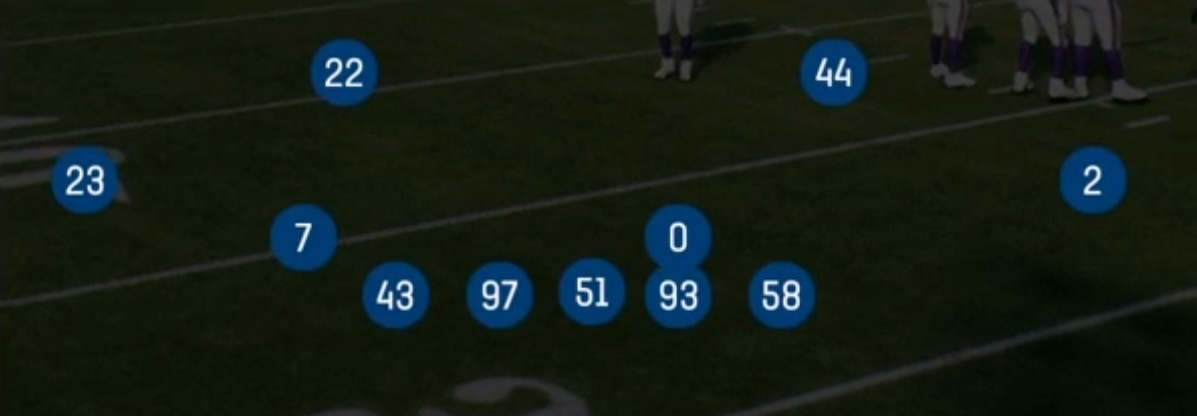
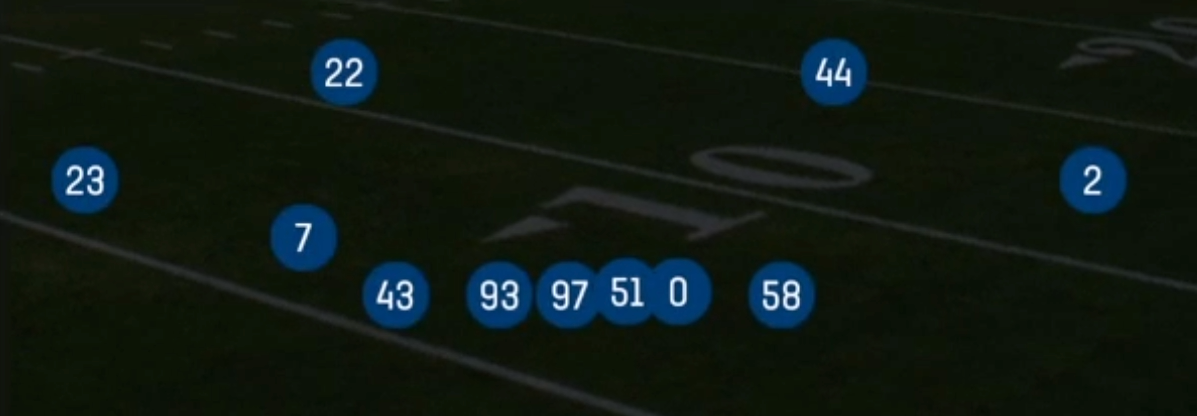
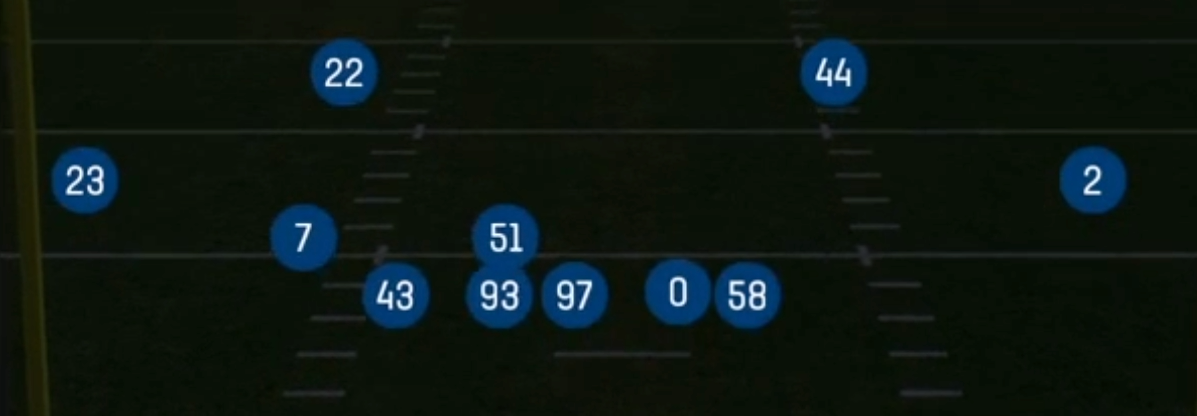
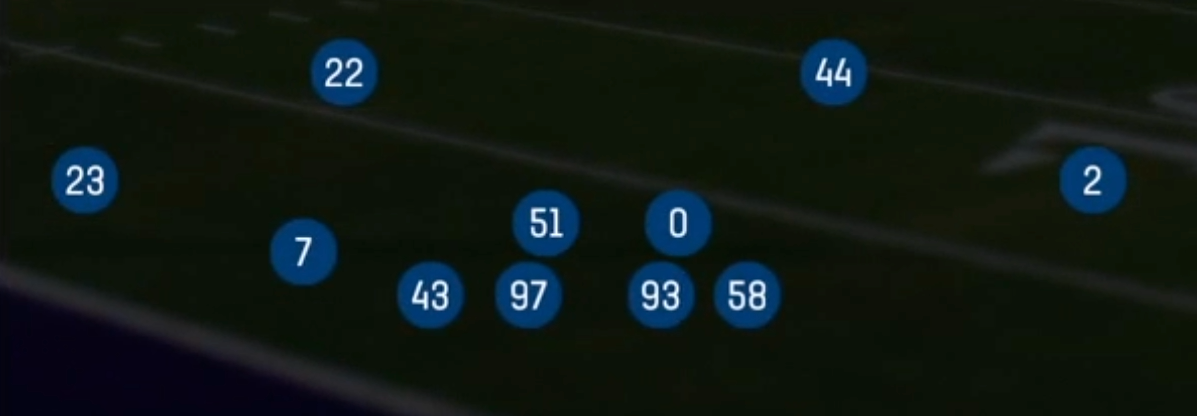
The Load set in the Nickel formation is a 4-2-5 defensive look built to play the run without leaving base personnel on the field. Its front is anchored by a NT, an RDT, and the RLE and RRE on the edges, with a SUBLB paired alongside the Mike and a SLCB who can walk down toward the box. Compared to standard Nickel sets that align the slot corner wide and the linebackers in a traditional two-deep stack, Load compresses the second level. That lets you fill interior gaps against 11 personnel inside zone and duo while keeping five defensive backs available to match spread receivers.
The playbook in this set is unusually deep for a single Nickel alignment. It covers every major shell: Cover 2 Man and Tampa 2 for two-high looks, Cover 3 Sky, Cover 3 Match, and Cover 3 Buzz Mable for single-high rotation, and Cover 4 Quarters, Cover 4 Palms, Cover 6, Cover 6 Willie, and Cover 9 for split-field and quarters answers. On the man side, Cover 1 Robber, Cover 1 Robber Pirate, and Cover 1 Robber Tom put a hole player underneath to rob crossers and dig routes. 1 Double Wr1, 1 Double Wr2, and Double Bracket let you take away a single elite target. For pressure, the set has 0 LB Cross Games, 1 LB Cross Games, LB 3 Seam Games, and Overload 3 Seam, which layer linebacker stunts on top of the four-man front.
Load is effective against spread offenses that try to isolate their best receiver or run RPOs off the slot defender. Because the SLCB sits near the box, offenses that read the overhang for their RPO give or pull get a muddier picture pre-snap. The bracket and double calls let you erase a matchup like a WR1 on the backside of a 3x1 set. The same alignment that loads the box also disguises whether the slot defender is carrying the seam, blitzing, or spinning into a robber role, which is the core value of the set.
Strengths
- Double Bracket, 1 Double Wr1, and 1 Double Wr2 let you erase a single elite receiver, forcing the opponent off his first read on isolation concepts like a backside dig or go route against a 3x1 look.
- Cover 1 Robber, Cover 1 Robber Pirate, and Cover 1 Robber Tom put a defender in the hole to jump mesh, drive, and shallow cross concepts, which are the most popular man beaters in competitive Madden.
- The SLCB aligned near the box, paired with the SUBLB, gives you a sixth run fitter against 11 personnel without subbing out a defensive back. This slows inside zone, counter, and RPO give reads.
- The complete shell menu (Cover 2 Man, Tampa 2, Cover 3 Match, Cover 3 Buzz Mable, Cover 4 Palms, Cover 6 Willie, Cover 9) comes from one pre-snap look, so opponents cannot identify coverage from alignment and must read post-snap.
- LB 3 Seam Games and the Cross Games calls generate interior pressure through linebacker stunts while keeping coverage integrity. That is ideal for forcing quick throws into robbed windows without exposing a Cover 0 hole.
Weaknesses
- With the SLCB walked down, outside leverage on the slot is weak. Quick outs, speed outs, and wheel routes from the slot can beat him before he gets width, especially against a speed receiver.
- The pressure menu relies on stunts and seam games rather than true fire zones or sim pressures. Offenses with good protection and a quick game can neutralize it, and without a user making plays, the rush often gets home late.
- 0 LB Cross Games leaves no deep help. One flat route hot routed to a streak, or a slot fade against a mismatched defender, can go for six if the pressure does not arrive.
- Cover 3 Sky and Cover 3 Match can be stressed by four verticals and seam concepts because the buzz and curl flat defenders start close to the line and struggle to carry vertical routes.
- Heavy 21 and 22 personnel power runs can still overwhelm five defensive backs at the point of attack. Opponents who see Load repeatedly will run gap scheme runs at the nickel defender.
Usage Tips
When an opponent keeps targeting one receiver on third down, call Double Bracket or 1 Double Wr1 and user the robber or deep safety over the most likely secondary target. This forces a slower progression and often a checkdown short of the sticks.
Against mesh, drive, or cross heavy playbooks, alternate between Cover 1 Robber Pirate and Cover 1 Robber Tom so the hole defender's landmark changes. Use your user defender to sit in the crossing lane at a depth of about six to eight yards.
On early downs against 11 personnel RPO and zone read teams, use Cover 3 Buzz Mable or Cover 6 Willie. The loaded slot defender fills the run while the rotation still takes away the quick slant or bubble tag on the RPO.
On third and long, show a two-high shell pre-snap, then call LB 3 Seam Games or Overload 3 Seam. Apply shade adjustments (outside leverage on the slot, press on the boundary WR) to take away the quick hot route, and let the stunt create a free rusher.
If the offense motions into a stack or bunch, audible to Cover 4 Palms or Cover 9 so your corners and safeties can pass off routes cleanly. Avoid the Cover 1 Double calls against bunch, since pick routes against man coverage will beat them.
Plays (20)
 0 LB Cross GamesCover 0, Line Stunt, Man Coverage
 1 Double Wr1Cover 1, Double Wr1, Man Coverage
 1 Double Wr2Cover 1, Double Wr2, Man Coverage
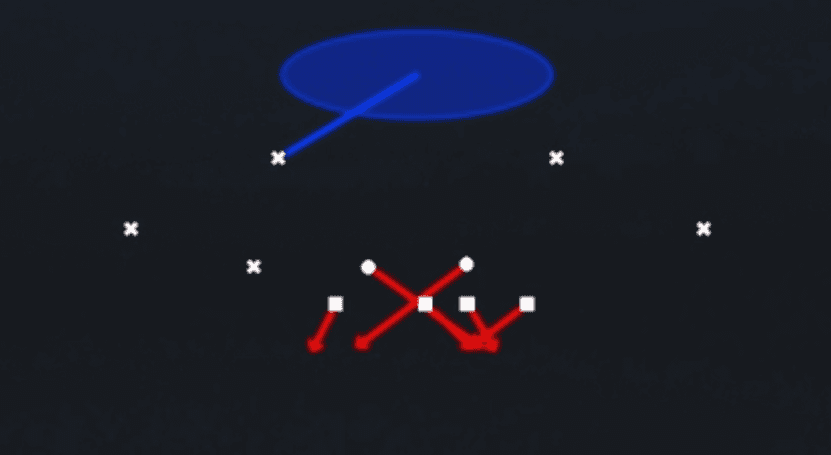 1 LB Cross GamesCover 1, Line Stunt, Man Coverage
 Cover 1 RobberCover 1, Cover 1 Robber, Man Coverage
- Cover 1 Robber PirateCover 1, Cover 1 Robber, Man Coverage
- Cover 1 Robber TomCover 1, Cover 1 Robber, Man Coverage
 Cover 2 ManCover 2 Man, Man To Man, Man Coverage
 Cover 3 Buzz MableCover 3, Cover 3 Buzz, Zone Coverage
 Cover 3 MatchCover 3, Cover 3 Match, Zone Coverage
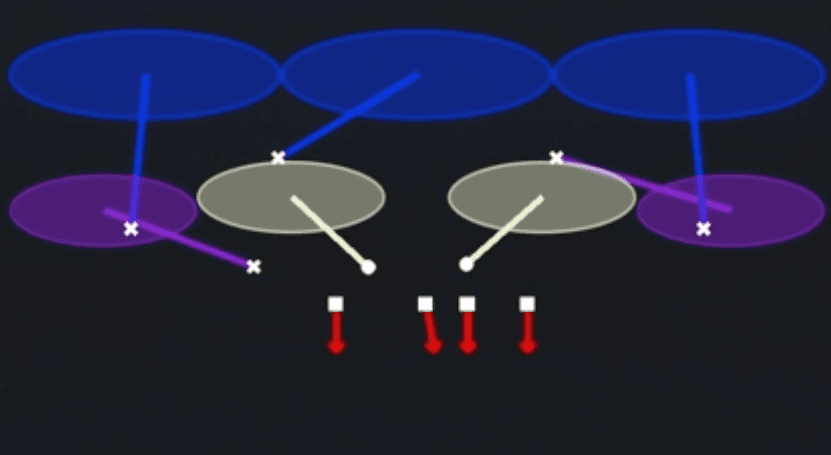 Cover 3 SkyCover 3, Cover 3 Sky, Zone Coverage
 Cover 4 PalmsCover 4, Cover 4 Palms, Zone Coverage
 Cover 4 QuartersCover 4, Quarters, Zone Coverage
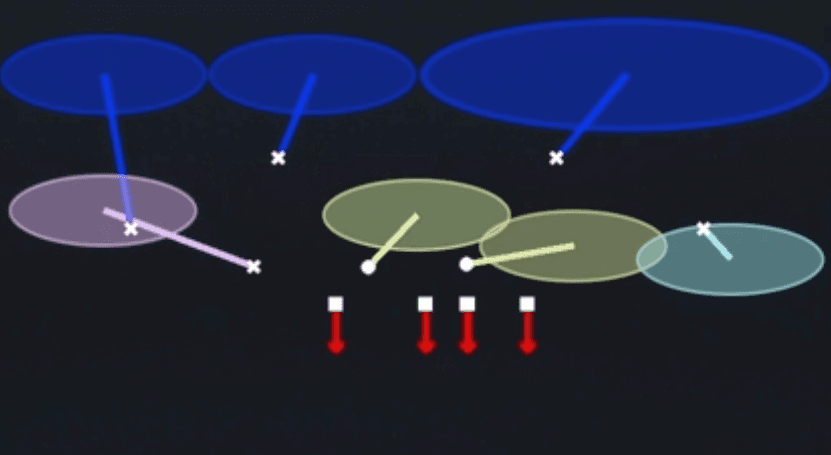 Cover 6Cover 6, Zone Coverage
 Cover 6 WillieCover 6, Zone Coverage
 Cover 9Cover 9, Zone Coverage
 Double BracketMan To Man, Man Coverage
 LB 3 Seam GamesCover 3, Line Stunt, Zone Coverage
 Overload 3 SeamCover 3, Overload Blitz, Zone Coverage +1
 Tampa 2Cover 2, Tampa 2, Zone Coverage