Playbooks
Likely unavailable in the playbook builder
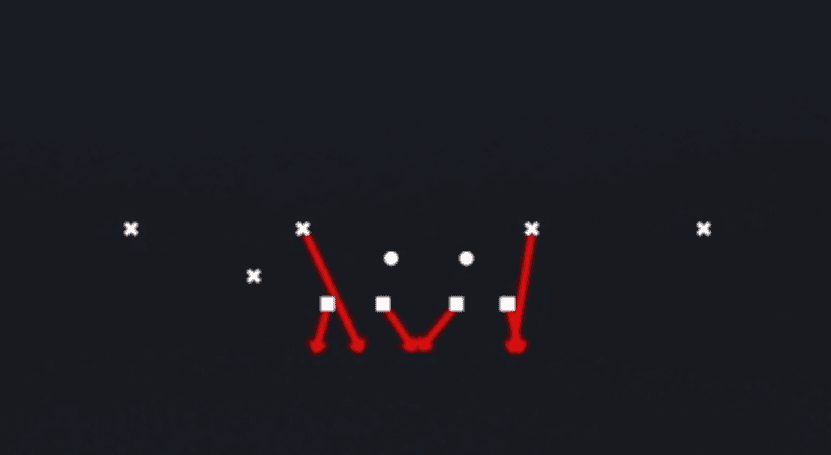
Quick Reference
Not in any team playbook.
Breakdown
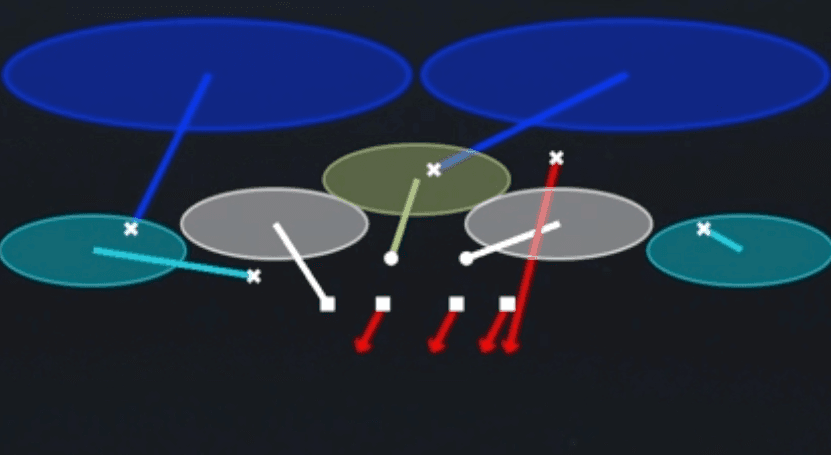
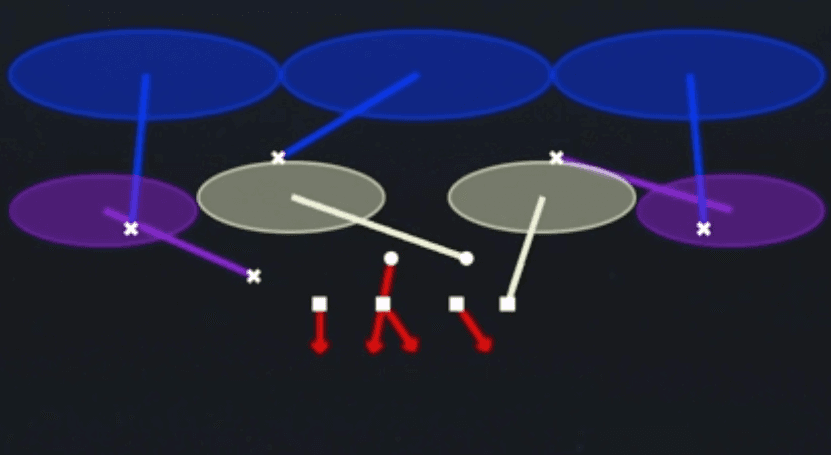
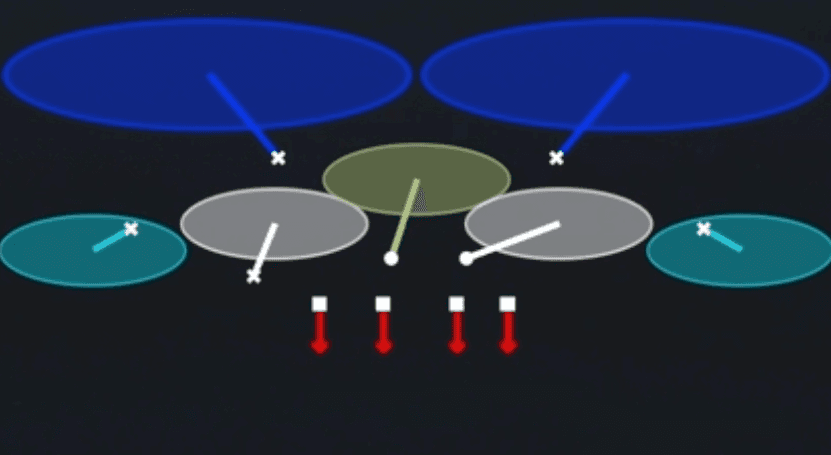
Dbl Safety Blitz brings both safeties down into the box off the diagram, adding two extra rushers to the front while the three linebackers spike downhill from depth, giving you a five and six man pressure look out of Nickel 3-3 Over. The two outside linebackers crash off the edges while the middle defender fills the A or B gap, creating a条 crossing blitz path designed to collapse the pocket before the quarterback can climb it. This is a pure blitz package, not a coverage shell play, and the primary read is simply the fastest home run path off the edge or through the vacated interior gap since there is no zone drop or man matchup shown, only rush lanes.
Defensive Reads
Pre-snap, check if the offense has a running back or tight end releasing into the vacated middle since that is the first hot route answer against this blitz. Watch receiver splits and motion, if the offense shifts a slot receiver across the formation they may be trying to identify the blitz before the snap and will audible to a screen. This look is vulnerable to hot route slants and quick outs thrown into the space the safeties vacated, so if you see trips or bunch formations be ready for a fast throw underneath. Post-snap, if the quarterback climbs the pocket instead of stepping up into the rush lane, your spy or the trailing linebacker needs to close fast since there is no deep help behind this blitz. This beats slow developing play action and deep drop back concepts but gets exposed by quick game, screens, and hot routes that attack the vacated intermediate zones instantly.
Usage Tips
Use this on third and long or in two minute situations when you know the offense has to hold the ball for a deeper route and cannot check into a quick game answer.
Pre-snap, motion the offense with a receiver or back to confirm man versus zone before you commit, because if the defense shows blitz and the QB has a hot route to the vacated area you will get burned instantly.
Combine this with Cover 1 LB Blitz or Edge Blitz 0 in the same set so the offense cannot key blitz tells purely off safety depth, since both safeties are already down here.
User the middle rusher through the vacated A gap since that is your fastest interior pressure path and can bait a bad throw under duress.
Save this call for after you have shown a soft zone shell like Cover 3 Cloud or Cover 2 Roll earlier in the game so the sudden two safety crash catches the offense off guard.
Other Plays in 3-3 Over
 1 Double SlotCover 1, Man Coverage
 1 Double TECover 1, Double Te, Man Coverage
 1 Double WR1Cover 1, Double Wr1, Man Coverage
 1 Double WR2Cover 1, Double Wr2, Man Coverage
- Bracket 9 Switch
 Bracket Switch WillieMan To Man, Man Coverage
 Cover 1 HoleCover 1, Cover 1 Hole, Man Coverage
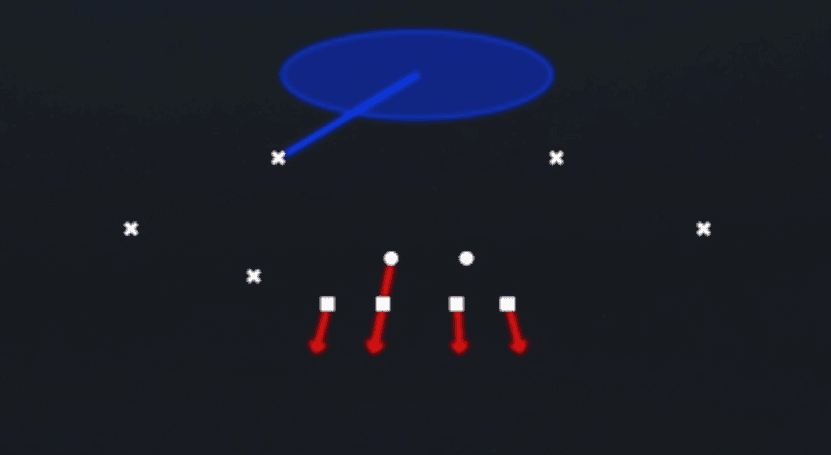 Cover 1 LB BlitzCover 1, Blitz, LB Blitz +1
 Cover 1 RobberCover 1, Cover 1 Robber, Man Coverage
 Cover 2 InvertCover 2, Inverted Coverage, Zone Coverage
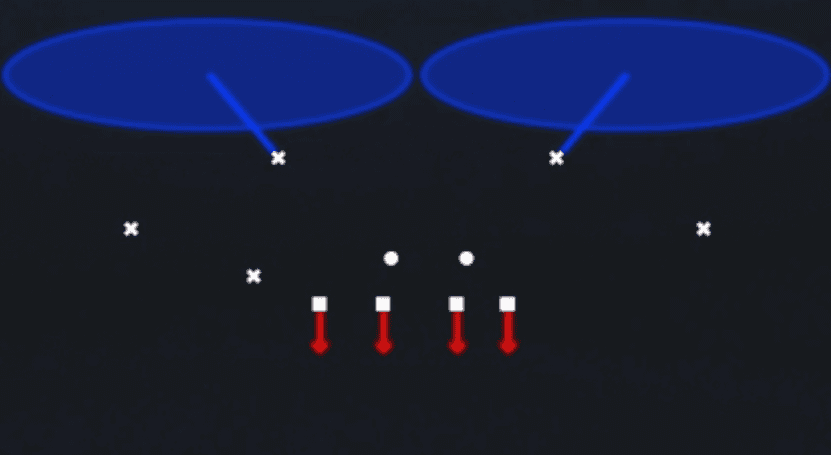 Cover 2 ManCover 2 Man, Man To Man, Man Coverage
- Cover 2 Match
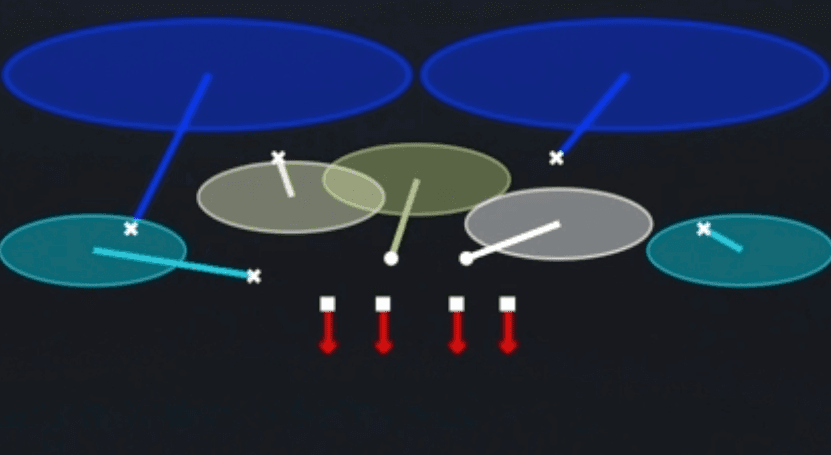 Cover 2 RollCover 2, Zone Coverage
 Cover 3 Buzz MableCover 3, Cover 3 Buzz, Zone Coverage
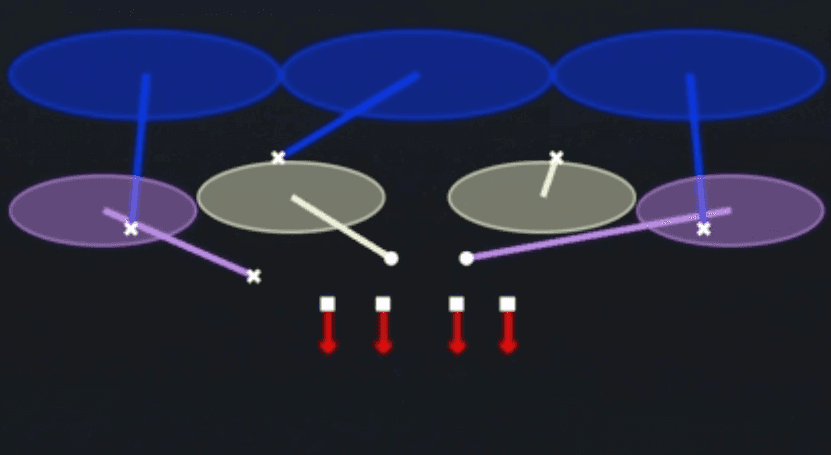 Cover 3 Buzz MatchCover 3, Cover 3 Buzz, Cover 3 Match +1
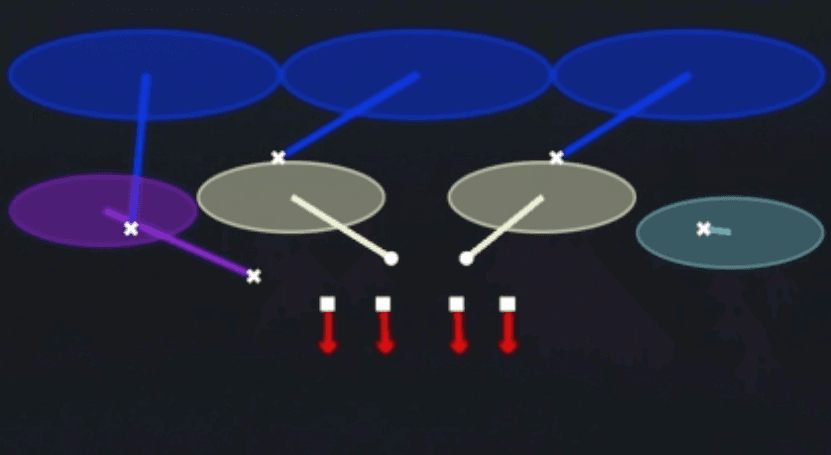 Cover 3 CloudCover 3, Cover 3 Cloud, Zone Coverage
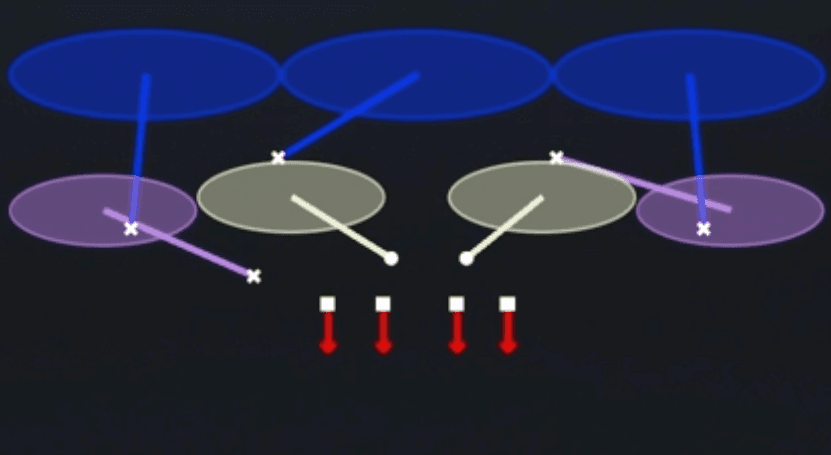 Cover 3 MatchCover 3, Cover 3 Match, Zone Coverage
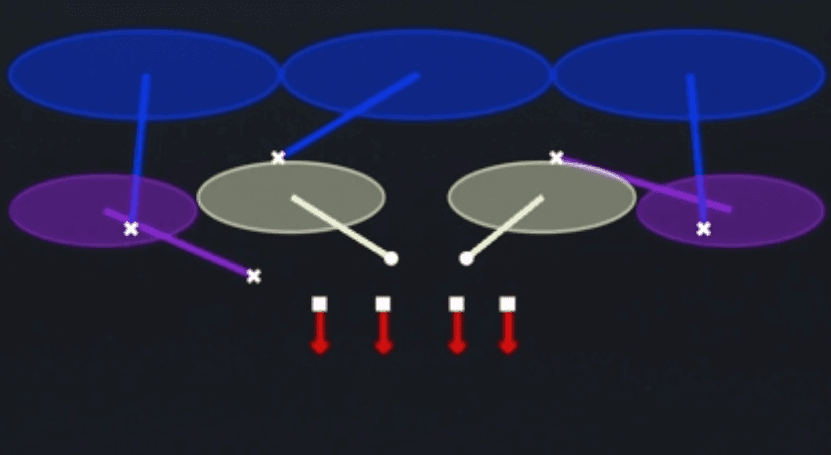 Cover 3 SkyCover 3, Cover 3 Sky, Zone Coverage
 Cover 4 Drop FieldCover 4, Zone Coverage
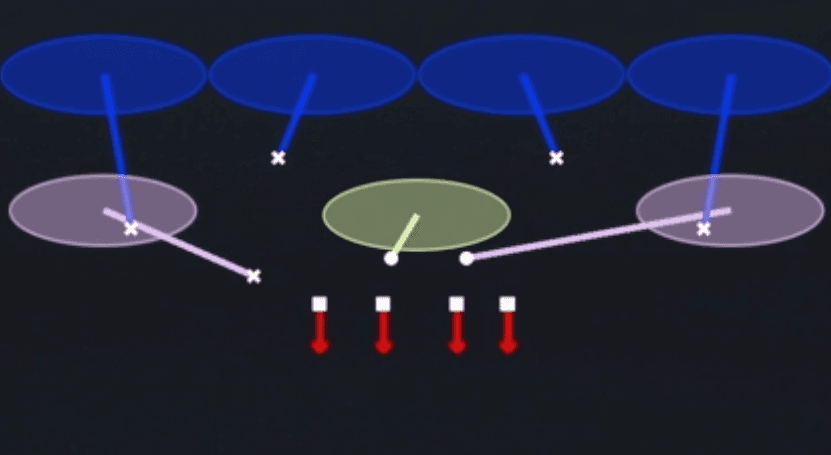 Cover 4 PalmsCover 4, Cover 4 Palms, Zone Coverage
 Cover 4 QuartersCover 4, Quarters, Zone Coverage
 Cover 6Cover 6, Zone Coverage
 Cover 6 WillieCover 6, Zone Coverage
- Cover 9 Sammie
 Cover 9 Show 2Cover 9, Zone Coverage
 Cross Sim 2Cover 2, Simulated Pressure, Line Stunt +2
 Double BracketMan To Man, Man Coverage
 Double Bracket SwitchMan To Man, Man Coverage
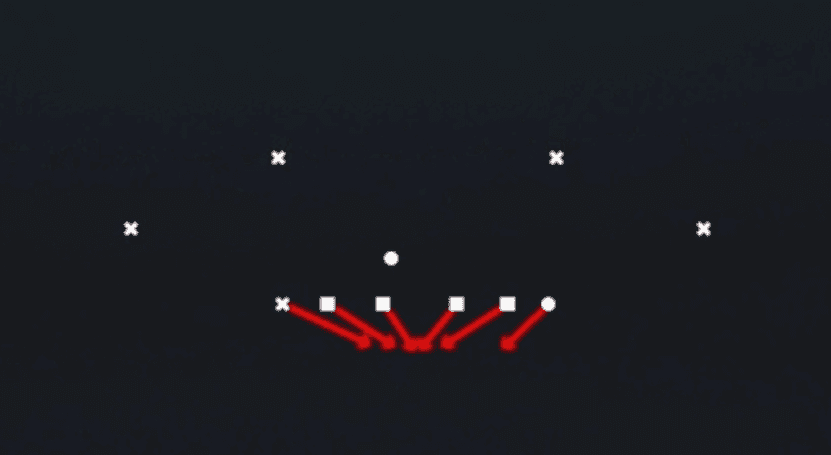 Edge Blitz 0Cover 0, Blitz, Edge Blitz +2
 Edge Blitz 3Cover 3, Blitz, Edge Blitz +1
 Field Sim 3Cover 3, Simulated Pressure, Zone Coverage +1
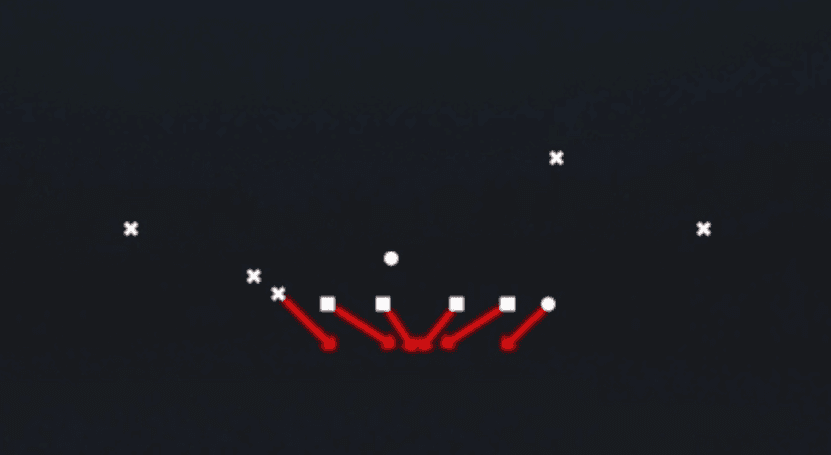 FS Will Blitz 0Cover 0, Blitz, LB Blitz +3
 Nickel 2 TrapCover 2, Trap Coverage, Zone Coverage
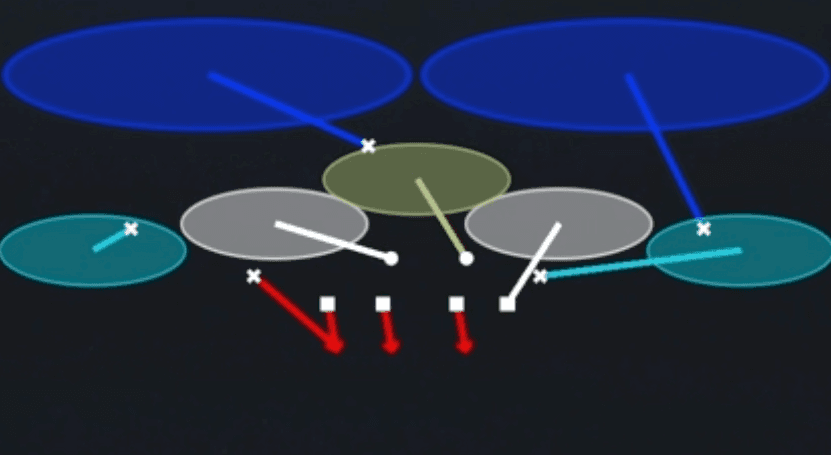 Nickel Sim 2Cover 2, DB Blitz, Simulated Pressure +2
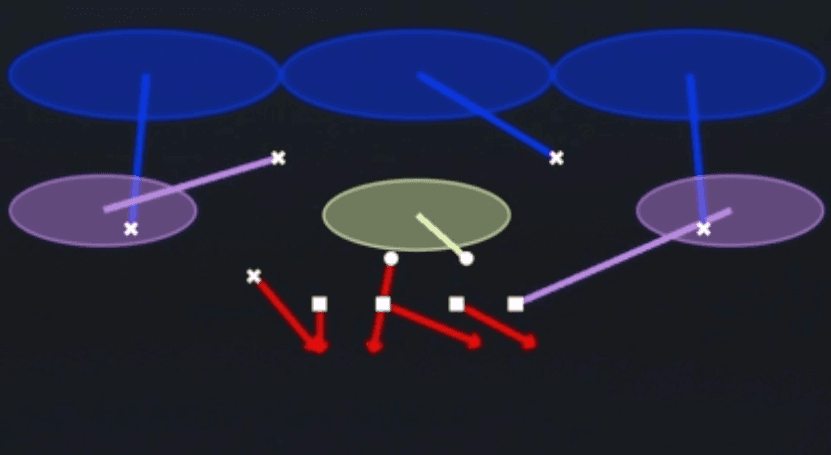 Overload 3 Seam Show 2Cover 3, Overload Blitz, Zone Coverage +1
 Over Storm BraveBlitz
- Pounder
- Roll 23 Cloud
- Roll Cover 2 Invert
- Roll Cover 3 Cloud
- Roll King
- Roll Ring
 Safety Strong 3Cover 3, Zone Coverage
 Show SS Sim 2Cover 2, Simulated Pressure, Zone Coverage +1
 Silver Shoot PinchBlitz, Pinch
 Sim Pressure 3Cover 3, Simulated Pressure, Zone Coverage +1
 Tampa 2Cover 2, Tampa 2, Zone Coverage