Playbooks
At a Glance
In 1 playbook
Overview
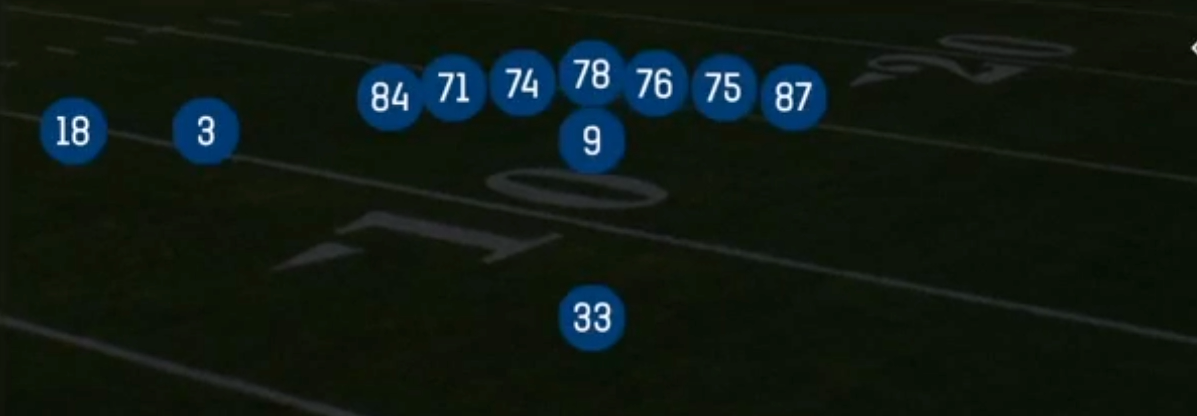
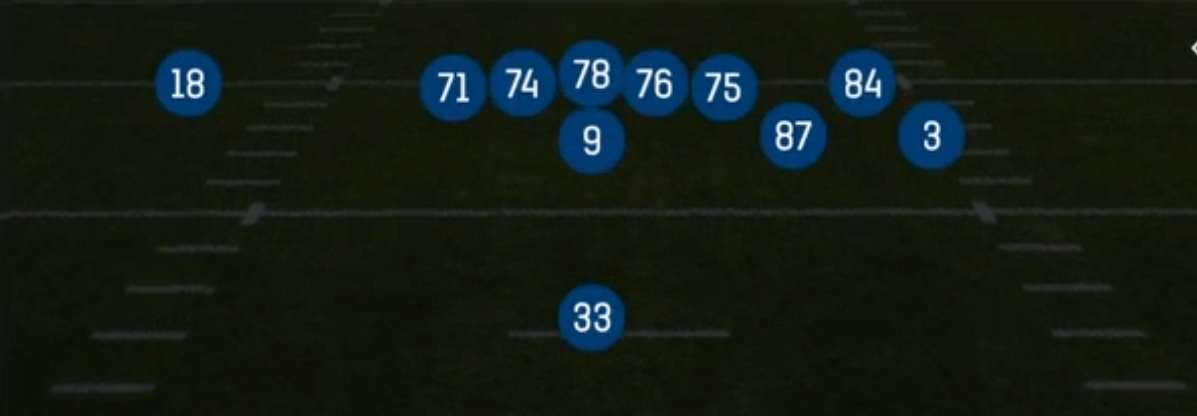
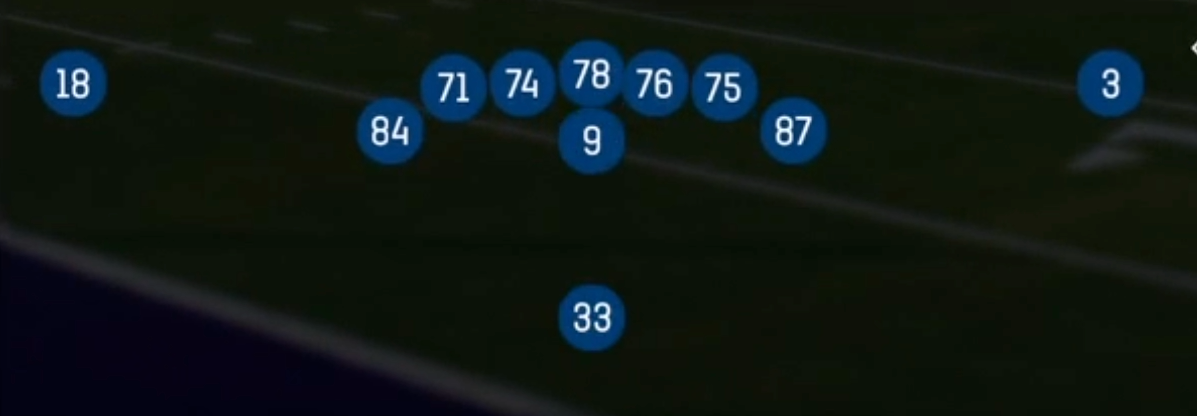
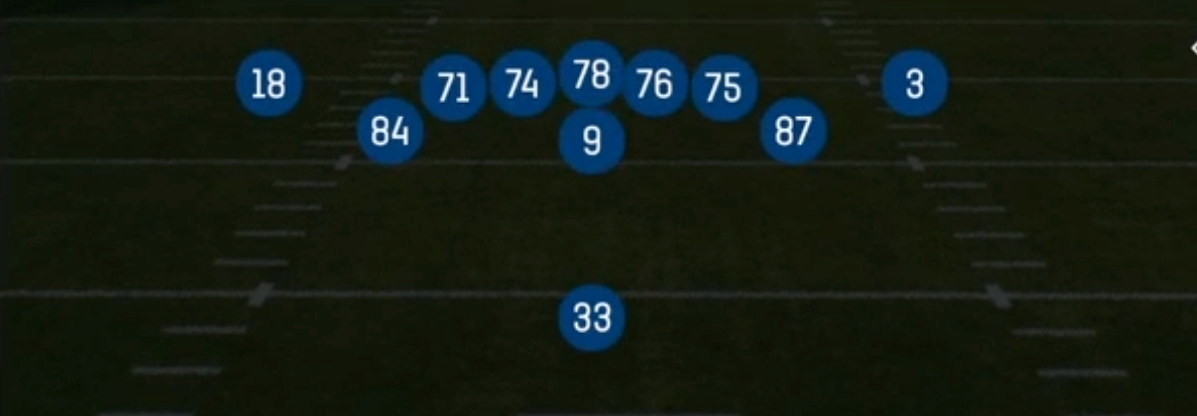
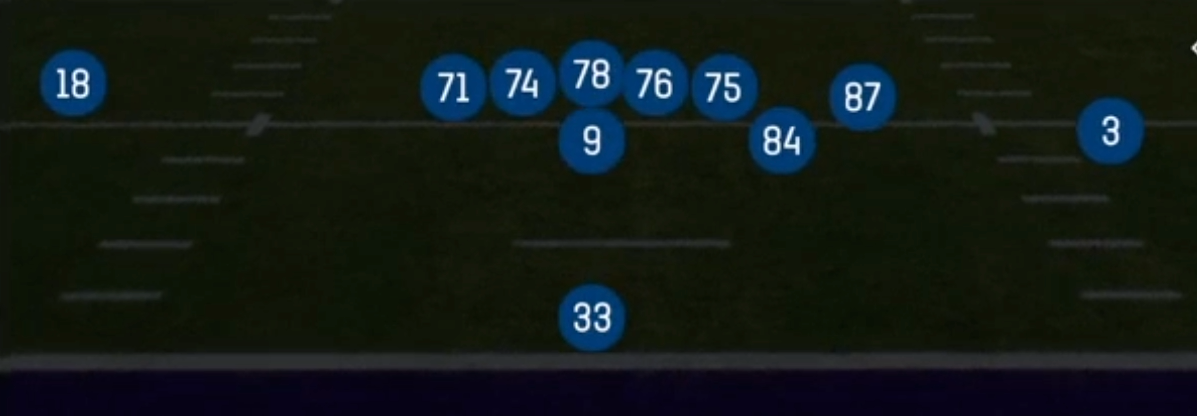
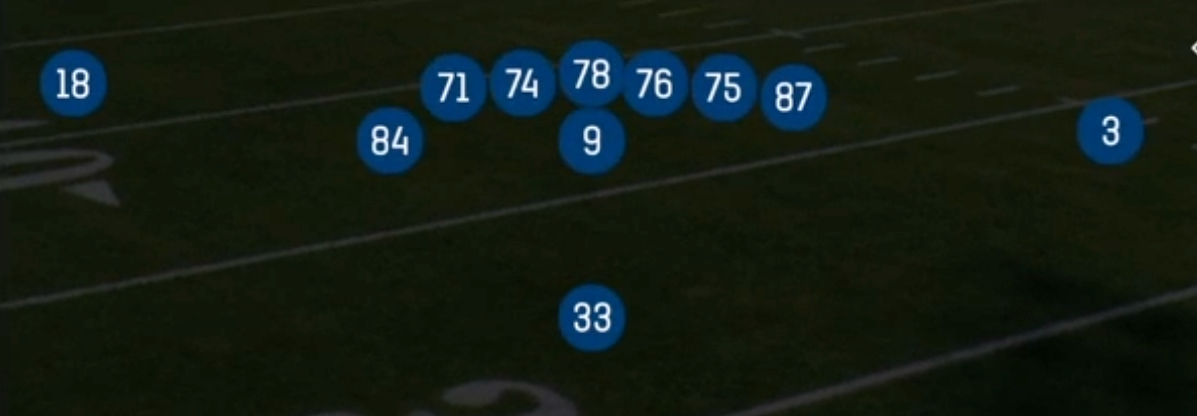
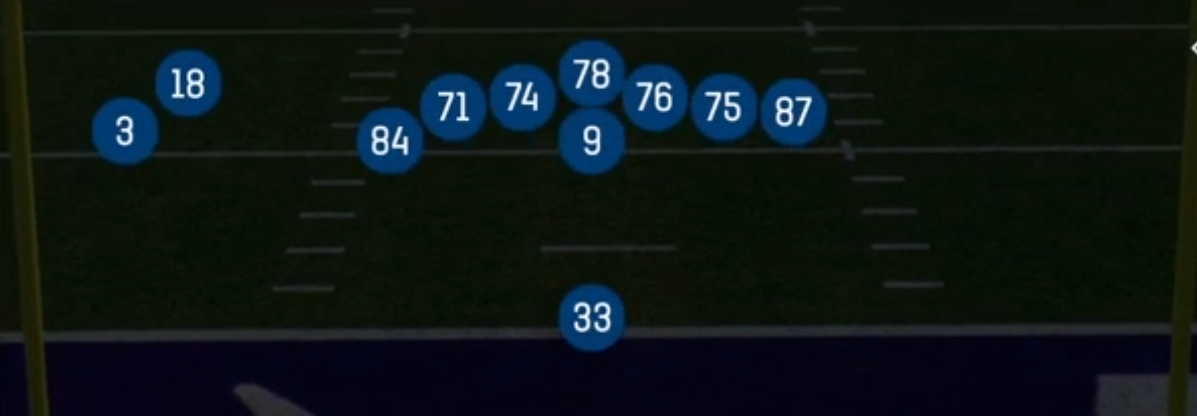
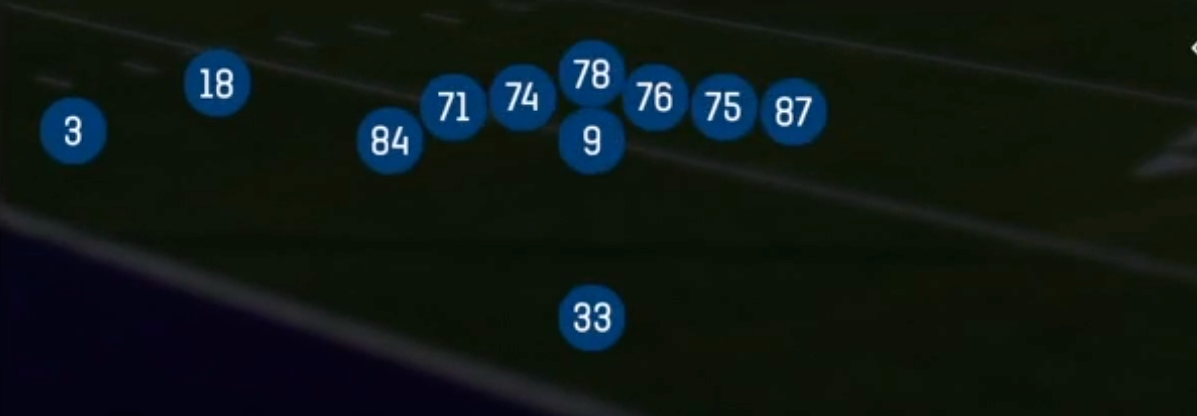
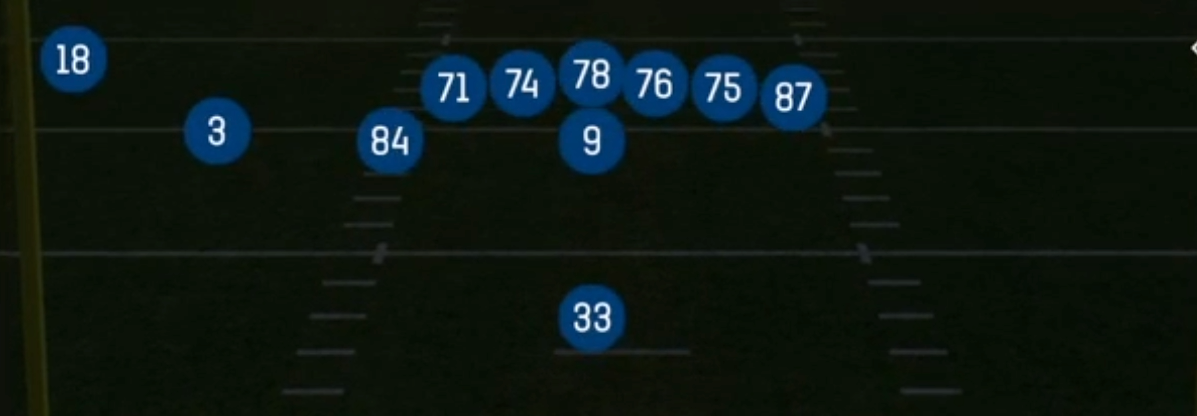
Wing Slot Over is a 12 personnel set in the Singleback formation built on an overload look. One tight end aligns on the wing, just off the edge of the tackle, and the second tight end flexes into the slot on the same side. That stacks two in-line blockers and a receiving threat to the strength of the formation. The two wide receivers split outside, which leaves the backside receiver isolated in a 3x1 style picture that still carries the run-blocking weight of a heavy package. Standard Singleback Ace or Tight sets show the defense a balanced look. Wing Slot Over tips the formation strength on purpose and dares the defense to declare its answer before the snap.
The set is effective because it creates conflict for the defense's personnel decision. Base defenses that match 12 personnel with linebackers leave a linebacker or safety covering a flexed tight end in space. Nickel or dime that respects the slot alignment gets out-gapped by the wing tight end and the added edge blocker on zone runs. The wing alignment lets the tight end pull, arc, or split back across the formation. That is exactly what powers Inside Zone Split and gives the play-action game a believable run key.
The play art is small but connected, and every play shares the same presnap picture and early backfield action. Wide Zone Wk and Inside Zone Split set up PA Middle and PA Boot. HB Stretch Alert Bubble gives you a built-in answer when the defense cheats a defender into the box. That Gadget tag reflects the constraint-based design: the set wins by making one look carry run, play-action, and quick-screen threats at the same time.
Strengths
- The overload to the wing and slot side forces a presnap declaration, and base defenses that stay in linebacker personnel leave a linebacker in man on the slot tight end, which PA Middle and PA Boot punish.
- Inside Zone Split uses the wing tight end crossing the formation to kick out or seal the backside edge, creating clean cutback lanes against defenses that overpursue the strength side.
- PA Boot sells the zone action, then rolls the QB to the flat with a crosser and flat option, making it a premier man beater against Cover 1 and a flood-style answer to Cover 3 when the flat defender bites on the run fake.
- HB Stretch Alert Bubble gives you a presnap and postsnap answer: if the defense rolls a safety down or loads the box, the bubble to the perimeter outnumbers the flat defender and punishes the added box body.
- With the backside receiver isolated in a 3x1 style look, you can read single-high rotation immediately and hot route that receiver to a slant or fade against press man when the safety rotates to the strength.
Weaknesses
- The play count is thin, so strong opponents quickly learn the tendency of this set and can sit on the zone run and play-action sequence once they see the formation a few times.
- Edge pressure from the boundary side, especially a nano blitz off the short side, arrives before PA Boot can finish its rollout, forcing throwaways or sacks since the backside offers little protection help.
- A user-controlled linebacker or safety who reads the wing tight end motion can shoot the cutback lane on Inside Zone Split or rob the crosser on PA Middle, killing both concepts with a single user read.
- Defenses that play Cover 2 match with a spy or user in the middle hook zone take away the main play-action window over the middle and force low-value checkdowns.
- Two tight ends on the field limit your ability to spread the defense horizontally, so against dime personnel that can still hold up in the run game you lose the space advantages that 11 personnel provides.
Usage Tips
Open drives with Wide Zone Wk and Inside Zone Split on first and 10 to establish the run key, then call PA Boot or PA Middle on the following first down once the linebackers start crashing on run action.
Read the box count presnap on HB Stretch Alert Bubble: if the defense shows six or fewer in the box, hand it off, and if a safety rotates down or the overhang creeps inside, throw the bubble immediately.
Against Cover 1 on PA Boot, hot route the backside isolated receiver to a streak or post to clear the free safety, then hit the crosser or flat as the QB breaks contain on the rollout.
On short yardage and second and medium, use the overload to motion the slot tight end back toward the formation or across, forcing the defense to adjust its strength call and exposing miscommunication in coverage or run fits.
If the opponent is keying you with a user in the middle, audible out of PA Middle into PA Boot to move the throwing window to the perimeter and away from the user-controlled defender.