Playbooks
Quick Reference
Breakdown
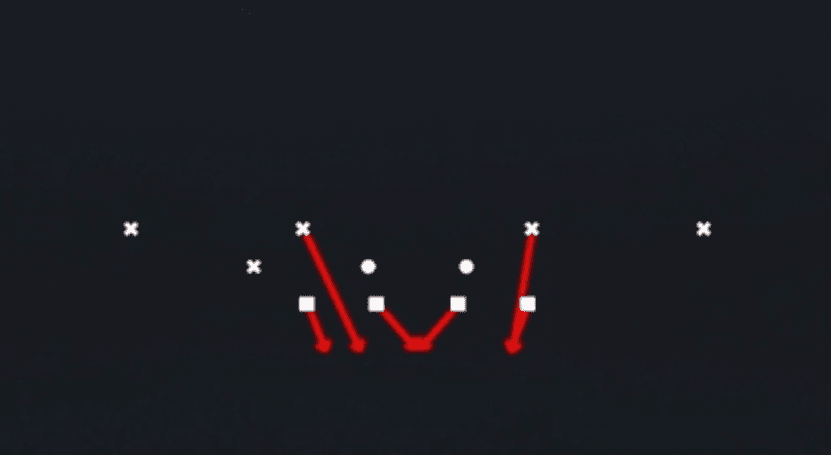
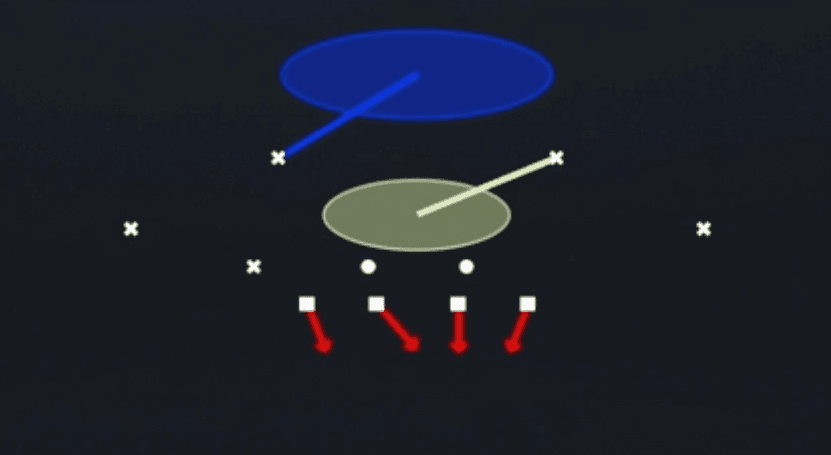
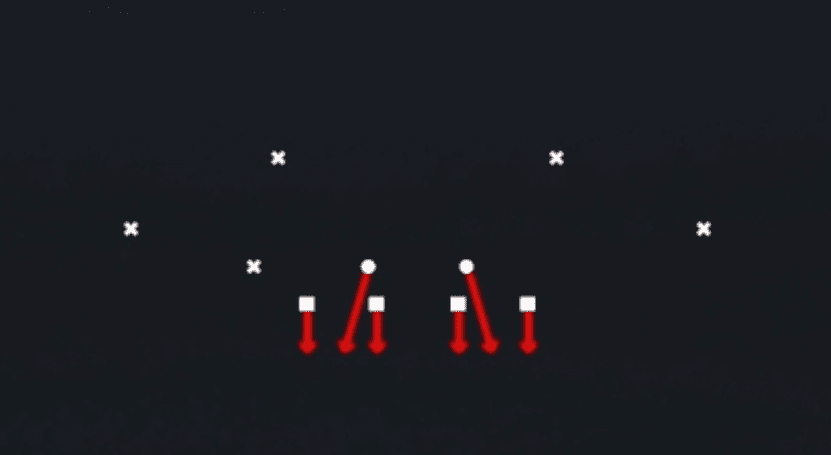
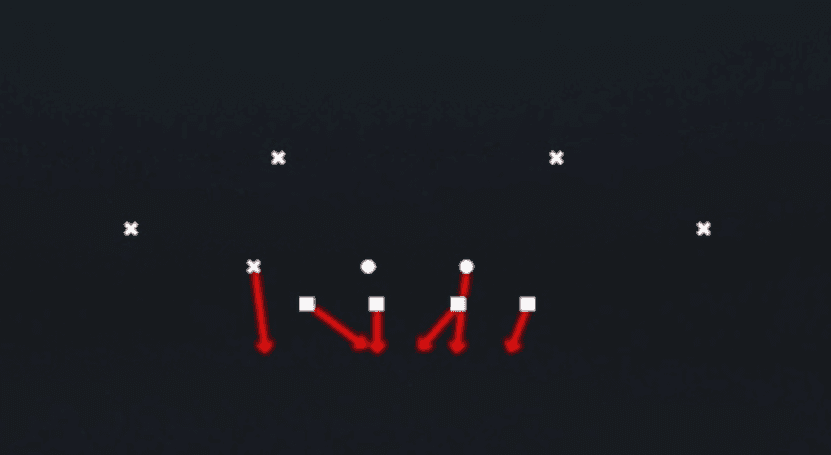
Dbl Safety Blitz brings both safeties down into the box off the diagram, with one crashing off the left slot and the other firing off the right edge to overload the underneath zones. The four defenders shown with in and out breaking arrows drop into a shallow zone shell (two curl/flat defenders on the outside, two collapsing to a shared shallow middle zone) to account for quick game while the two safeties add extra rushers. This is a zone blitz package designed to disguise pressure while still keeping four defenders underneath, and the primary read progression is to identify which safety triggers first off the snap, then scan the box for uncovered gaps since the underneath defenders are reacting to route breaks rather than manning up receivers.
Defensive Reads
Watch both safeties pre-snap for depth cues, if they are creeping toward the box before the snap the quarterback should expect an overload blitz and audible to a quick hitter or screen. Post-snap, key on which safety fires first, since the underneath zone defenders rotate to fill the vacated area and leave a brief window in the intermediate middle. This look is vulnerable to hot routes into the vacated deep middle and deep outside since only four underneath defenders remain to cover the whole field once both safeties commit. Man beater route combos with a quick out or slant against the flat zone defenders can exploit the natural conflict these zone droppers face when reacting late to blitz assignments. Against play-action, this blitz can get gashed if the offensive line sells run and the safeties overrun the play fake, so watch for a naked rollout attacking the side the safety vacated.
Usage Tips
Call this on early downs against offenses that like to run empty or spread sets, since the extra safety pressure can blow up shotgun run plays and quick game before it develops.
Pre-snap, identify if the offense has trips or bunch to one side and user the safety blitzing away from the strength to avoid getting picked off by natural rub routes.
Use this as a change-up after showing Cover 3 Cloud or Cover 4 Quarters from the same Nickel Wide set so the safety alignment looks identical until the ball is snapped.
Hot route the underneath zone defenders to widen slightly if you expect quick outs or flat routes, since the base zone drops shown are tight to the box.
Mix in Cover 1 LB Blitz and Nickel Blitz 3 from this same set to keep the quarterback guessing on where the extra rusher is coming from each snap.
Other Plays in Wide
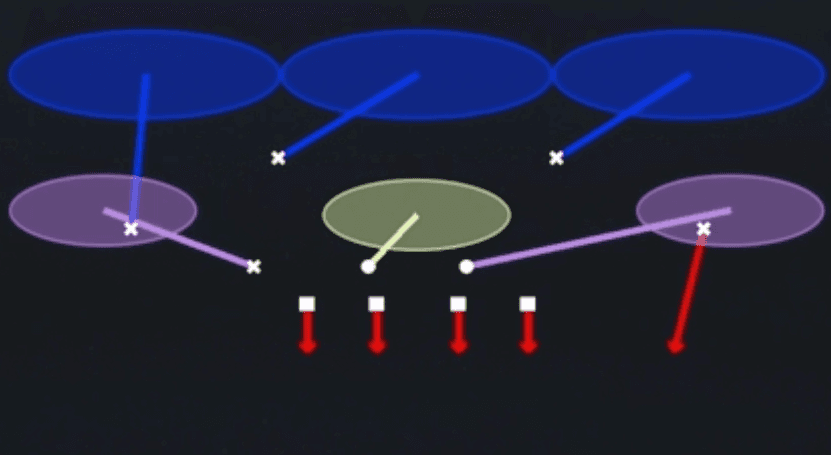 CB Zone Blitz PressZone, Blitz, Corner Blitz +2
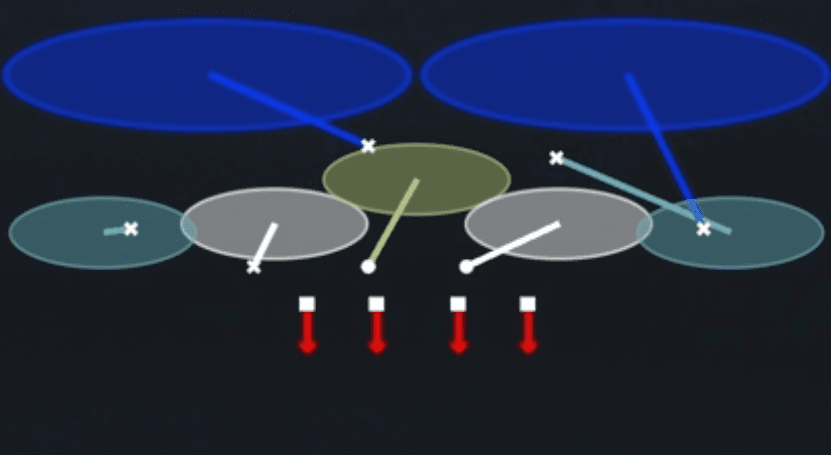 Cov 2 Invert Hard FlatCover 2, Inverted Coverage, Zone Coverage
- Cov 3 Buzz MatchCover 3, Cover 3 Buzz, Cover 3 Match +1
 Cov 3 Buzz Match WKCover 3, Cover 3 Buzz, Cover 3 Match +1
 Cover 1 HoleCover 1, Cover 1 Hole, Man Coverage
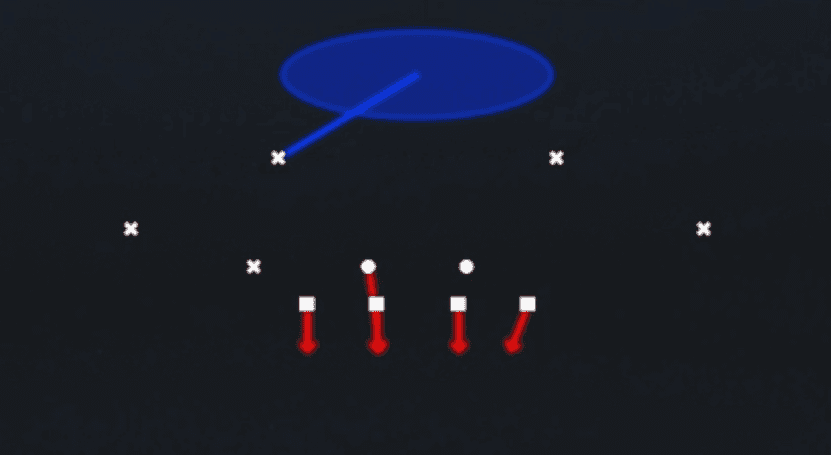 Cover 1 LB BlitzCover 1, Blitz, LB Blitz +1
 Cover 1 Robber PressCover 1, Cover 1 Robber, Press Man +1
 Cover 2 InvertCover 2, Inverted Coverage, Zone Coverage
 Cover 2 ManCover 2 Man, Man To Man, Man Coverage
 Cover 3 CloudCover 3, Cover 3 Cloud, Zone Coverage
 Cover 3 MatchCover 3, Cover 3 Match, Zone Coverage
- Cover 3 Sky KOCover 3, Cover 3 Sky, Zone Coverage
 Cover 3 Sky PressCover 3, Cover 3 Sky, Zone Coverage
 Cover 4 PalmsCover 4, Cover 4 Palms, Zone Coverage
 Cover 4 QuartersCover 4, Quarters, Zone Coverage
- Cover 4 Zone
 Cover 6Cover 6, Zone Coverage
- Cover 6 Zone
 Cover 9 Show 2Cover 9, Zone Coverage
- Cover 9 Zone
 Nickel 2 TrapCover 2, Trap Coverage, Zone Coverage
 Nickel Blitz 3Cover 3, Blitz, DB Blitz +1
 Over Storm BraveBlitz
 Silver Shoot PinchBlitz, Pinch
 Tampa 2 ContainCover 2, Tampa 2, Contain +1