Playbooks
Spacing Switch
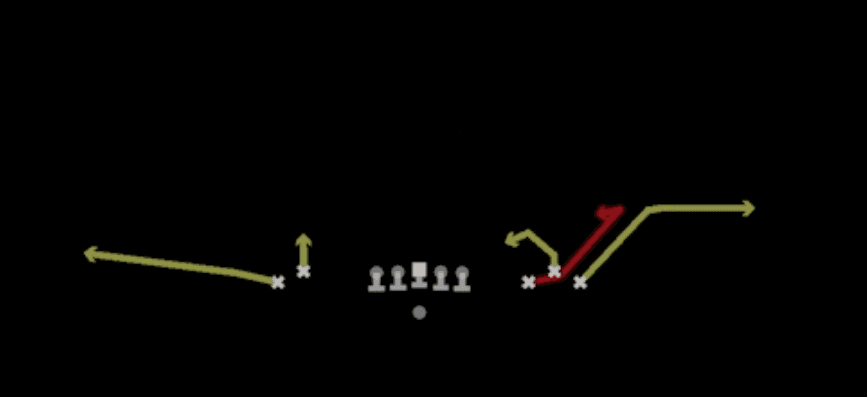
Quick Reference
Receiver routes
Depth-chart slots are shown as they line up in the base package for this set.
| Player | Side | Route |
|---|---|---|
| HB1 | Left | Flat |
| WR3 | Right | Smash |
| WR1 | Left | Stick Option |
| WR2 | Right | Out |
| TE1 | Right | Curl |
Read progression
- TE1 right, Curl
- HB1 left, Flat or WR1 left, Stick Option or WR2 right, Out
- WR3 right, Smash
Breakdown
Spacing Switch is run from the Empty Bunch Wide set out of Shotgun with 11 personnel, putting five receivers on the field and no back in the backfield to help identify blitzers pre snap. To the bunch side, two receivers execute a switch release where the inside man crosses the outside man's release point, with one working an out to the sideline and the other climbing vertically up the seam before settling, creating natural traffic for man defenders. On the opposite side, the two receiver stack releases with one running a quick out to the flat and the other running an in cut that sits down in the void, giving the quarterback a horizontal stretch read against zone coverage. This is a zone beater designed to attack Cover 3 and Cover 4 by finding grass in the underneath and intermediate zones, and the primary read progression starts with the switch concept isolation route before working back to the shallow in cut and flat route on the backside if the defense rotates coverage that way.
Defensive Reads
Watch for a base Cover 3 shell with the deep third defenders showing depth pre snap, since Spacing Switch is built to sit underneath those zones and put stress on the flat and curl defenders. Identify Cover 4 shells with two deep safeties splitting the field evenly, as this concept is designed to find the seam between the cornerback and safety zone drops on the switch release side. Key the flat defender and curl to flat defender post snap, since a user controlled defender jumping the switch release route or sinking too fast into the flat will open up the backside in cut for an easy completion. Be alert for disguised man coverage that shows off man or press pre snap, since man defenders trailing through the switch release create natural picks that this play does not fully exploit without a hot route adjustment. Watch for blitz packages that bring extra rushers off the edge, since the empty backfield alignment means there is no protection help and the quarterback must get the ball out quickly to the shallow in cut or flat route as a checkdown against pressure.
Usage Tips
Use this play on second and medium to third and short situations where defenses are more likely to sit in zone shells like Cover 3 or Cover 4 rather than bring pressure.
Before the snap, identify if the safeties are showing a two high or single high look, since Spacing Switch is designed to exploit the seams in three and four deep zone shells rather than beat man coverage directly.
If you see man coverage indicators like corners lined up tight with no cushion, consider hot routing the switch concept receivers into option routes or audible to a different man beater in the playbook to avoid the natural rub not translating into separation.
Combine this play with Deep Flood or Post Corner Read in your play-calling sequence to keep defenses honest, since both attack similar zone landmarks but stress the defense vertically instead of horizontally.
On money downs, key the flat defender first since the switch route isolation and the backside in cut both depend on that defender being late to react in the shallow zone.
Other Plays in Empty Bunch Wide
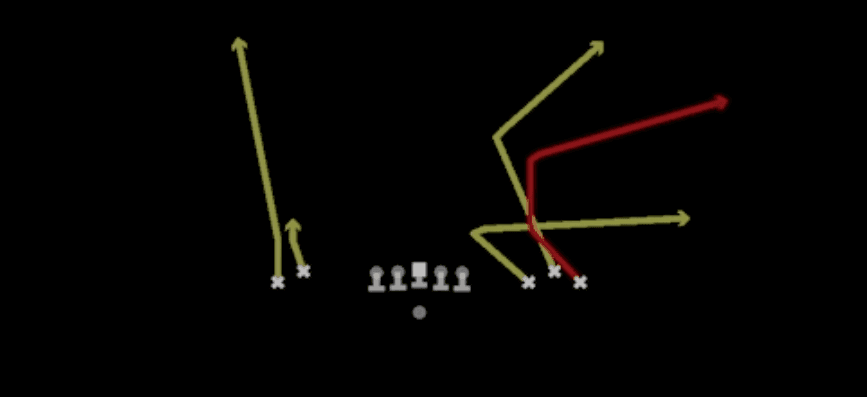 Deep FloodFlood, Pass Play, Cover 3 Beater +4
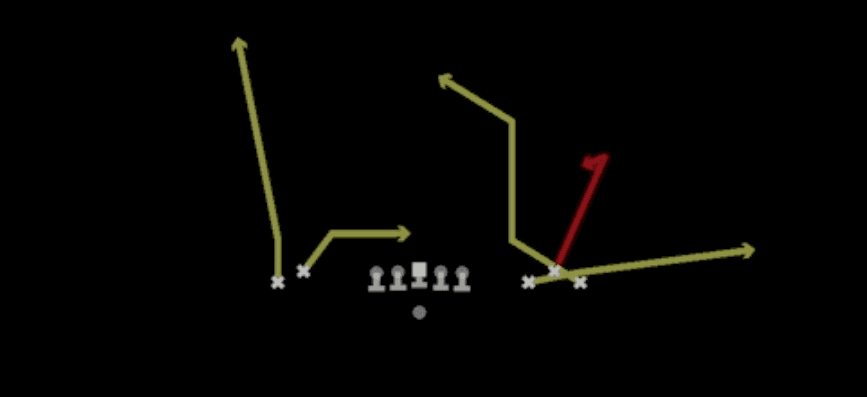 Drag CurlPass Play, Post, Flat +2
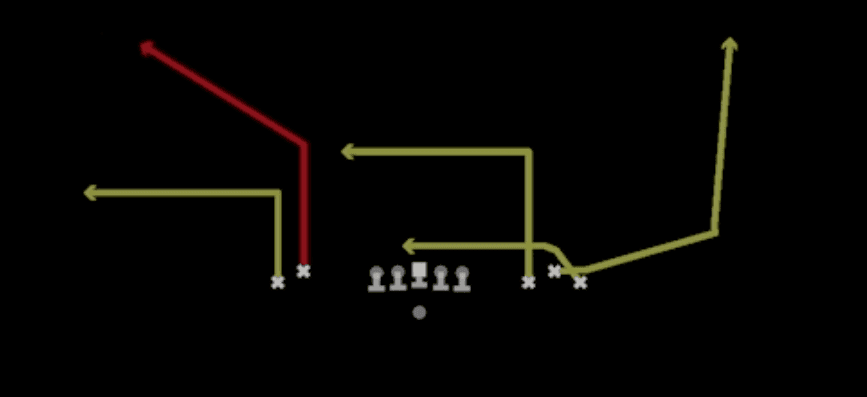 Drive WheelWheel, Drive, Pass Play +6
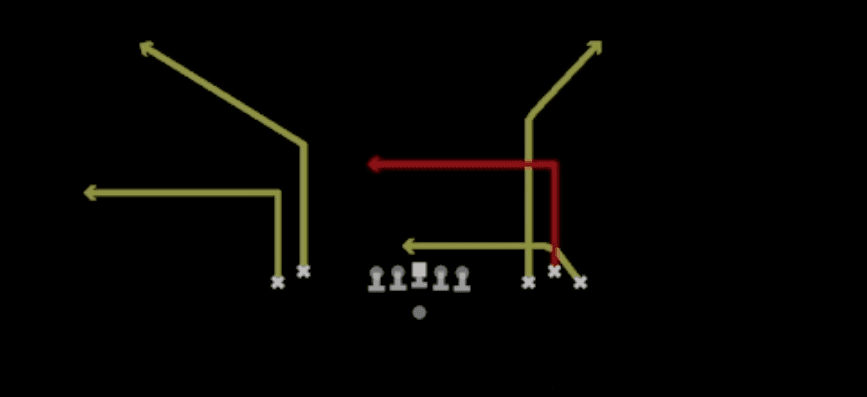 Drive Y CornerCorner, Drive, Pass Play +5
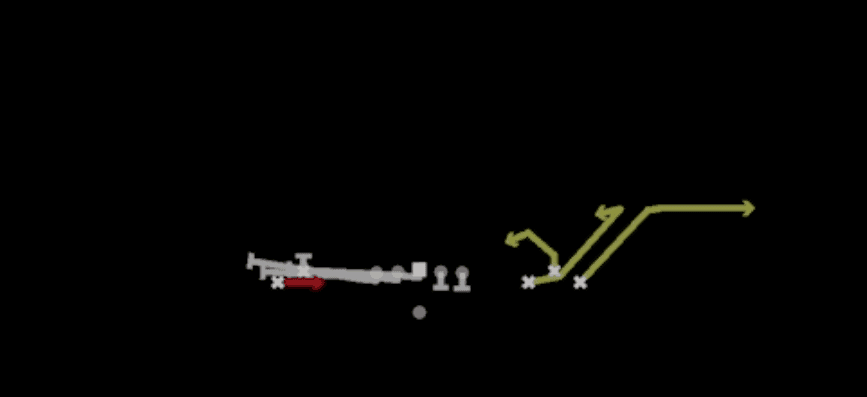 Jailbreak ScreenScreen Pass, Wr Screen, Pass Play +3
- Mtn Orbit Fk Swing ScreenScreen Pass, Swing, Option Route +6
- Mtn Orbit Swing ScreenScreen Pass, Swing, Slant +1
- Mtn Spacing DigDig, Curl, Option Route +2
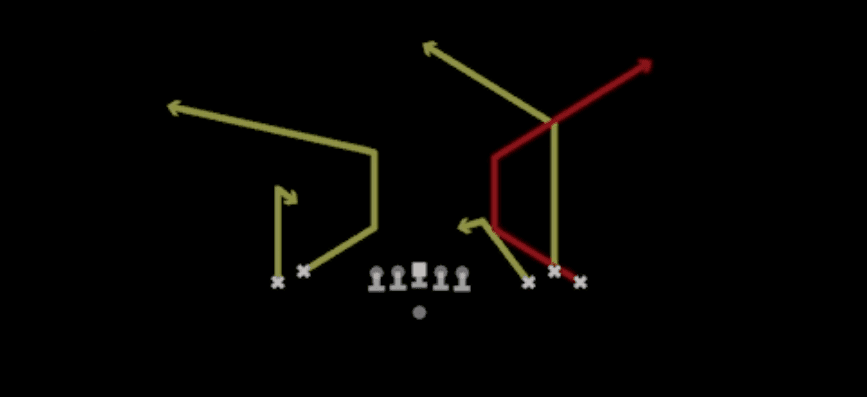 Post Corner ReadCorner, Post, Post Corner +4
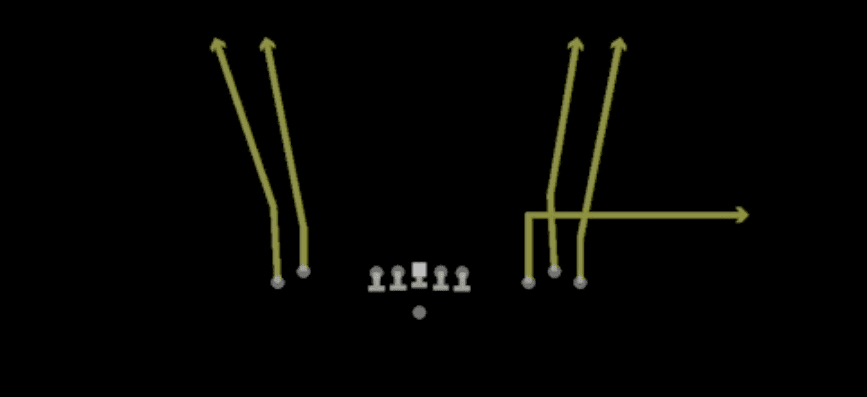 QB DrawDraw, Qb Draw, Designed Qb Run +1
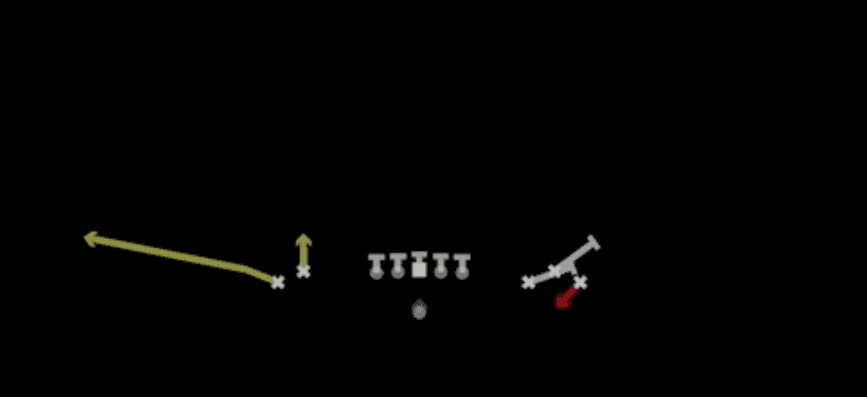 RPO Q Screen DrawDraw, Screen Pass, RPO +2
- RPO Screen QB DrawDraw, Qb Draw, Designed Qb Run +7
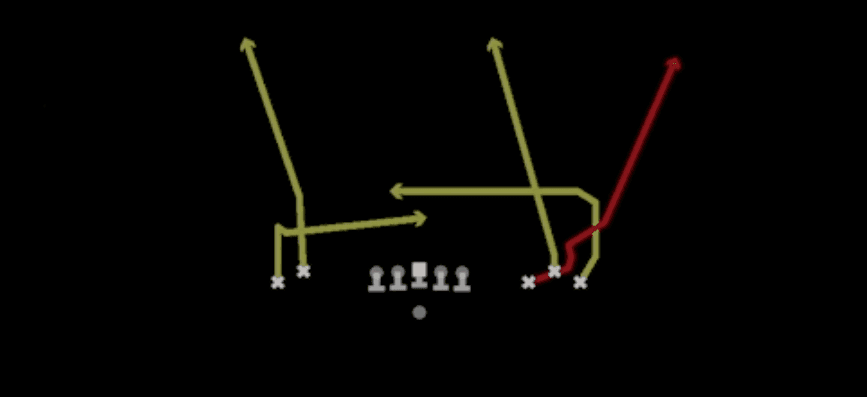 Stutter WheelWheel, Pass Play, Fade +2
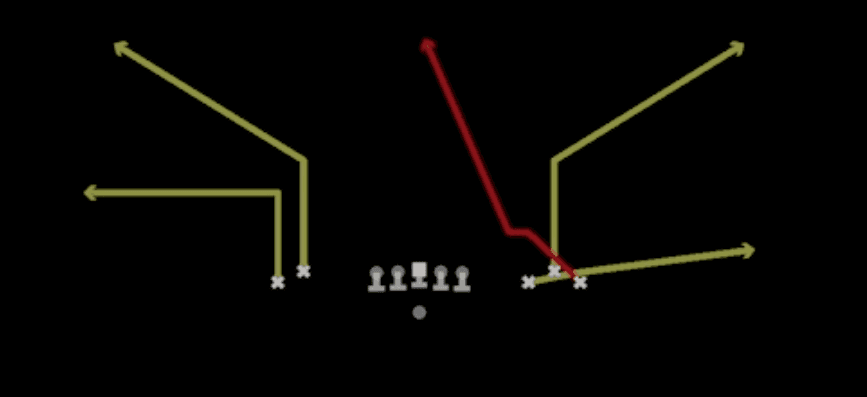 Z Spot N GoGo, Spot, Pass Play +5
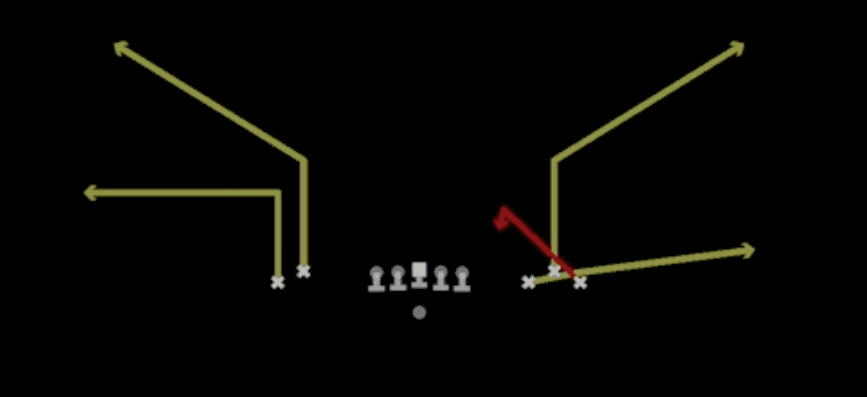 Z Spot SmashSmash, Spot, Pass Play +5