Playbooks

Quick Reference
Receiver routes
Depth-chart slots are shown as they line up in the base package for this set.
| Player | Side | Route |
|---|---|---|
| HB1 | Middle | Swing |
| TE2 | Left | Flat |
| WR2 | Left | Fade |
| WR1 | Left | Deep Out |
| TE1 | Right | Speed In |
Read progression
- WR1 left, Deep Out
- TE2 left, Flat
- TE1 right, Speed In
- WR2 left, Fade
- HB1, SwingCheck-down
Breakdown
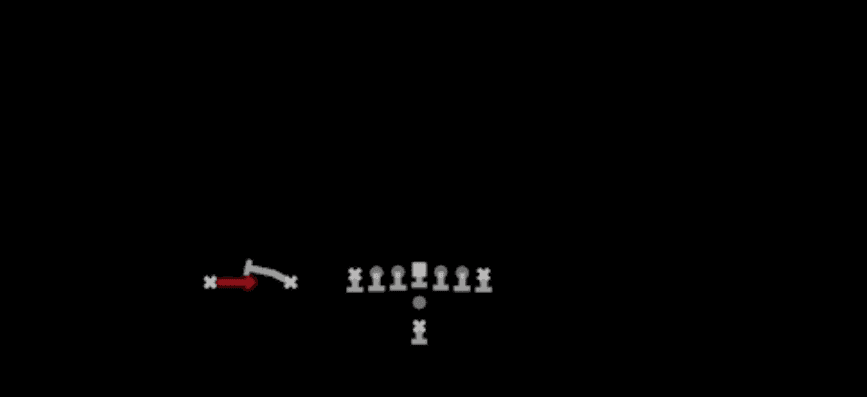
Flood from Pistol Ace Slot 12 personnel sends three levels to the left side while attacking the right flat with a TE Speed In, creating a true three-level flood concept designed to stress zone defenders horizontally and vertically. WR1 runs a Deep Out to occupy the deep third, TE2 works the underneath Flat, and WR2 stretches the boundary with a Fade, while TE1 crosses over the middle on a Speed In and HB1 releases as a Swing outlet checkdown. All five offensive linemen stay in to pass protect, giving the quarterback a clean pocket to work through this classic Cover 3 beater.
Defensive Reads
Identify a single high safety pre-snap, since Cover 3 and Cover 1 are the shells this Flood concept punishes hardest with its three-level stretch. Watch the flat defender on the left side. If he sinks with TE2 out of his backpedal, that usually signals zone coverage and opens a window for the Deep Out behind him. Key the deep third corner's leverage before the snap. Outside leverage invites the Deep Out, while inside leverage tips you toward the WR2 Fade up the sideline. Post-snap, track any user-controlled defender dropping into the flood zone or lurking in the throwing lane to the Speed In, since a smart user rotation can jump the middle read. This concept struggles against Cover 4 or two-high shells with disciplined zone drops, since the extra deep defender can help over the top and squeeze the Deep Out and Fade combo.
Usage Tips
Use this play on early downs or manageable third and medium situations where you have time to work through the flood side before checking down to the Swing.
Check the pre-snap safety shell first. A single high safety usually means Cover 3 or Cover 1, which is exactly what this Flood concept is built to shred.
If the corner over WR1 is playing off, expect the Deep Out to sit down in the soft spot of a zone corner's cushion, so throw with anticipation before he can drive on the route.
Hot route the HB1 Swing to a Stick or Flat conversion against overload blitzes off the right edge if you need a faster outlet than the design gives you.
Pair this call with Stick or PA FL Stretch out of the same Pistol Ace Slot formation to keep defenders guessing between quick game and the deeper flood shot, since both plays share pre-snap looks but attack different levels.
Other Plays in Ace Slot
- Freeze Counter Opt RtRun Play
- Freeze Option RtRun Play
 HB CounterCounter, Run Play, Power Run
 HB DiveDive, Run Play
 HB Power OPower, Run Play, Power Run
 HB SlamDive, Run Play
 HB Slip ScreenScreen Pass, Hb Screen, Pass Play +4
 PA BootPlay Action, Pass Play, Block and Release +4
 PA Ctr WagglePlay Action, Pass Play, Block and Release +3
 PA FL StretchPlay Action, Pass Play, Deep Cross +5
- QB BlastRun Play
 Read OptionRead Option, Run Play
 Slot UnderPass Play, Go, Swing +5
 SmashSmash, Pass Play, Cover 2 Beater +4
- Speed OptionRun Play
- Speed Option WkRun Play
 StickStick, Stick Concept, Pass Play +2
 Strong PowerPower, Run Play, Power Run
 WR ScreenScreen Pass, Wr Screen, Pass Play +1