Playbooks
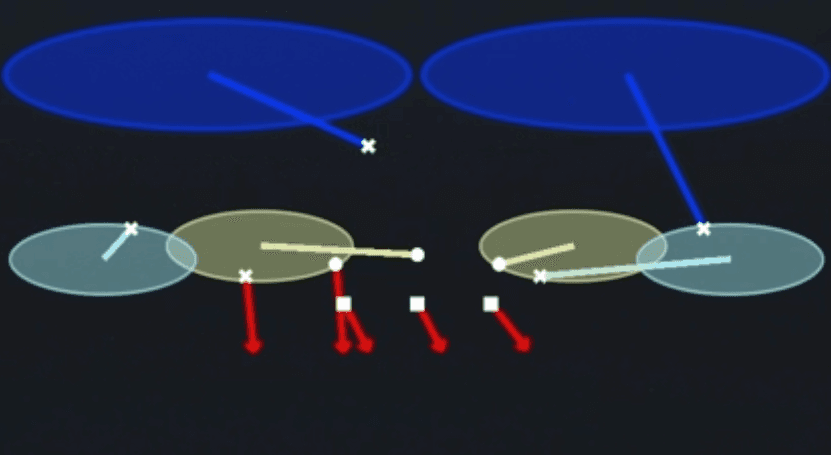
Breakdown
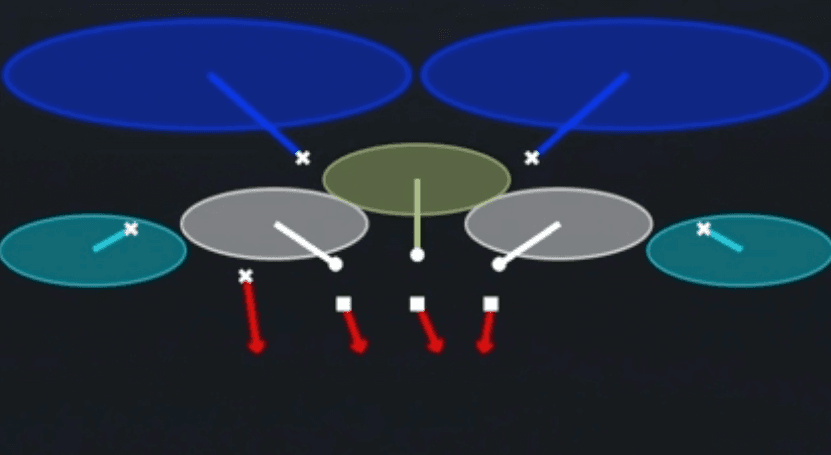
Nickel 2 Trap is a zone coverage shell out of the Nickel 3-3-5 that plays a trap/cloud technique on the outside receivers underneath two deep halves safeties. Both cornerbacks sit in trap alignment near the line of scrimmage, jumping outside stems and short routes while the two deep safeties run the seams to divide the field into halves. The three underneath defenders (two linebackers and the nickel) drop into short zone drops, spreading the middle and flat areas to squeeze quick game and shallow crossers. This is a zone beater killer designed to bait quarterbacks into throwing hitches and flat routes to the boundary, since the corners are reading the quarterback's eyes and sitting on anything short.
Defensive Reads
Pre-snap, check corner depth and safety alignment, since true trap coverage shows corners tighter to the line than standard Cover 2 while safeties stay deep at 10 to 12 yards. Post-snap, watch for both corners squatting hard on any out breaking route inside of 5 yards, which signals the trap technique is live and will jump hitches, flats, and quick outs. This shell struggles against deep out routes and corner routes run outside of 12 yards, since the trap corner has already committed underneath and the safety may not rotate fast enough. Look for offenses attacking the deep middle with a post or dig behind the linebacker level, since the three underneath zone defenders leave a seam between the shallow drops and the deep safeties. Blitz packages or heavy play-action rollouts can exploit the trap corner's aggressive jump technique if the receiver runs a fake out and breaks vertical, so watch user rush lanes and edge pressure timing when facing this look.
Usage Tips
Call this on early downs when you expect quick game or bubble screens to the perimeter, since the trap corners are disguised to jump those throws.
Pre-snap, identify if the offense is running a stack or bunch look outside, since the trap corner can get picked off by natural rub routes.
Use this play after showing Cover 2 Drop or Cover 2 Man earlier in the series so the trap alignment looks identical to a normal Cover 2 shell until the ball is snapped.
User the trap corner on one side and manually jump the first out breaking route you see, then let the AI safety over the top clean up anything that gets behind you.
Avoid calling this against heavy vertical passing attacks on 3rd and long, since the two deep safeties can get stressed if both outside receivers push vertical stems immediately.
Other Plays in 3-3
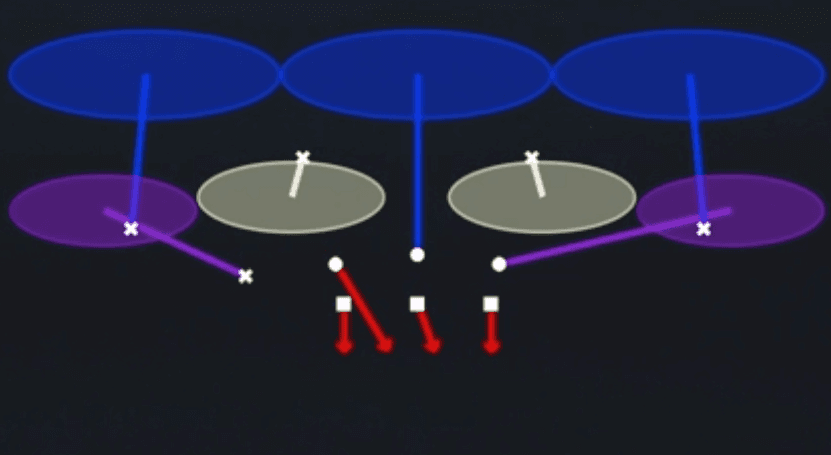 3 Double BuzzCover 3, Cover 3 Buzz, Zone Coverage
- 3 Overload Fire PressCover 3, Blitz, Overload Blitz +1
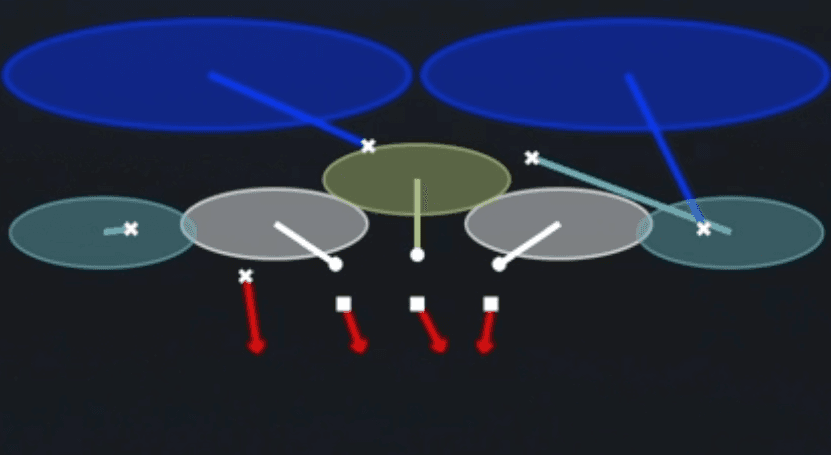 Cov 2 Invert Hard FlatCover 2, Inverted Coverage, Zone Coverage
- Cover 1 Contain SpyCover 1, Spy, Contain +1
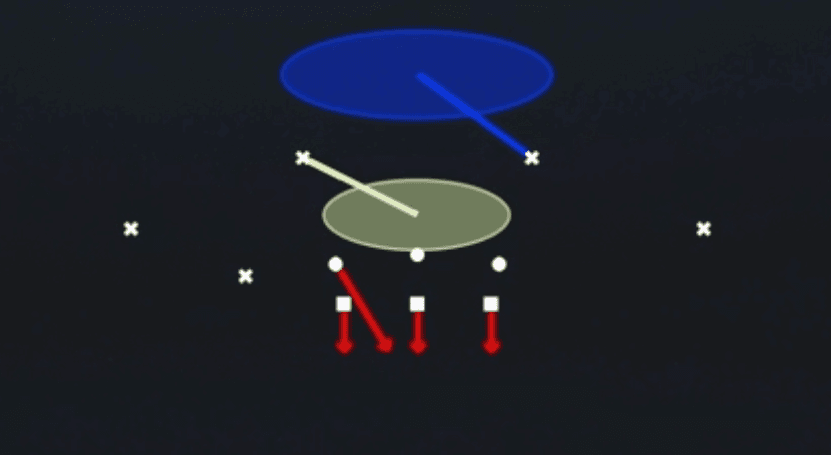 Cover 1 Robber PressCover 1, Cover 1 Robber, Press Man +1
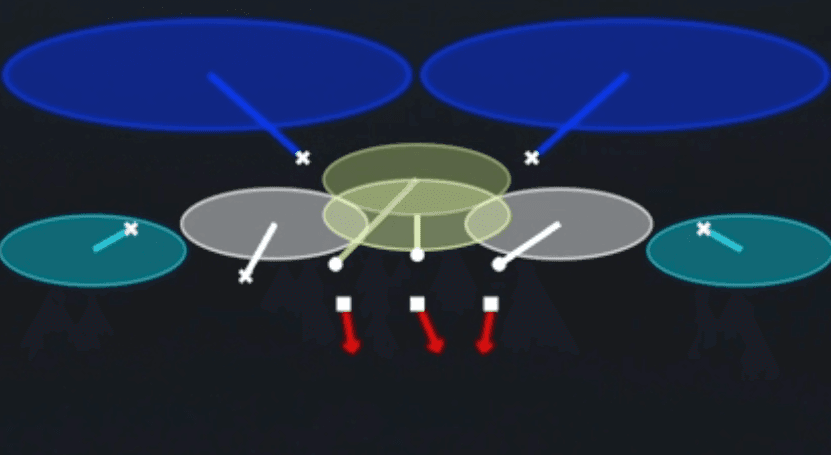 Cover 2 DropCover 2, Zone Coverage
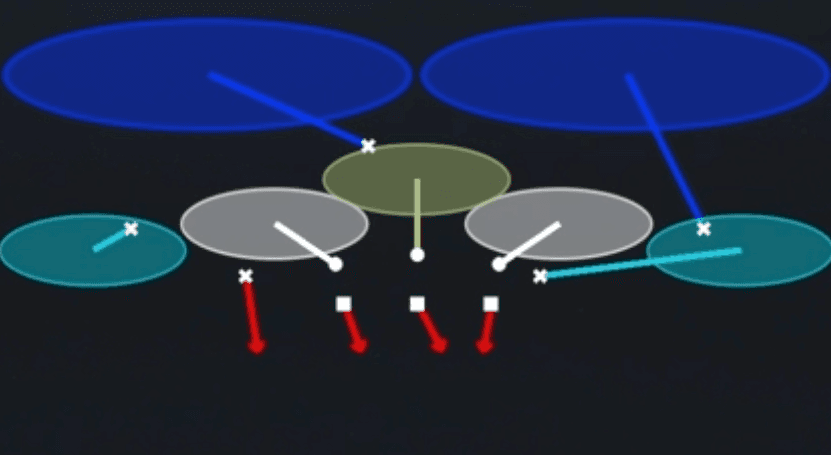 Cover 2 InvertCover 2, Inverted Coverage, Zone Coverage
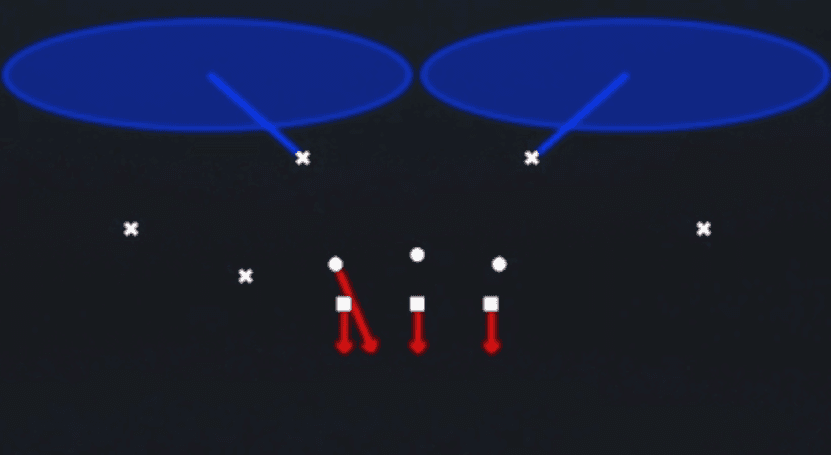 Cover 2 ManCover 2 Man, Man To Man, Man Coverage
 Cover 3 DropCover 3, Zone Coverage
- Cover 3 Sky Drop KOCover 3, Cover 3 Sky, Zone Coverage
 Cover 4 DropCover 4, Zone Coverage
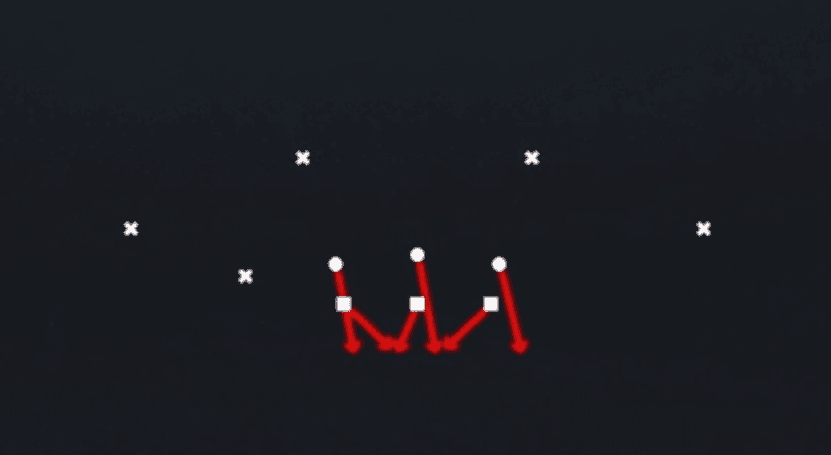 LB All GoLB Blitz, Blitz
 LB Blitz 1Cover 1, Blitz, LB Blitz +1
- LB Cross 3Cover 3, Line Stunt, Zone Coverage
- Loop Crash 2Cover 2, Line Stunt, Zone Coverage
 Nickel LB BlitzBlitz, LB Blitz, DB Blitz
 Overload Blitz 3Cover 3, Blitz, Overload Blitz +1
 SS Mike BlitzBlitz, LB Blitz, Safety Blitz
 Tampa 2Cover 2, Tampa 2, Zone Coverage