Playbooks
Likely unavailable in the playbook builder

Quick Reference
Not in any team playbook.
Breakdown
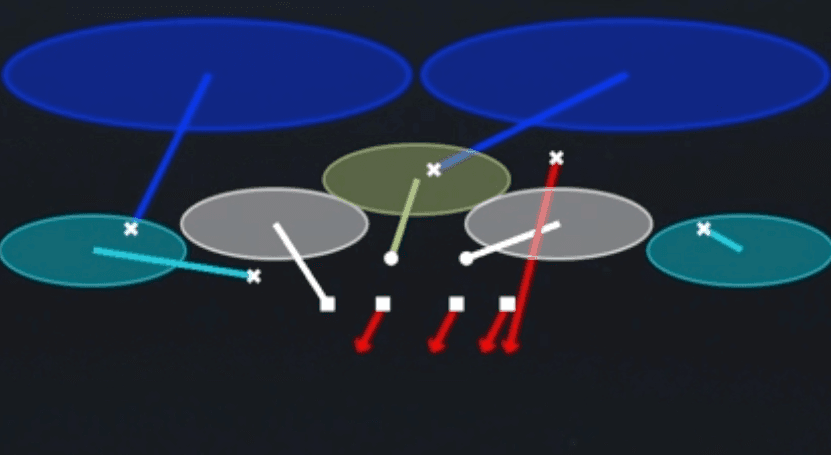
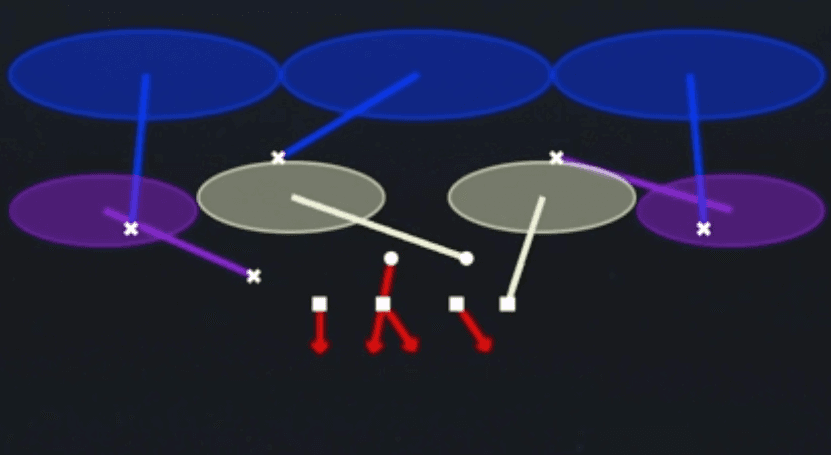
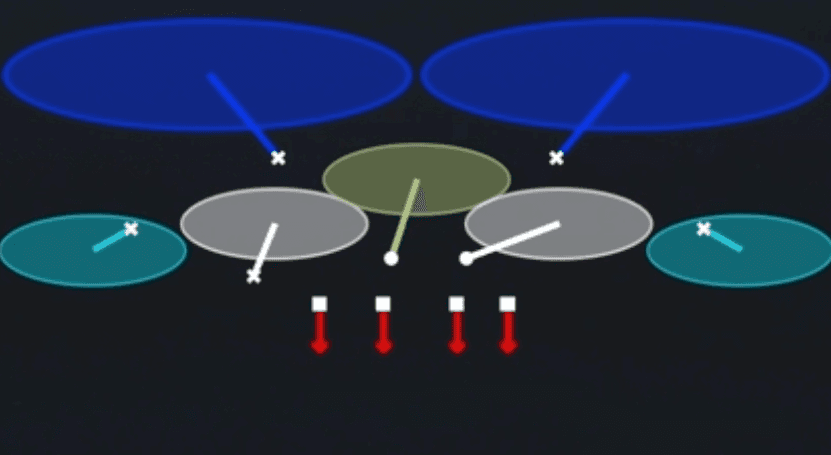
Cover 4 Drop Field is a zone coverage shell out of the 3-3 Over Nickel package that shows a four across quarters look underneath by two flat defenders. The two outside cornerbacks and the two deep safeties drop straight vertical to their quarter landmarks, while the boundary corner and slot defender sink into flat and curl zones underneath to squeeze any shallow crossers or option routes. This is a pure zone beater defense designed to take away four vertical stems and deep in cuts, so as the defense there is no primary read progression, your eyes go from the deepest route to the shortest (deep quarters first, then curl/flat, then underneath) to stay disciplined against play action and sim pressure looks.
Defensive Reads
Watch for four verticals or go routes stacked on the numbers, since the deep quarter defenders are athletically tasked to stay on top of any single receiver in their zone. Key the running back out of the backfield, since a natural leak to the flat can attack the seam between the flat defender and the deep quarter defender if the linebacker does not get proper depth. Check safety alignment pre snap, if both safeties are showing depth of ten yards or more it confirms the quarters shell and tips off the offense to attack the intermediate middle voids. Post snap, user the closest underneath zone defender to jump any curl or dig route that sits down in the five to eight yard window, since that area is the natural soft spot in this coverage. This shell is vulnerable to rub and pick concepts at the line, so watch bunch formations that can rub off the flat defenders and create natural separation underneath.
Usage Tips
Call this on early downs or third and long when you expect four verticals or double moves designed to stress a single high defense.
Pre snap, identify if the offense is stacking or bunching receivers to one side, since Cover 4 Drop Field can leave the flat defenders vulnerable to natural picks on quick game.
Use this play right after showing Cover 3 Match or Cover 3 Sky so the quarterback sees a similar shell pre snap but gets a different underneath rotation post snap.
Hot route the flat defenders into a shallow hook or curl if you are worried about spot routes or snag concepts attacking the flat to CB depth conflict.
Pair this call with Cover 4 Palms or Cover 4 Quarters in the same set to disguise your quarters shell and keep opposing quarterbacks guessing on run reads and smash concepts.
Other Plays in 3-3 Over
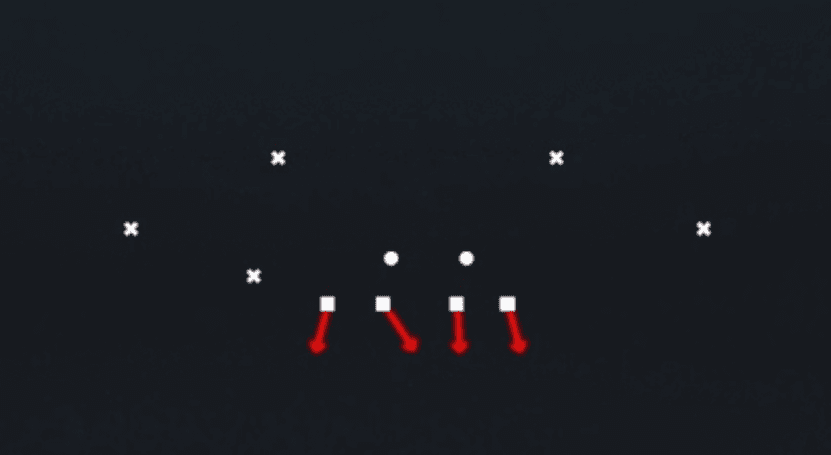 1 Double SlotCover 1, Man Coverage
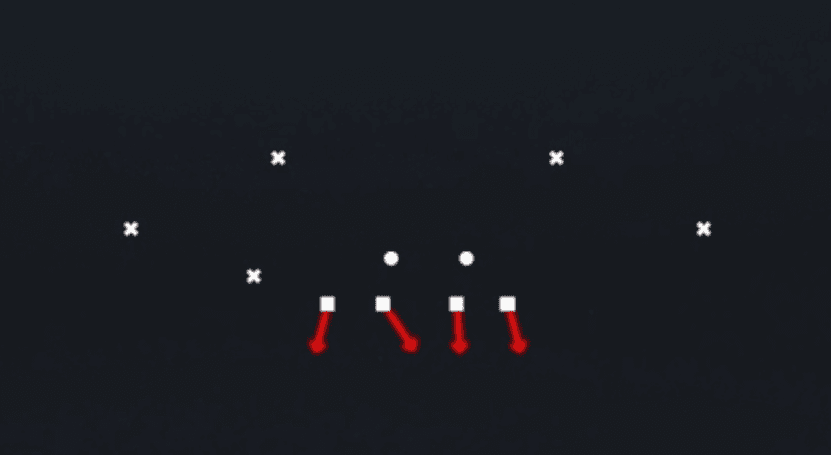 1 Double TECover 1, Double Te, Man Coverage
 1 Double WR1Cover 1, Double Wr1, Man Coverage
 1 Double WR2Cover 1, Double Wr2, Man Coverage
- Bracket 9 Switch
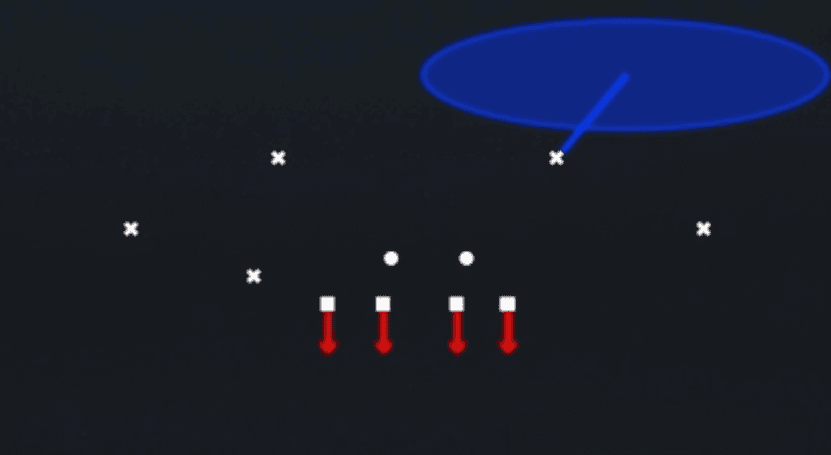 Bracket Switch WillieMan To Man, Man Coverage
 Cover 1 HoleCover 1, Cover 1 Hole, Man Coverage
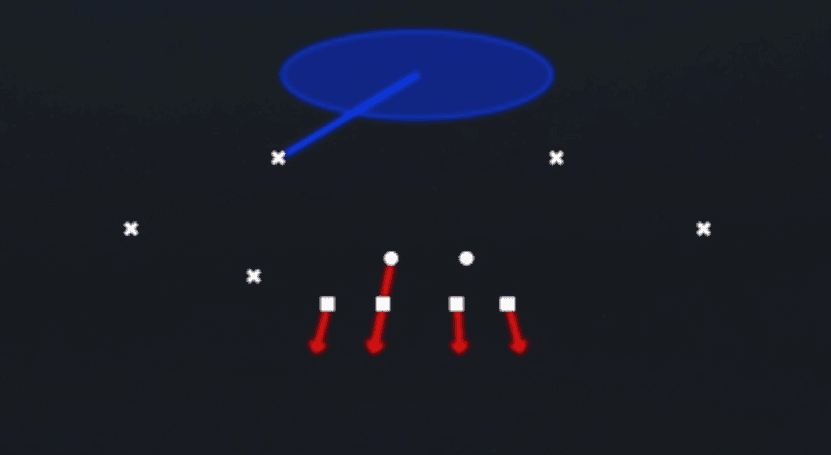 Cover 1 LB BlitzCover 1, Blitz, LB Blitz +1
 Cover 1 RobberCover 1, Cover 1 Robber, Man Coverage
 Cover 2 InvertCover 2, Inverted Coverage, Zone Coverage
 Cover 2 ManCover 2 Man, Man To Man, Man Coverage
- Cover 2 Match
 Cover 2 RollCover 2, Zone Coverage
 Cover 3 Buzz MableCover 3, Cover 3 Buzz, Zone Coverage
 Cover 3 Buzz MatchCover 3, Cover 3 Buzz, Cover 3 Match +1
 Cover 3 CloudCover 3, Cover 3 Cloud, Zone Coverage
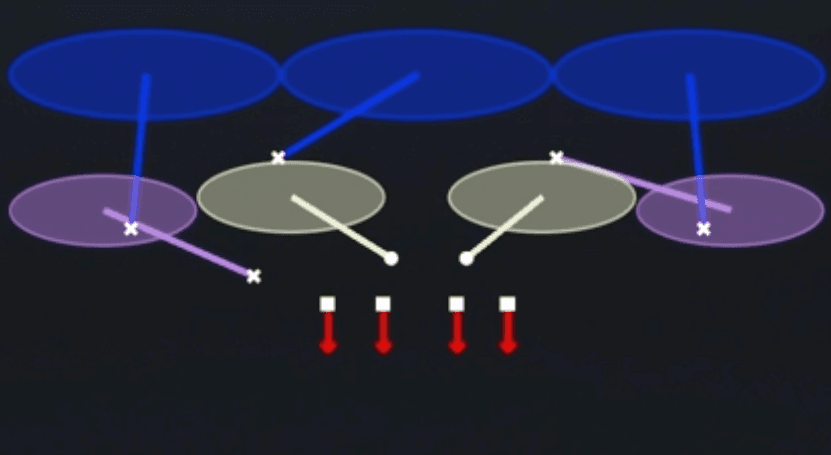 Cover 3 MatchCover 3, Cover 3 Match, Zone Coverage
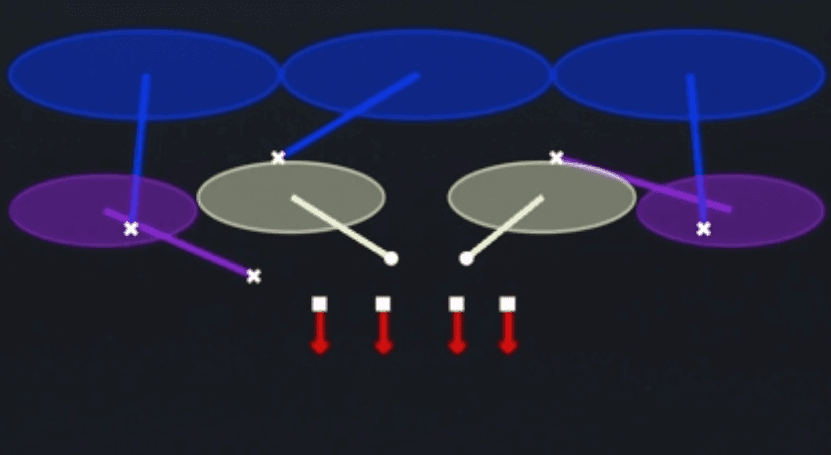 Cover 3 SkyCover 3, Cover 3 Sky, Zone Coverage
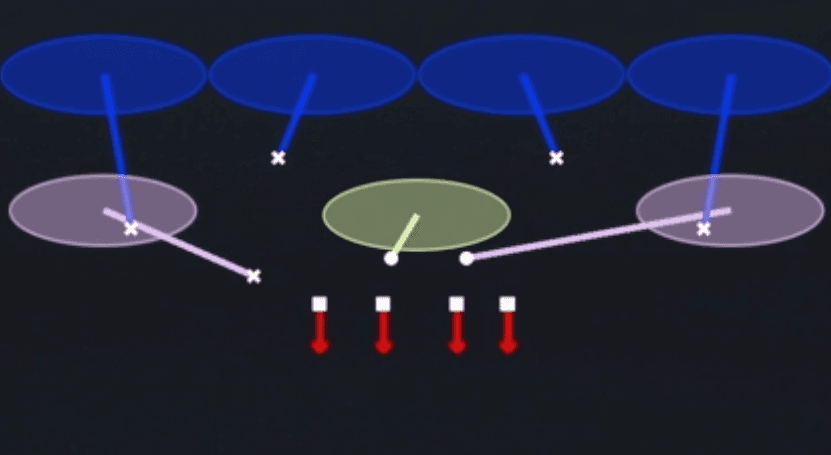 Cover 4 PalmsCover 4, Cover 4 Palms, Zone Coverage
 Cover 4 QuartersCover 4, Quarters, Zone Coverage
 Cover 6Cover 6, Zone Coverage
 Cover 6 WillieCover 6, Zone Coverage
- Cover 9 Sammie
 Cover 9 Show 2Cover 9, Zone Coverage
 Cross Sim 2Cover 2, Simulated Pressure, Line Stunt +2
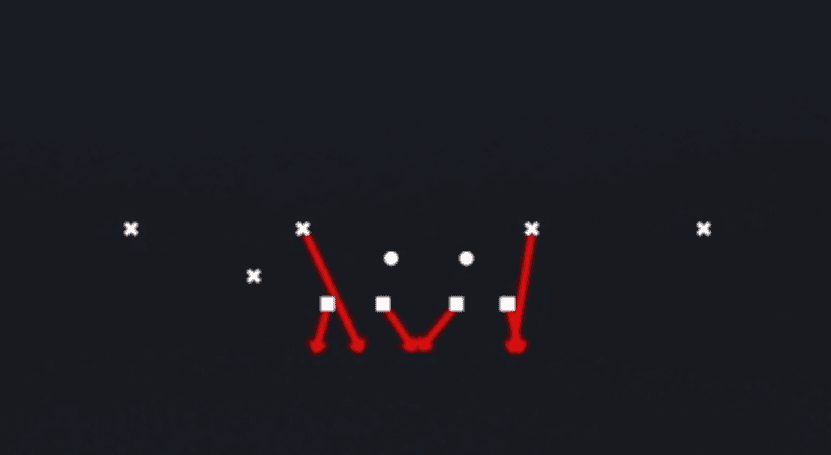 Dbl Safety BlitzBlitz, Safety Blitz
 Double BracketMan To Man, Man Coverage
 Double Bracket SwitchMan To Man, Man Coverage
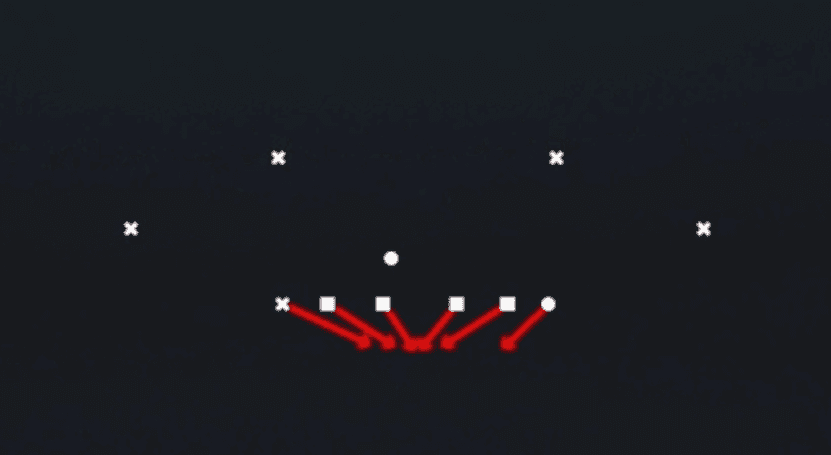 Edge Blitz 0Cover 0, Blitz, Edge Blitz +2
 Edge Blitz 3Cover 3, Blitz, Edge Blitz +1
 Field Sim 3Cover 3, Simulated Pressure, Zone Coverage +1
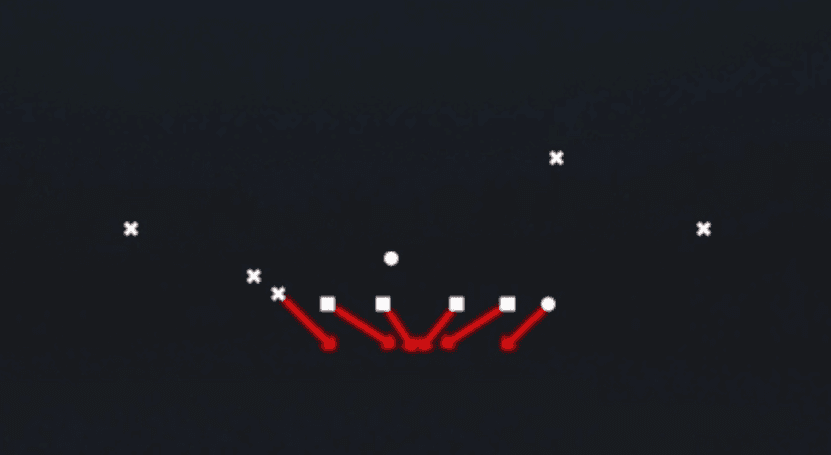 FS Will Blitz 0Cover 0, Blitz, LB Blitz +3
 Nickel 2 TrapCover 2, Trap Coverage, Zone Coverage
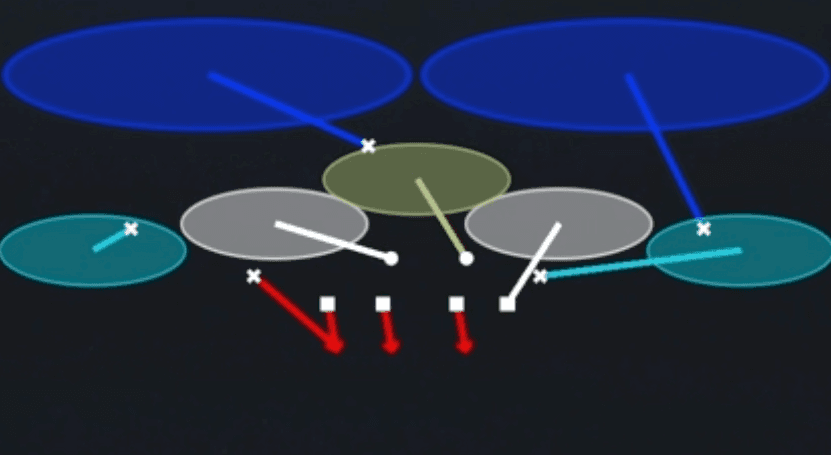 Nickel Sim 2Cover 2, DB Blitz, Simulated Pressure +2
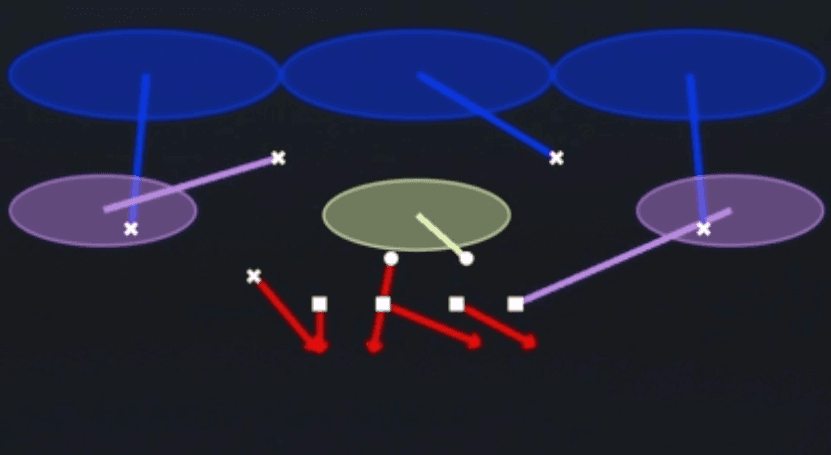 Overload 3 Seam Show 2Cover 3, Overload Blitz, Zone Coverage +1
 Over Storm BraveBlitz
- Pounder
- Roll 23 Cloud
- Roll Cover 2 Invert
- Roll Cover 3 Cloud
- Roll King
- Roll Ring
 Safety Strong 3Cover 3, Zone Coverage
 Show SS Sim 2Cover 2, Simulated Pressure, Zone Coverage +1
 Silver Shoot PinchBlitz, Pinch
 Sim Pressure 3Cover 3, Simulated Pressure, Zone Coverage +1
 Tampa 2Cover 2, Tampa 2, Zone Coverage