Playbooks

Quick Reference
Breakdown
Dbl Safety Blitz out of the 3-4 Under Base 5-2 personnel sends both safeties on delayed blitzes off the edges alongside the two outside linebackers, stacking five total rushers with only two underneath defenders holding shallow zone drops in the middle of the field. The diagram shows the two X defenders (safeties) crashing downhill from depth while the four box defenders drop straight into short zone spots, with the two circle icons (likely the corners or a deep safety) holding at intermediate depth. This is a pressure zone blitz built to overload the edges and collapse the pocket fast, not a man beater, and the primary read for the defense is watching the quarterback's eyes to jump any hot route or checkdown thrown into the vacated shallow zones before the rush arrives.
Defensive Reads
Pre-snap, identify where both safeties are aligned since a tight, low safety look is the biggest tell that this blitz is coming and offenses should audible to a quick game or screen. This pressure struggles against empty formations or quick three step drops because the shallow zone defenders are outnumbered underneath once the safeties vacate. Post-snap, watch for the two shallow zone droppers sitting in the short middle. Any crossing route or drag concept sitting down in that void is the fastest answer against this call. This blitz shuts down teams that rely on deep dropback shots since the extra rushers collapse the pocket before double moves or deep comebacks can develop. If the offense runs play action, the double safety blitz can be gashed badly since both deep defenders are already committed downhill, so respect a strong run fake with an eye on the backside safety leaving his zone.
Usage Tips
Call this on third and long or in two minute situations where the offense is likely to sit in shotgun and hold the ball for a deeper route, since the double safety pressure needs an extra half second to get home.
Pre-snap, check if the offense has trips or bunch to one side and consider a quick flip or strength adjustment so both blitzing safeties attack away from extra blockers.
User one of the blitzing safeties immediately at the snap to disguise which gap he is attacking, then let the AI control the second safety blitzer for a natural free rusher look.
Pair this with Cover 1 FS Fire or Cover 3 Match on early downs so the offense cannot key on safety depth as a pressure tell before you dial up Dbl Safety Blitz on a crucial down.
If the quarterback likes to throw hot routes into the shallow middle against pressure, mix in Weak Blitz 1 or Weak Blitz 3 from this same set to keep the middle read conflicted.
Other Plays in Under
 Cov 1 QB Contain SpyCover 1, Spy, Contain +1
 Cover 1 FS FireCover 1, Blitz, Safety Blitz +1
 Cover 1 Hole WKCover 1, Cover 1 Hole, Man Coverage
 Cover 1 Robber PressCover 1, Cover 1 Robber, Press Man +1
 Cover 2 InvertCover 2, Inverted Coverage, Zone Coverage
 Cover 2 Invert Hard FlatCover 2, Inverted Coverage, Zone Coverage
- Cover 2 ManCover 2 Man, Man To Man, Man Coverage
 Cover 3 Hard FlatCover 3, Zone Coverage
 Cover 3 MatchCover 3, Cover 3 Match, Zone Coverage
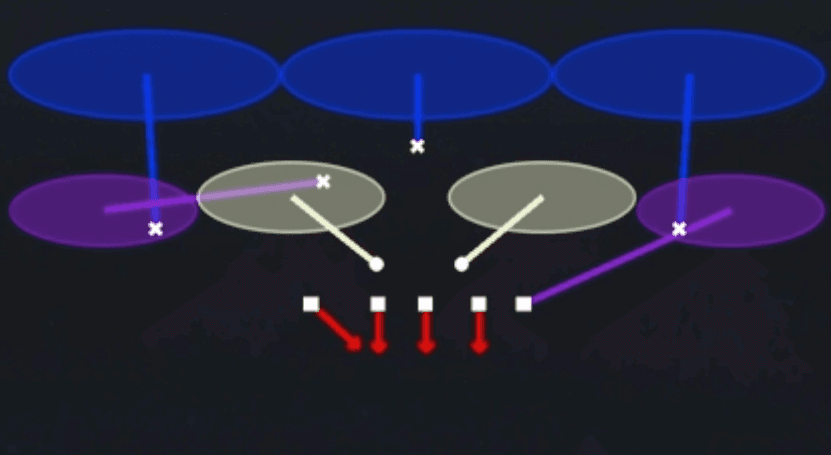 Cover 3 SkyCover 3, Cover 3 Sky, Zone Coverage
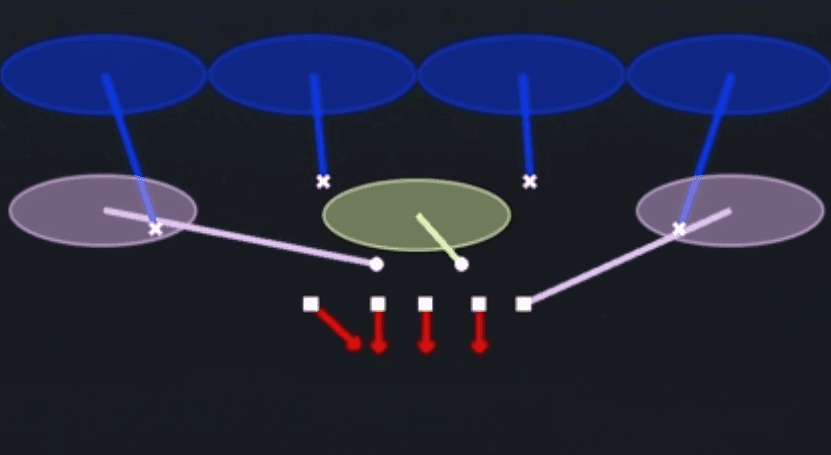 Cover 4 QuartersCover 4, Quarters, Zone Coverage
 Cover 6Cover 6, Zone Coverage
 FS Slant 3Cover 3, Line Slant, Zone Coverage
 Mlb Cross Fire 3Cover 3, Blitz, LB Blitz +2
 Pinch Buck 0Cover 0, Pinch, Man Coverage
 Saw Blitz 1Cover 1, Blitz, Man Coverage
- Tampa 2Cover 2, Tampa 2, Zone Coverage
 Weak Blitz 1Cover 1, Blitz, Man Coverage
 Weak Blitz 3Cover 3, Blitz, Zone Coverage
 Will Fire 3 SeamCover 3, Blitz, LB Blitz +1