Playbooks
Quick Reference
Breakdown
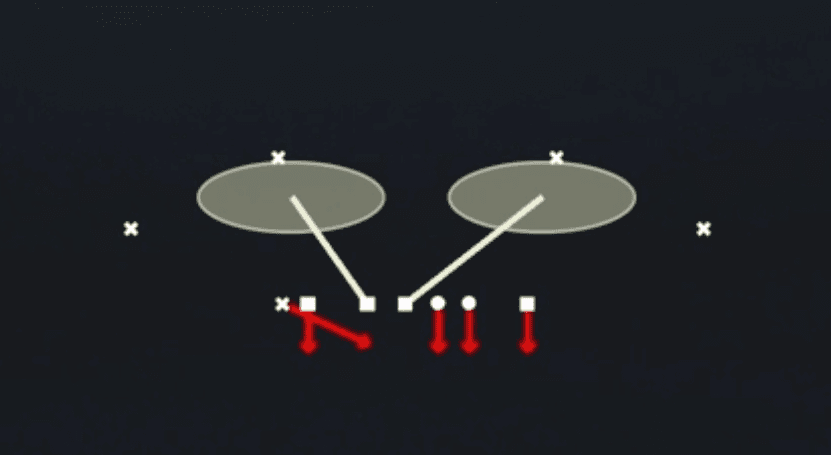
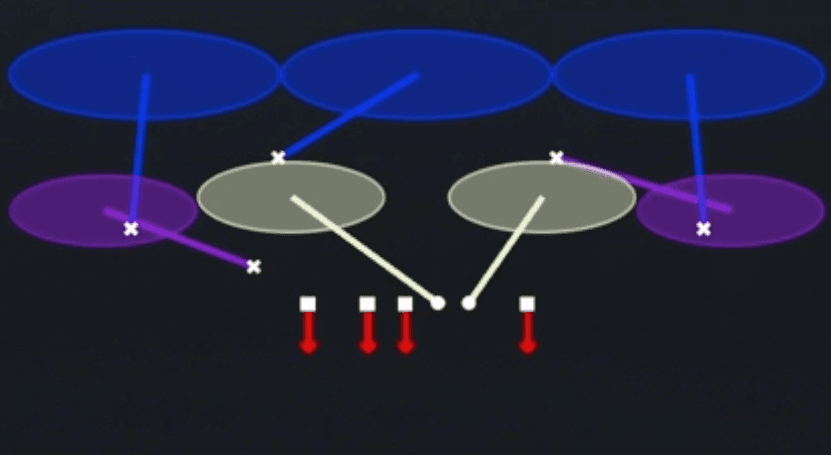
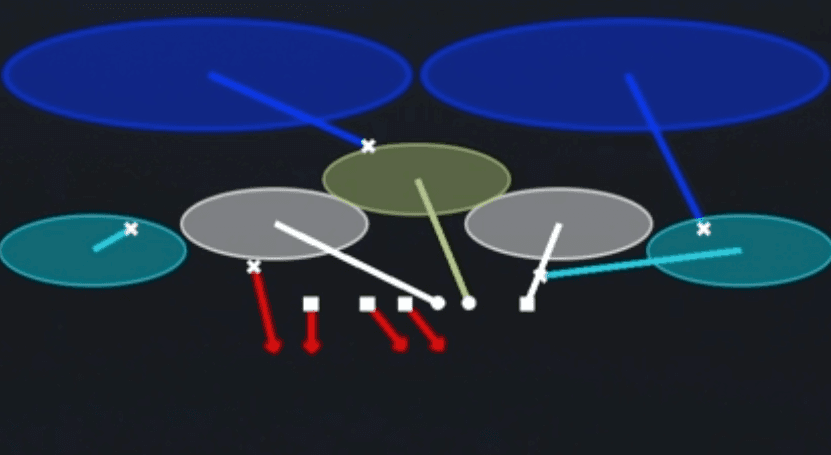
Redzone Dt Drop is a zone blitz out of the 2-4 Load Dbl Mug set in Nickel personnel, designed to disguise pressure while still dropping a defensive tackle into a shallow zone. The diagram shows a mugged look at the second level with the two linebacker boxes dropping into deep zone responsibility, three underneath defenders (the two circles and the square to the right) sinking into short zones straight down the field, and the defender to the left of the formation firing off the edge before flattening out to the flat, with the outside corner squeezing down hard toward the sideline. This is a zone blitz built to bring pressure off the edge while still holding three underneath defenders and two deep zones, so the primary read is the quarterback's initial hot route or quick game read into that flat/edge blitz before the coverage rotates into its shell.
Defensive Reads
Pre-snap, check the corner alignment on the boundary since that defender is tasked with squeezing down hard, which can leave the sideline vulnerable to a fade or quick out if the receiver releases outside. Key the three straight-down zone drops from the underneath defenders, since they are designed to wall off shallow crossers and slants but leave intermediate seams behind them if a route sits down at ten to twelve yards. This call beats teams that rely on quick game and shallow crosses against what looks like a heavy blitz, since the underneath defenders still hold their zones. It can be exposed by play-action or RPO reads if the offensive line identifies the edge rusher's angle before the snap, since he is committed to attacking upfield. Post-snap, watch for any tight end or running back leaking into the vacated middle zone behind the dropping defensive tackle, and be ready to user that defender manually if the AI zone drop is too shallow.
Usage Tips
Use this in the red zone or on early downs when you expect quick game or play-action since the disguised mug look bluffs a heavier blitz than what actually comes.
Pre-snap, identify if the offense is in a bunch or stack look near the boundary corner blitzing off the edge, since that defender is the first one to attack and can be picked on by quick outs or hitches if the offense settles there.
Watch for the offense to try to exploit the DT drop with a delayed check release into the vacated middle zone, so be ready to user the underneath defender in the middle if you see a back or tight end sit in that window.
Pair this call with Cover 3 Sky or Cover 1 LB Blitz from the same set to keep the offense guessing between true man pressure and this zone blitz disguise.
Best used on third and short or in short yardage red zone situations where the offense is likely to run quick, high percentage throws that this underneath zone traffic is designed to clog.
Other Plays in 2-4 Load Dbl Mug
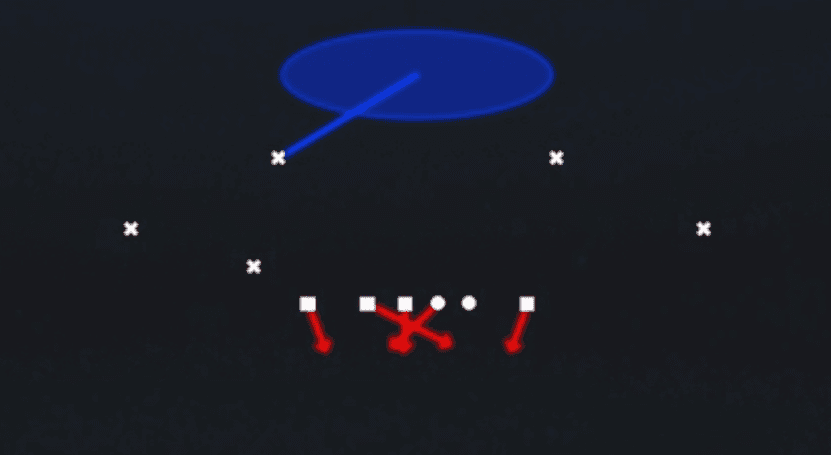 1 Dt LB LoopCover 1, Line Stunt, Man Coverage
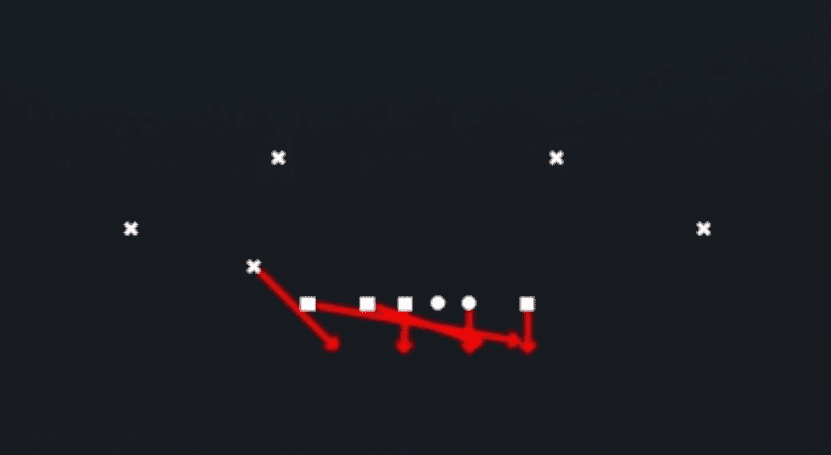 Blitz Loop 0Cover 0, Blitz, Line Stunt +2
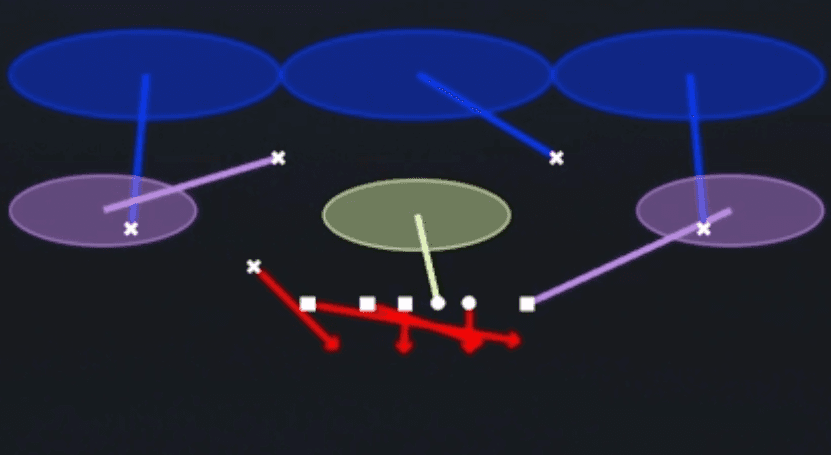 Blitz Loop 3Cover 3, Blitz, Line Stunt +1
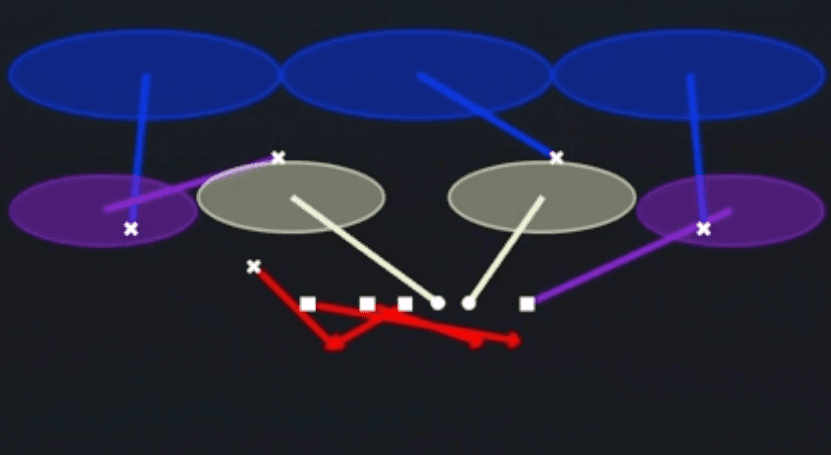 Blitz Loop Sim 3Cover 3, Blitz, Simulated Pressure +2
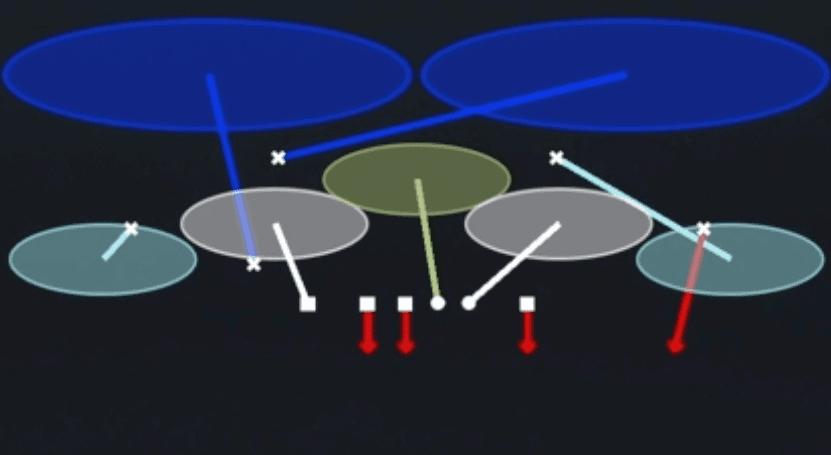 CB Bench Sim 2Cover 2, Corner Blitz, Simulated Pressure +2
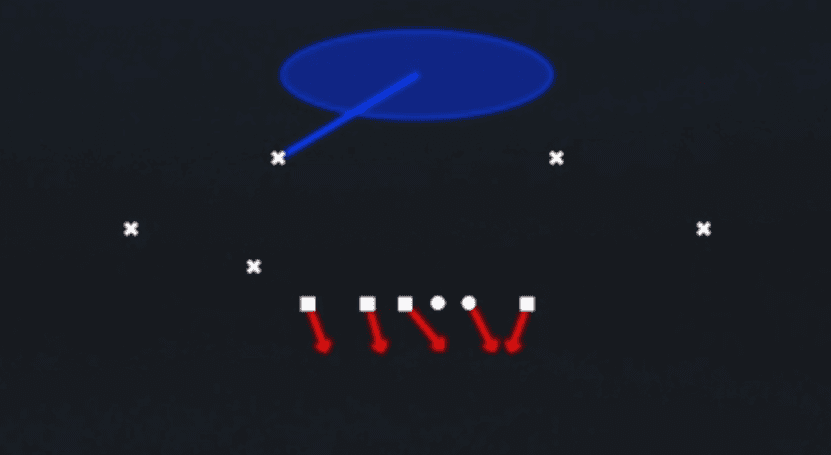 Cover 1 LB BlitzCover 1, Blitz, LB Blitz +1
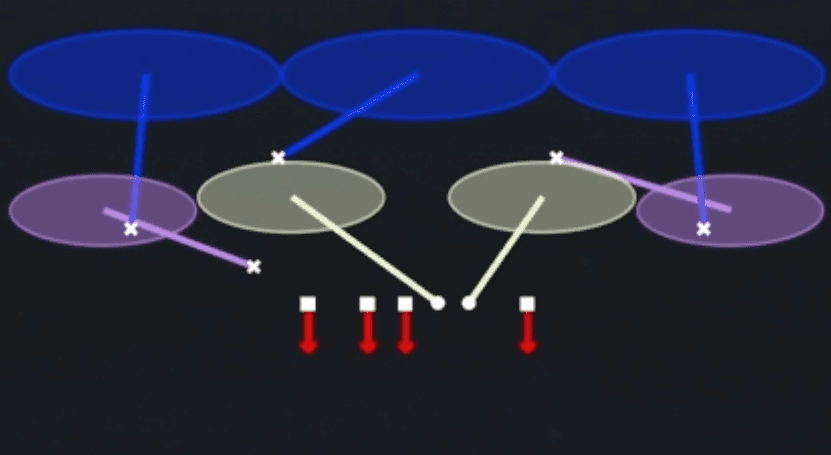 Cover 3 MatchCover 3, Cover 3 Match, Zone Coverage
 Cover 3 SkyCover 3, Cover 3 Sky, Zone Coverage
- LB Blitz 6
 Nickel Sim 2Cover 2, DB Blitz, Simulated Pressure +2
 Side BlitzBlitz
 Tampa 2Cover 2, Tampa 2, Zone Coverage