Playbooks

Quick Reference
In 18 playbooks
Breakdown
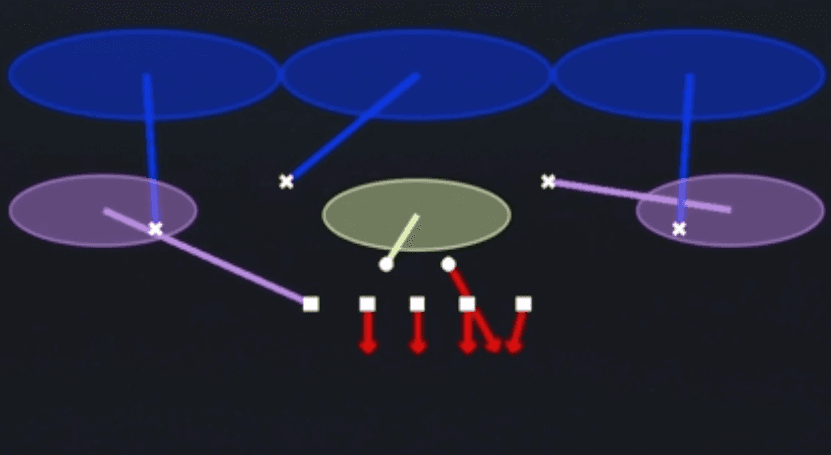
Hot Blitz 3 is a five man pressure package out of the 3-4 Tite Base 5-2 personnel that drops into Cover 3 behind the rush. The diagram shows three deep outside defenders bailing to their thirds while the underneath zone defender to the right flows across the middle to fill the vacated hook area, working off the mesh point where two blitzers cross paths on their way to the backfield. This is a zone blitz beater killer for the defense: it disguises a five man rush with three deep zone defenders sinking to their landmarks, so the primary read for the defense is to trust the deep third drops first while the underneath defenders rally to any crossing routes or backfield checkdowns.
Defensive Reads
Watch the running back and slot receiver alignment pre-snap, if the offense shows a heavy checkdown or screen look this blitz can get exposed on the perimeter since the rush lanes commit inside. Read the quarterback's eyes post-snap, if he immediately looks to the crossing route area, trust your user controlled defender to jump that route since the zone shell is designed to funnel throws there. Identify if the offense is running four verticals or deep comebacks, this pressure beats those concepts because the rush disrupts timing before routes stack the deep thirds. Key the offensive line's blocking assignments before the snap, if they show max protect with extra blockers, be ready to drop into coverage rather than force the blitz since the sim pressure may not generate a home run rush. Watch for RPO or quick game answers that attack the vacated underneath zone immediately after the snap, since the crossing defender needs a beat to fill and can be beaten by a fast developing slant or stick route.
Usage Tips
Call this on early downs or third and medium when you expect the offense to run play action or slower developing route combos, since the five man rush gets home before deep routes fully mature.
Check the offensive formation pre-snap for stacked or bunch sets on one side, that tips crossing routes which this zone blitz is built to disrupt with the underneath defender sinking into the crossing lane.
User the crossing underneath defender manually right after the snap so you can jump any drag or shallow cross route that tries to exploit the vacated hook zone.
Mix this with Cover 3 Sky and Cover 3 Match from the same Tite set so the offense cannot key blitz tells from your defensive line alignment or safety depth.
Avoid calling this against empty backfield spread formations with quick game concepts, since the extra rusher creates a numbers disadvantage in coverage if the quarterback gets the ball out fast.
Other Plays in Tite
- Cov 3 Match BenchCover 3, Cover 3 Match, Zone Coverage
- Cov 3 Match FieldCover 3, Cover 3 Match, Zone Coverage
 Cover 1 HoleCover 1, Cover 1 Hole, Man Coverage
 Cover 3 MatchCover 3, Cover 3 Match, Zone Coverage
 Cover 3 SkyCover 3, Cover 3 Sky, Zone Coverage
 Cover 4 DropCover 4, Zone Coverage
 Cover 4 QuartersCover 4, Quarters, Zone Coverage
 Cover 6Cover 6, Zone Coverage
 Field Blitz 3Cover 3, Blitz, Zone Coverage
 Saw Blitz 0Cover 0, Blitz, Man Coverage +1
 Saw Blitz 1Cover 1, Blitz, Man Coverage
 Saw Blitz 2Cover 2, Blitz, Zone Coverage
 Saw Blitz 3Cover 3, Blitz, Zone Coverage
 SS 2 TrapCover 2, Trap Coverage, Zone Coverage
 Tampa 2Cover 2, Tampa 2, Zone Coverage
 Trio Sky ZoneZone, Zone Coverage