Playbooks
Quick Reference
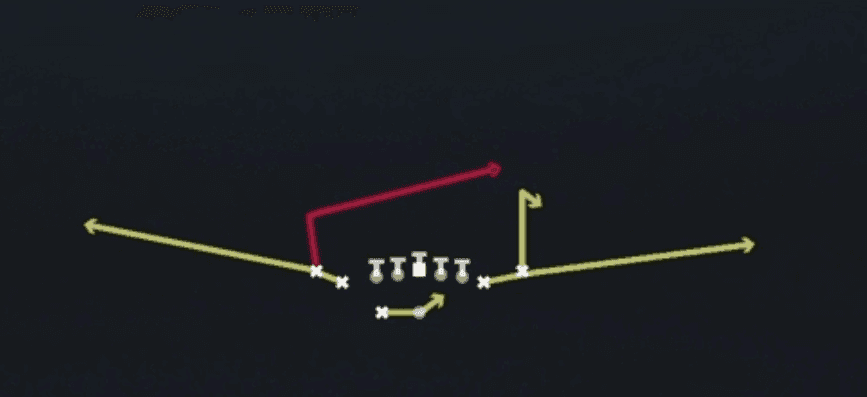
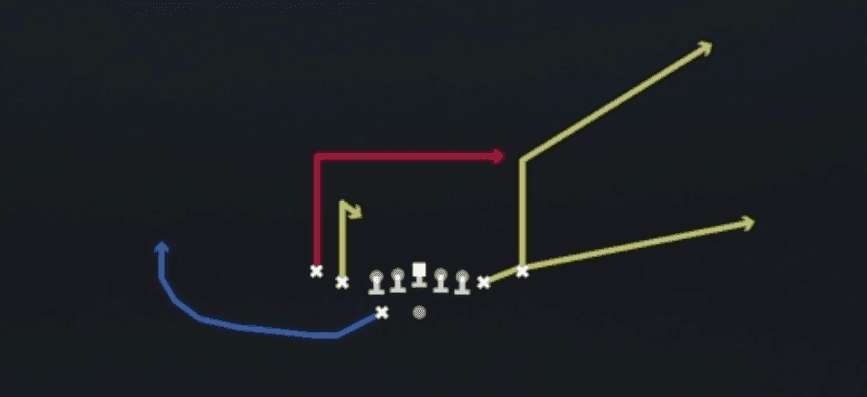
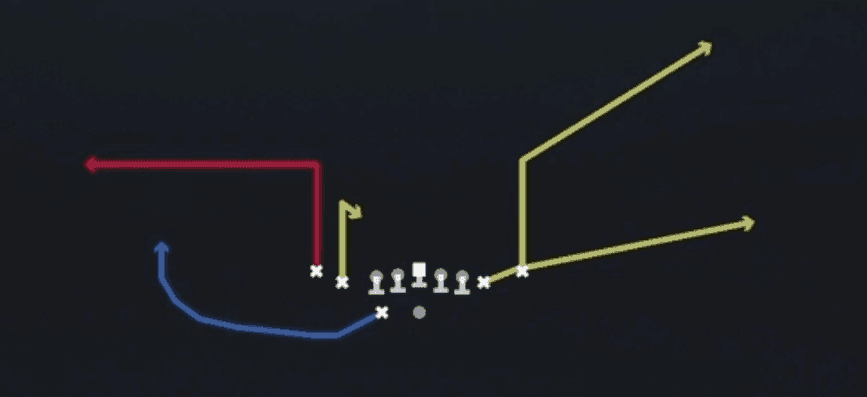
Receiver routes
Depth-chart slots are shown as they line up in the base package for this set.
| Player | Side | Route |
|---|---|---|
| WR3 | Left | Flat |
| WR1 | Left | Slant |
| WR2 | Right | Hitch |
| TE1 | Right | Flat |
Read progression
- WR1 left, Slant
- WR3 left, Flat
- WR2 right, Hitch or TE1 right, Flat
Breakdown
RPO Zone Peek is an inside zone run paired with a peek read tied to the box count and second level defenders. The blocking scheme is a standard inside zone track with the offensive line combo blocking at the point of attack, while the QB keys a linebacker or peeking defender to decide whether to hand off or pull and throw the attached route. The primary read progression is: check the box count and peek defender at the snap, give the ball on the zone track if the peek defender sits or crashes down, and pull to the pass option if he widens or covers the run flow, making this both a run play and an RPO built to punish over aggressive run fits.
Defensive Reads
Pre-snap, check linebacker depth and alignment, since stacked or crept up linebackers signal a run blitz that the peek throw is designed to exploit. Look at safety rotation before the snap, since a safety cheating down into the box confirms run support and opens the pass window on the peek route. Post-snap, watch the peek defender's first step, if he crashes hard on the zone run flow, that confirms the throw is live and should be pulled immediately. User controlled defenders sitting in a lurk spot near the peek route's landing zone are the biggest threat to this play, since a disciplined user can jump the throw if the QB tips it late. This play struggles against light box zone looks with disciplined linebackers who stay square, since those defenders can defend both the run gap and the peek throw without fully committing either way.
Usage Tips
Use pre-snap motion or a hard count to bait linebackers into showing run or pass intent before the snap so your peek read is already simplified. Identify two high safety shells versus one high shells first, since one high looks tell you the box is likely to be heavier and the pass option becomes more live against man coverage underneath. Hot route the peek receiver into a quick out or speed out versus press corners if you expect man coverage, since that gives you a faster access throw than a vertical breaking route. This play pairs well with Inside Zone and HB Mid Draw from the same set, since defenders keying zone action get punished later by the same run action when you actually hand the ball off. Best down and distance usage is 2nd or 3rd and short to medium, where defenses commit extra bodies to the box and open up the perimeter throw off the peek key.
Other Plays in Tight Slots HB Wk
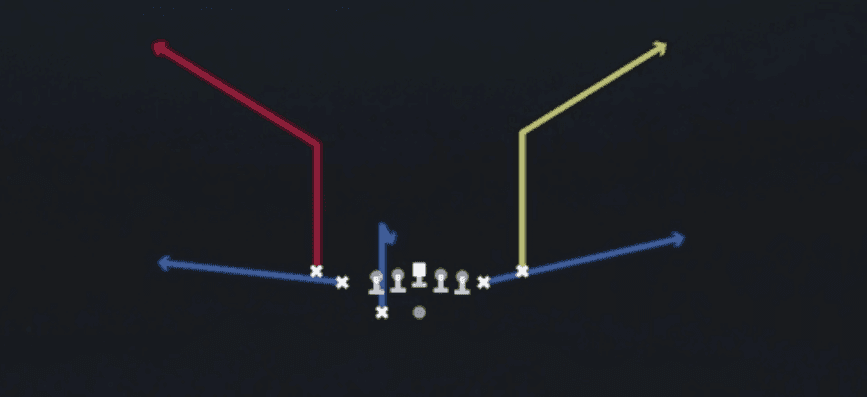 BenchBench, Pass Play, Block and Release +1
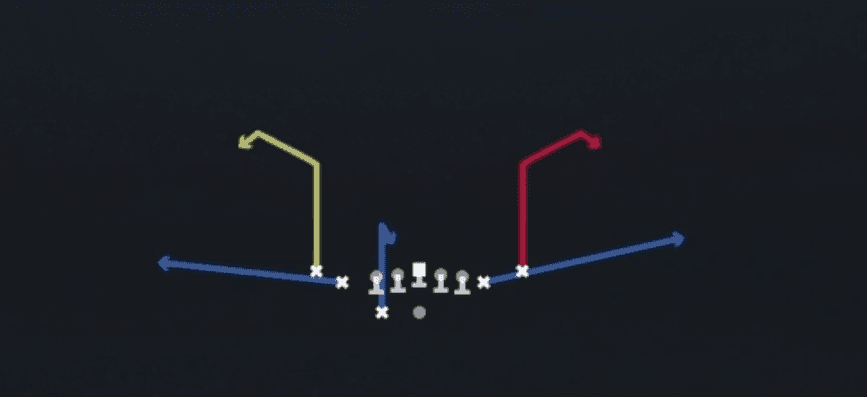 Bench SwirlBench, Pass Play, Block and Release +1
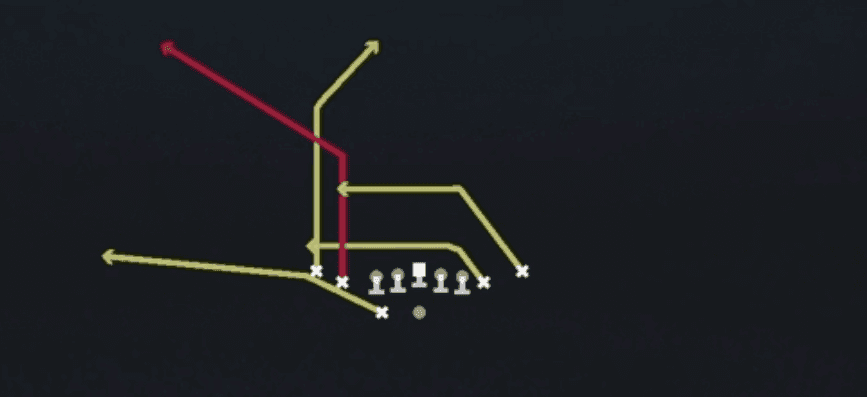 FloodFlood, Pass Play, Cover 3 Beater +6
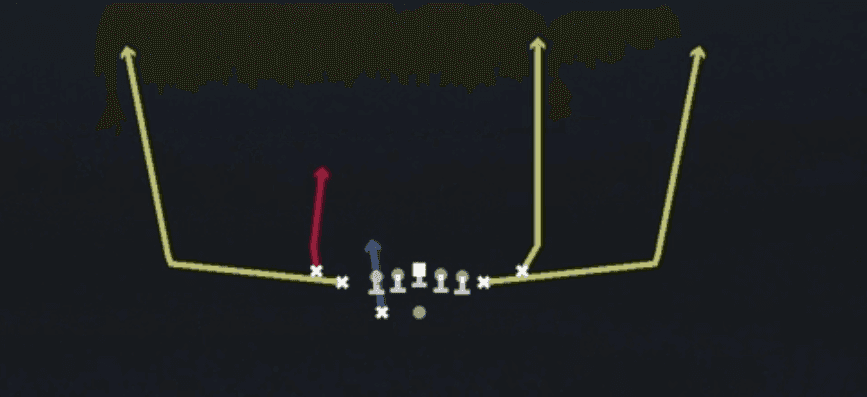 Four VerticalsFour Verts, Pass Play, Cover 2 Beater +5
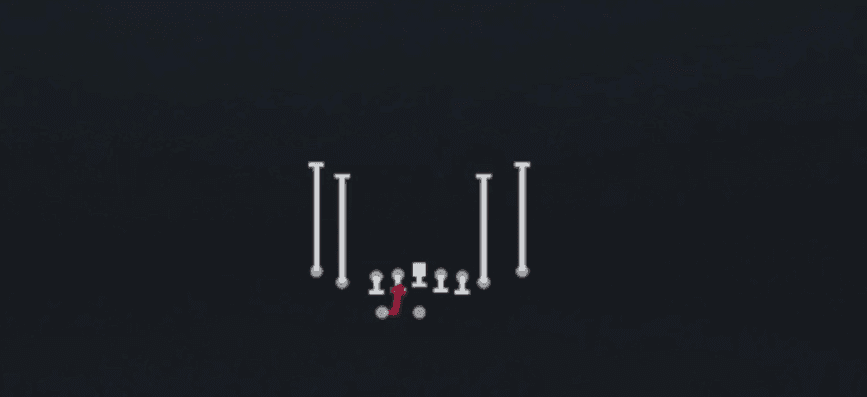 HB Mid DrawDraw, Run Play
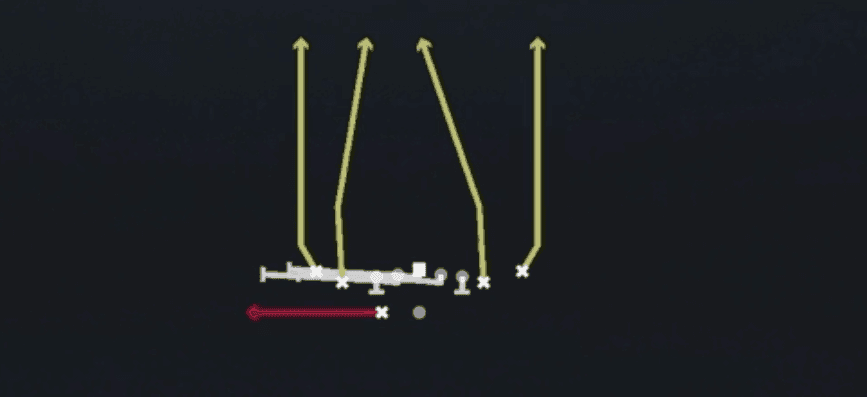 HB Slip ScreenScreen Pass, Hb Screen, Pass Play +2
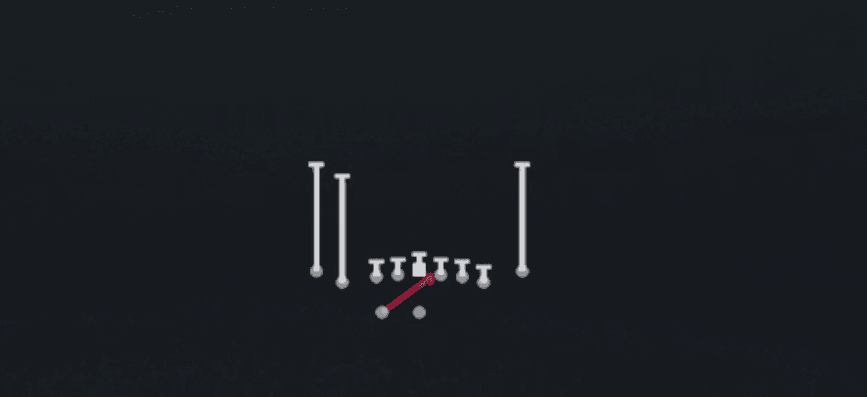 Inside ZoneInside Zone, Run Play, Zone Run
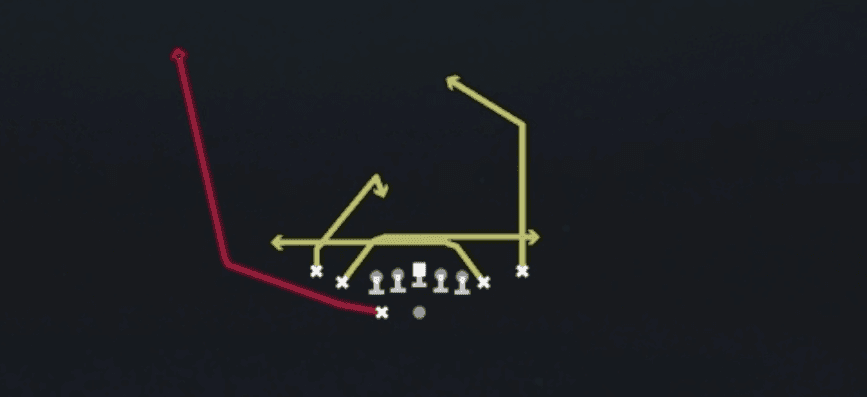 Mesh SpotSpot, Mesh, Pass Play +7
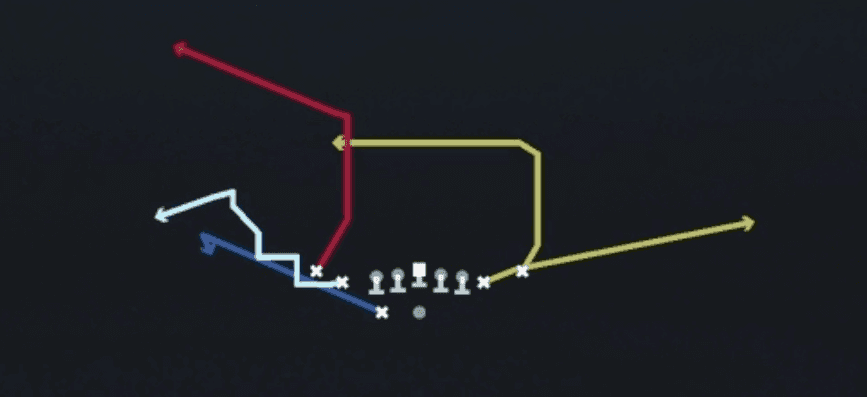 Mtn Dig X-CornerDig, Corner, Motion +4
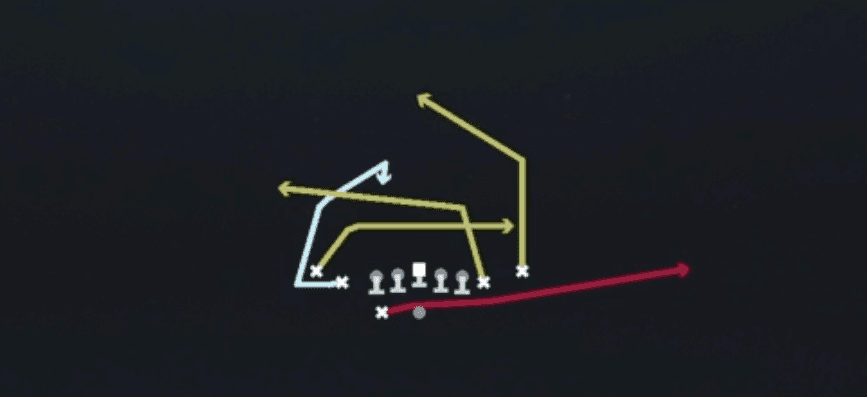 Mtn Mesh TrafficMesh, Motion, Pass Play +6
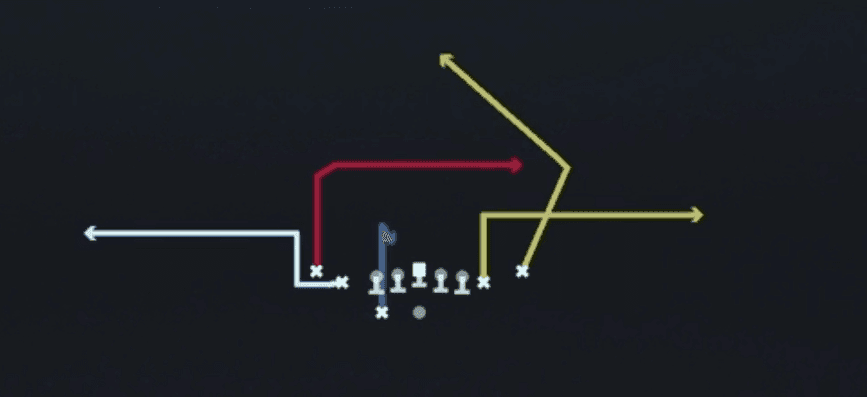 Mtn Outs Z-PostPost, Motion, Pass Play +3
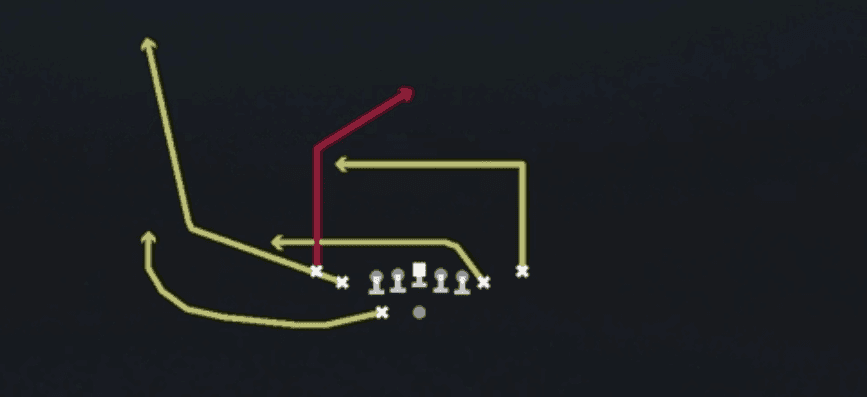 Post Wheel DragPost, Wheel, Drag +4
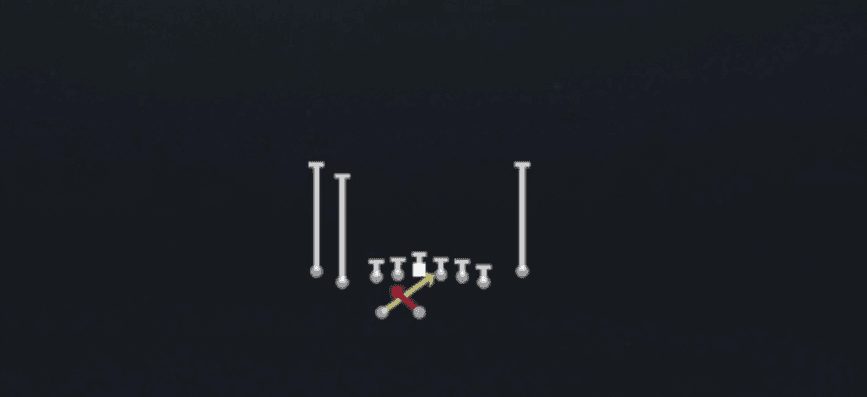 Read OptionRead Option, Run Play
 RPO Peek SlantRPO, Slant, Pass Play +1
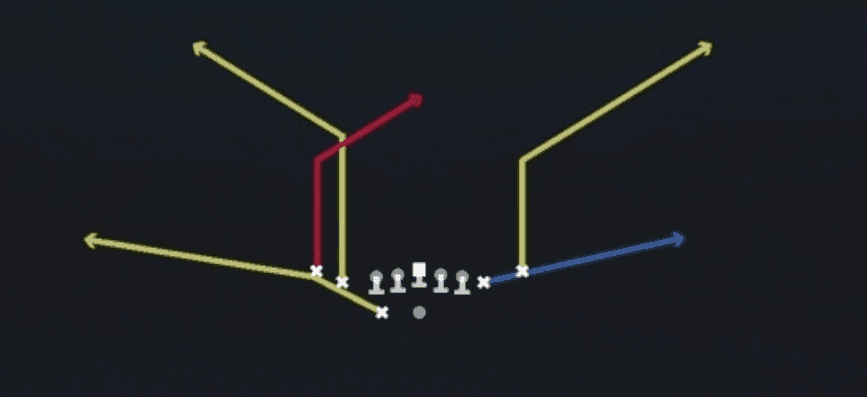 ScissorsScissors, Pass Play, Cover 2 Beater +5
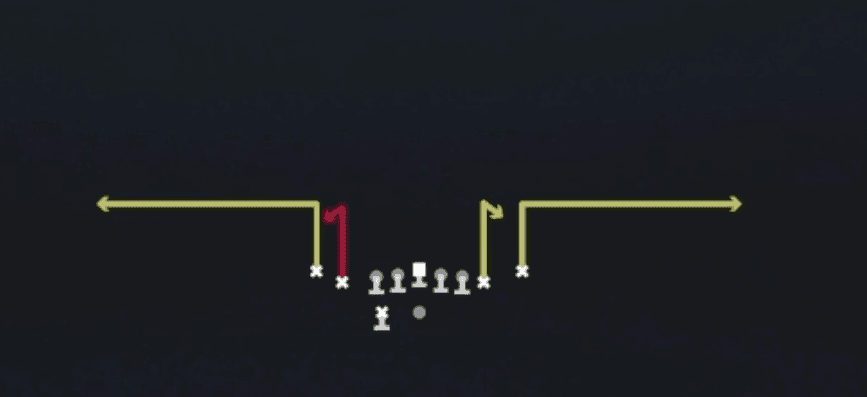 Stick SwitchStick, Stick Concept, Pass Play +2
 X DigDig, Pass Play, Corner +4
 X OutOut, Pass Play, Corner +4