Playbooks
Quick Reference
In 2 playbooks
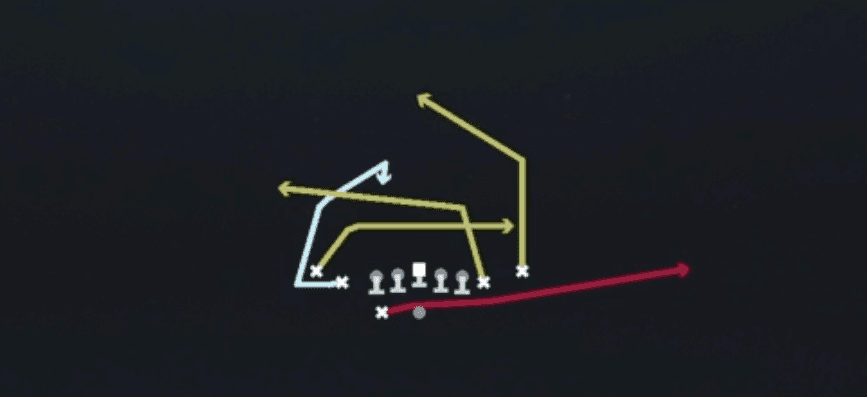
Receiver routes
Depth-chart slots are shown as they line up in the base package for this set.
| Player | Side | Route |
|---|---|---|
| HB1 | Left | Flat |
| WR3 | Left | Curl |
| WR1 | Left | Drag |
| WR2 | Right | Post |
| TE1 | Right | Drag |
Read progression
- HB1 left, Flat
- WR1 left, Drag
- WR2 right, Post
- WR3 left, Curl or TE1 right, Drag
Breakdown
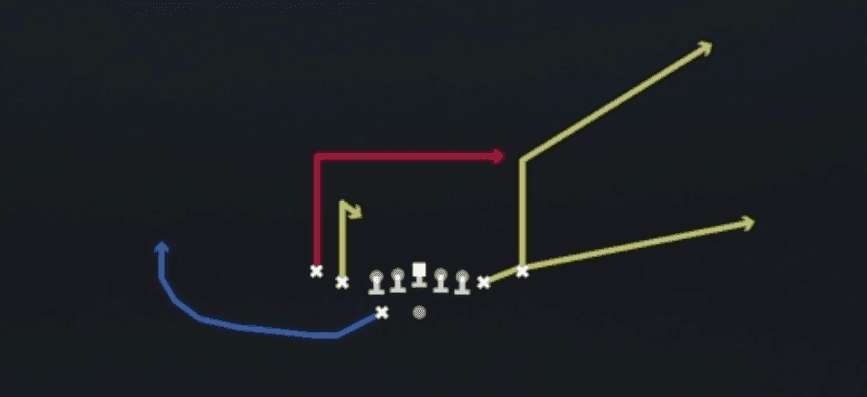
Mtn Mesh Traffic runs a classic mesh concept out of Shotgun Tight Slots HB Wk with 11 personnel. The two inside receivers cross underneath at a shallow depth creating natural traffic for man defenders to fight through, while the outside receiver on the mesh side works a deep comeback breaking back to the sideline. On the opposite side, the TE/slot runs a corner route up the seam and out toward the boundary, and the HB releases into a shallow flat route along the line of scrimmage as a checkdown or blitz outlet. This is a man beater built around natural rub picks from the mesh crossers, with the primary read progression starting on the mesh crossers underneath, moving to the flat route with the HB, and going to the deep comeback or corner route if the mesh gets jumped or the defense drops into a soft zone shell.
Defensive Reads
Pre-snap, identify if the defense is showing man coverage with corners lined up tight on the outside receivers, since that tells you the mesh crossers will likely spring open on the rub. Watch the linebacker depth at the snap, if they sink into shallow zone drops the mesh becomes clogged and you should key the HB flat route as your quicker outlet. Look for a single high safety rotating late, which signals man coverage underneath and makes the mesh crossers and deep comeback route the priority throws. If the defense shows two deep safeties pre-snap with corners playing off, expect a zone shell and be ready to check into the flat route or the corner route on the backside since underneath zone defenders will squat on the mesh. Watch for a user-controlled defender sitting in the mesh area as a lurk threat, if he crashes down on the crossers, immediately reset to the corner route or the deep comeback since that defender vacated coverage responsibility.
Usage Tips
Use this play on second or third and medium when you expect man coverage since the mesh crossers create natural rubs that shake defenders loose. Check the depth of the linebackers pre-snap, if they are sitting shallow in the mesh area consider hot routing one of the crossers to a shallow drag or a different depth to avoid a jam at the mesh point. Against zone shells with defenders sinking underneath, prioritize the HB flat route or the deep comeback since the mesh crossers can get eaten up by underneath zone defenders sitting in the traffic. Pair this play with Mesh Spot or Post Wheel Drag in the same set to keep defenses guessing between similar mesh action and different breakpoints downfield. If you see a single high safety shell, work the comeback route on a hard count since corners playing off coverage will bite on the mesh action underneath and leave the comeback open late in the down.
Other Plays in Tight Slots HB Wk
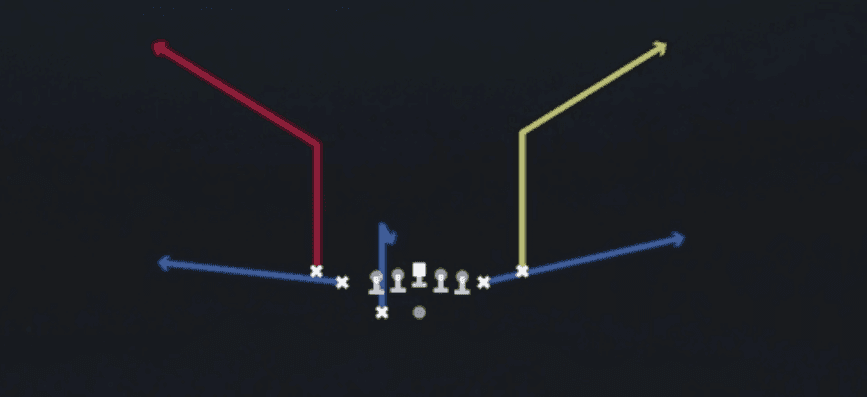 BenchBench, Pass Play, Block and Release +1
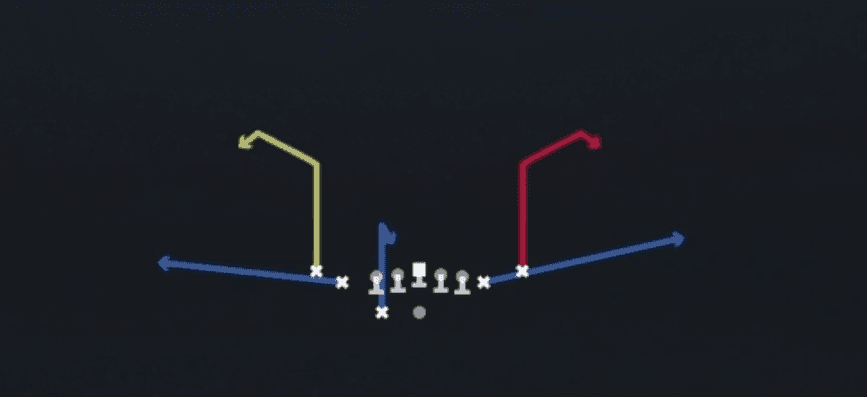 Bench SwirlBench, Pass Play, Block and Release +1
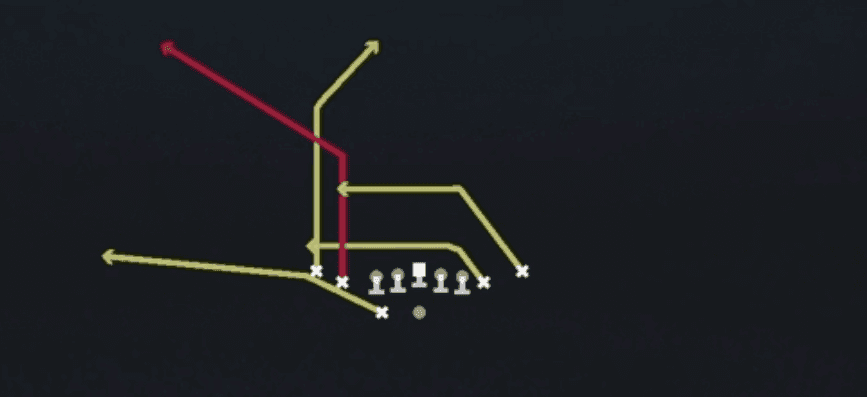 FloodFlood, Pass Play, Cover 3 Beater +6
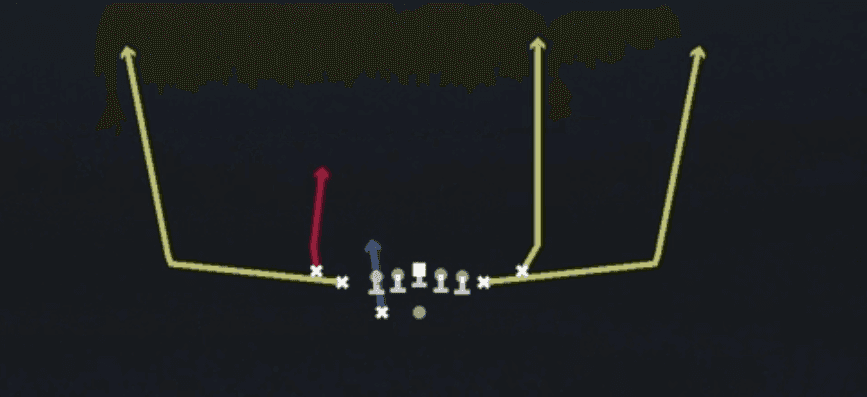 Four VerticalsFour Verts, Pass Play, Cover 2 Beater +5
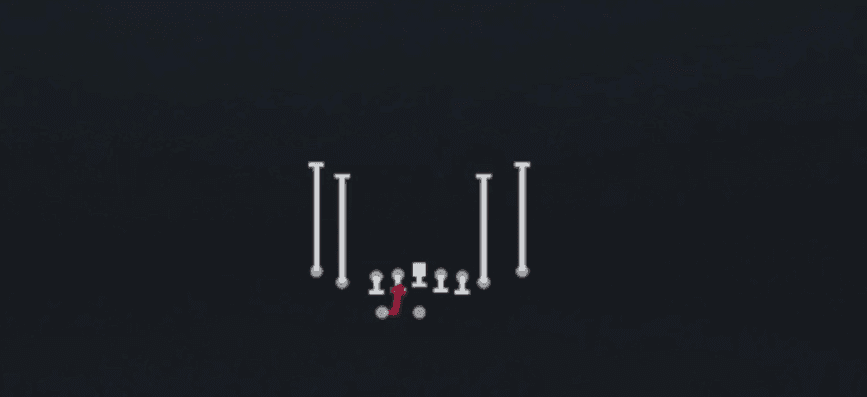 HB Mid DrawDraw, Run Play
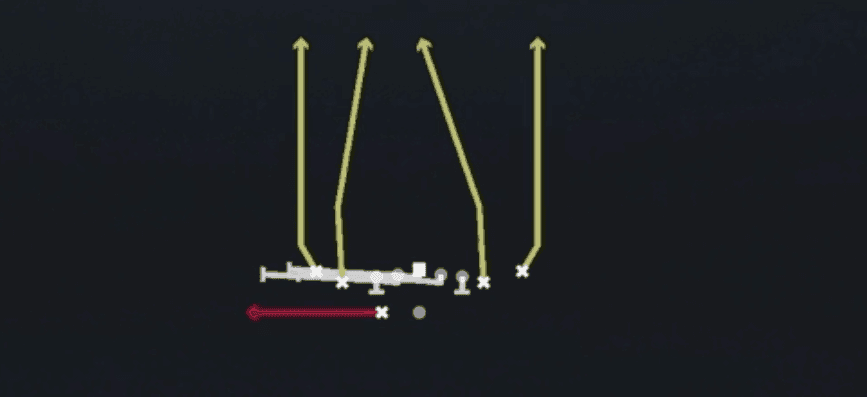 HB Slip ScreenScreen Pass, Hb Screen, Pass Play +2
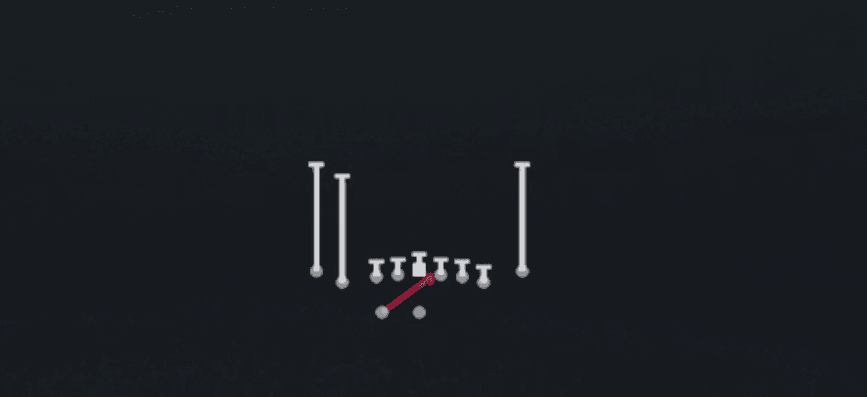 Inside ZoneInside Zone, Run Play, Zone Run
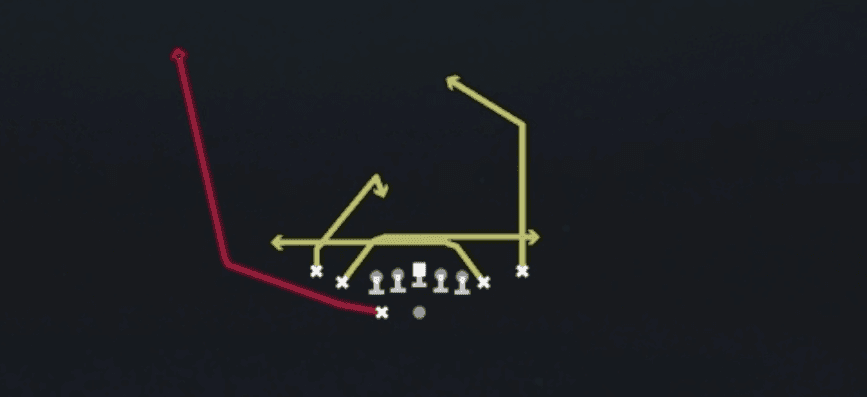 Mesh SpotSpot, Mesh, Pass Play +7
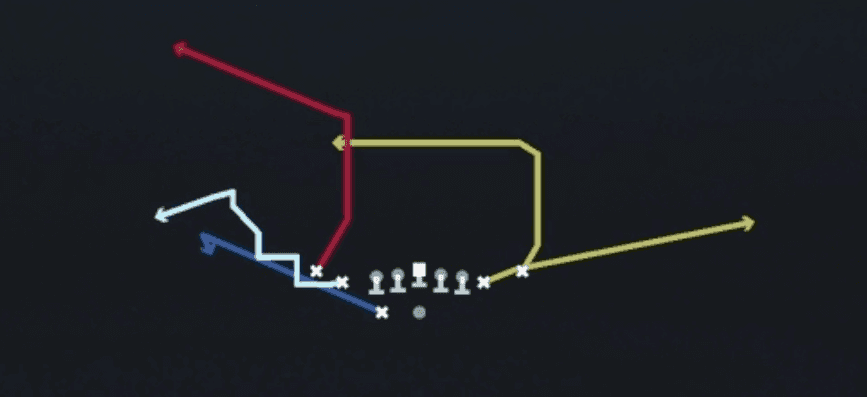 Mtn Dig X-CornerDig, Corner, Motion +4
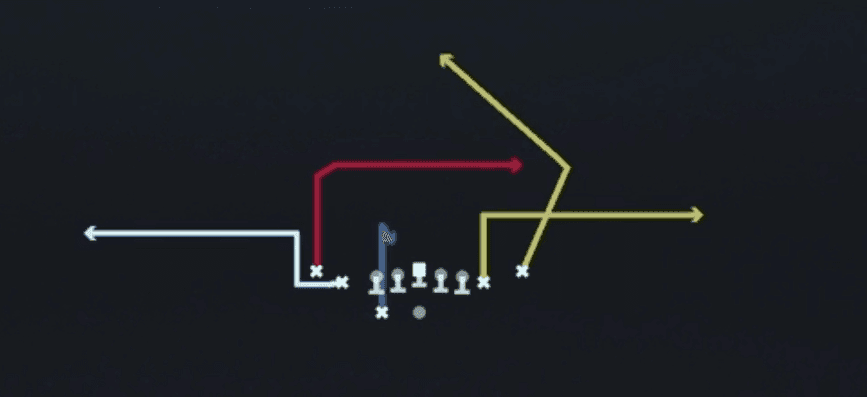 Mtn Outs Z-PostPost, Motion, Pass Play +3
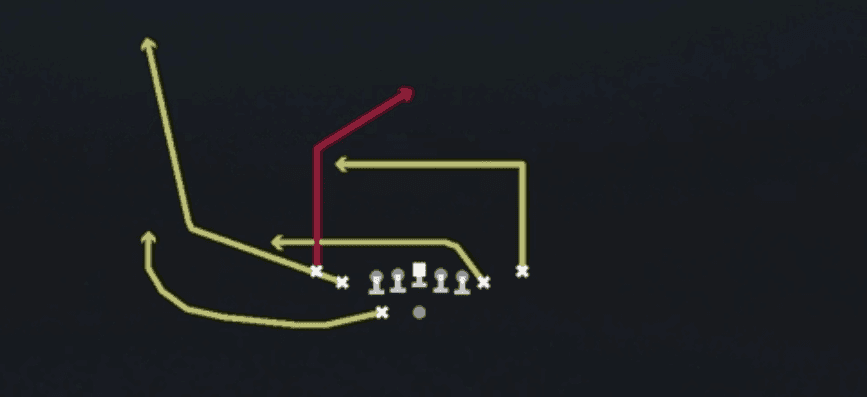 Post Wheel DragPost, Wheel, Drag +4
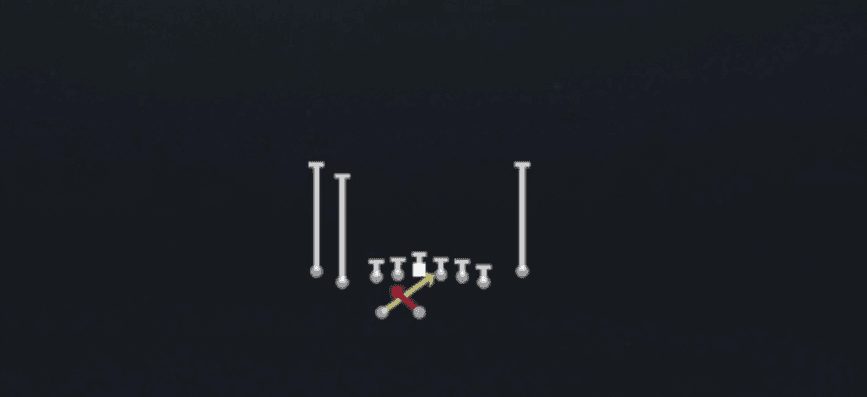 Read OptionRead Option, Run Play
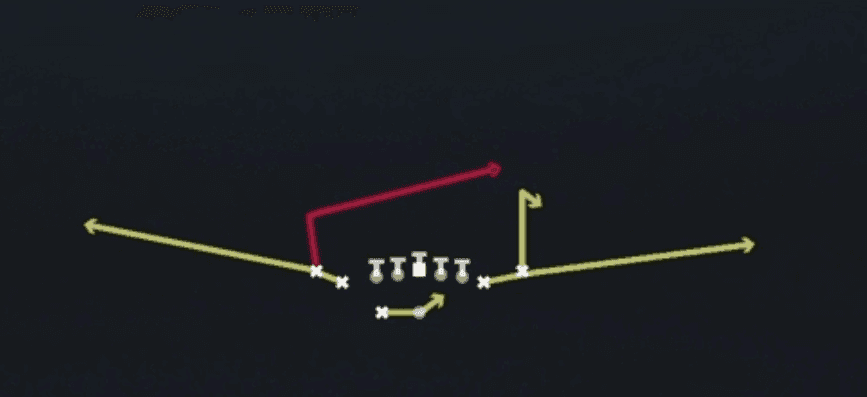 RPO Peek SlantRPO, Slant, Pass Play +1
- RPO Zone PeekRPO, Pass Play, Run Play +3
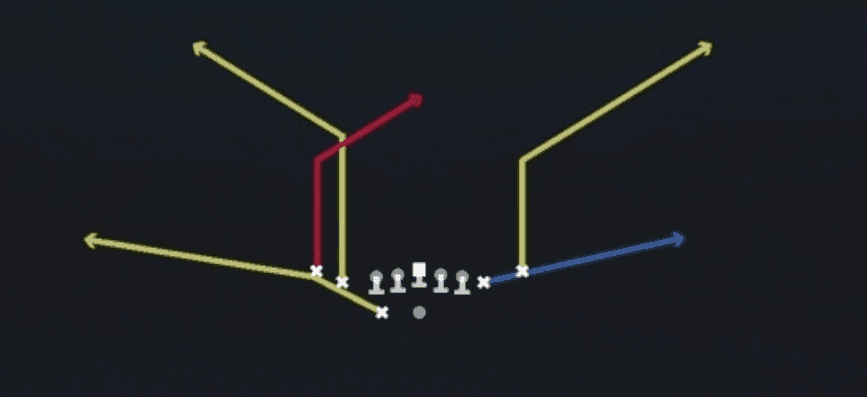 ScissorsScissors, Pass Play, Cover 2 Beater +5
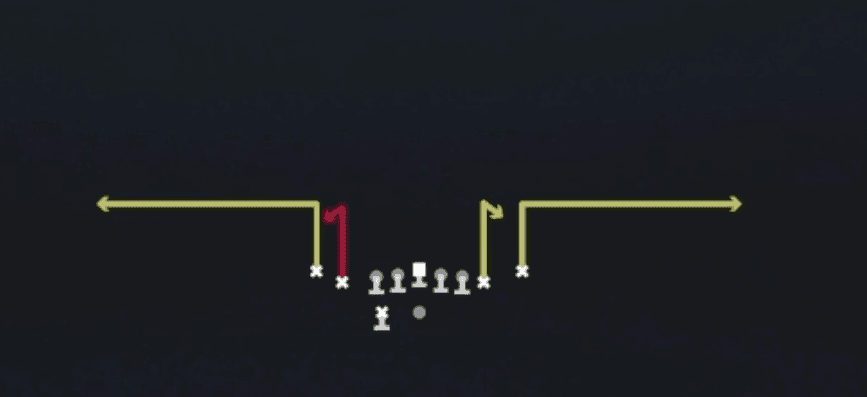 Stick SwitchStick, Stick Concept, Pass Play +2
 X DigDig, Pass Play, Corner +4
 X OutOut, Pass Play, Corner +4