Playbooks

Doubles Off Close

Specialists3DRBGadgetPower HBSLWR
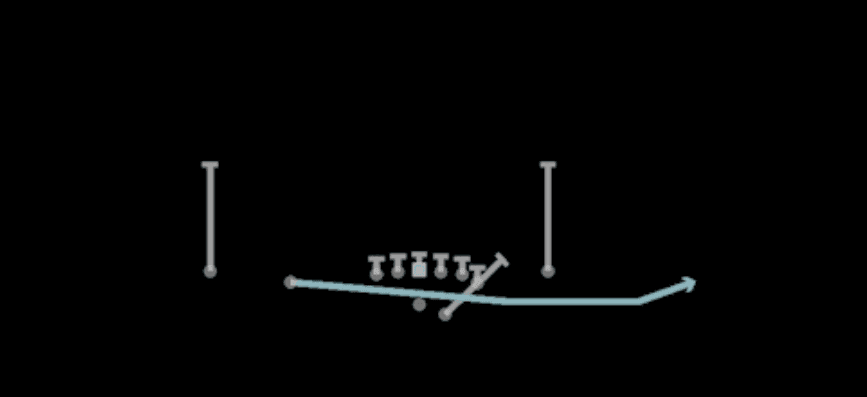
Set alignment for Doubles Off Close from Shotgun in Madden 27

At a Glance

FormationShotgun
Plays10

Not in any team playbook.

Overview

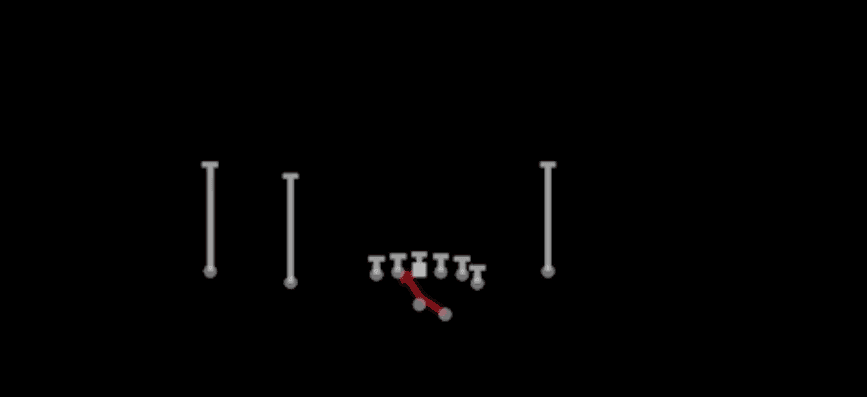
Doubles Off Close is Shotgun's tightened balanced look: two receivers to each side, but the inside pair (the tight end and the slot) squeeze down near the tackles while the outside receivers stay split wide. That compressed spacing is the whole point. Instead of the standard Doubles alignment that stretches defenders across the numbers, Off Close pulls the inside targets into the box area, which forces defenses to either walk a safety or nickel down into the seam or leave the tight end running free through the middle hole. The back is offset behind the quarterback, so run reads and RPO mesh points come clean without needing motion.

The 11 personnel grouping is what makes the set dangerous in Madden. You get a receiving tight end working from a compressed alignment, which means he beats linebacker coverage on Glance and Arrow routes before the safety can rotate over, and you get your best outside receiver on an island against whatever corner is left over on the perimeter. The set carries the tags 3DRB, Gadget, Power HB, and SLWR for a reason: it supports a pass catching back on HB Slip Screen, jet motion gadget concepts, downhill inside runs, and slot mismatch route work all from the same look.

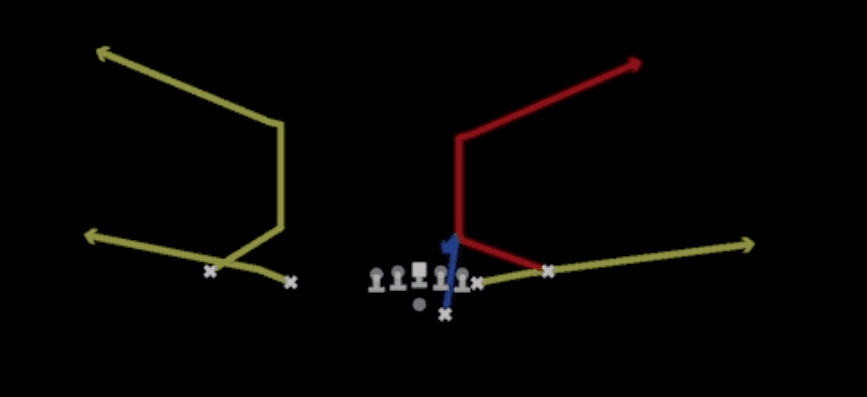
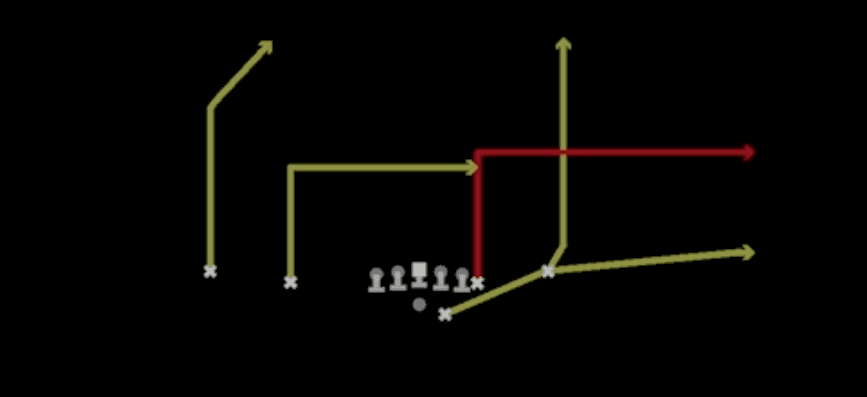
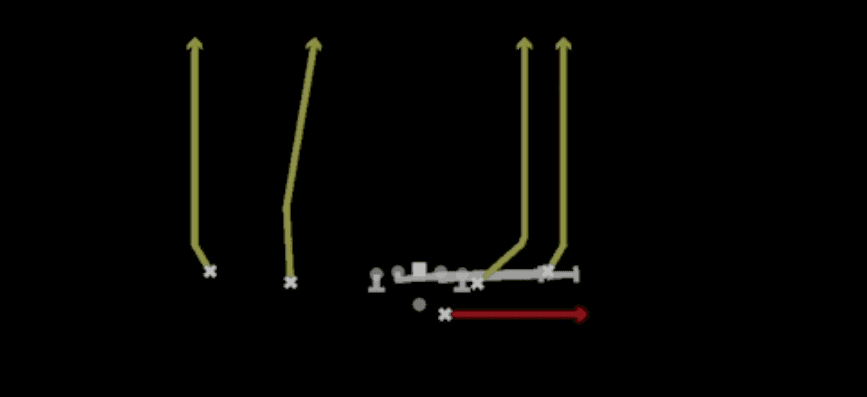
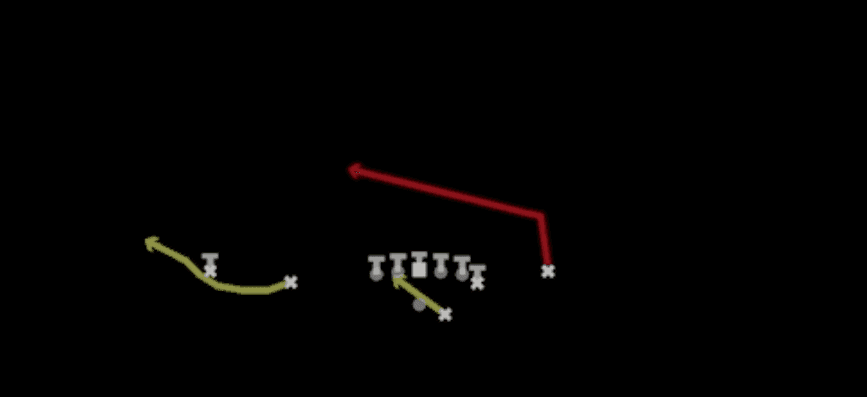
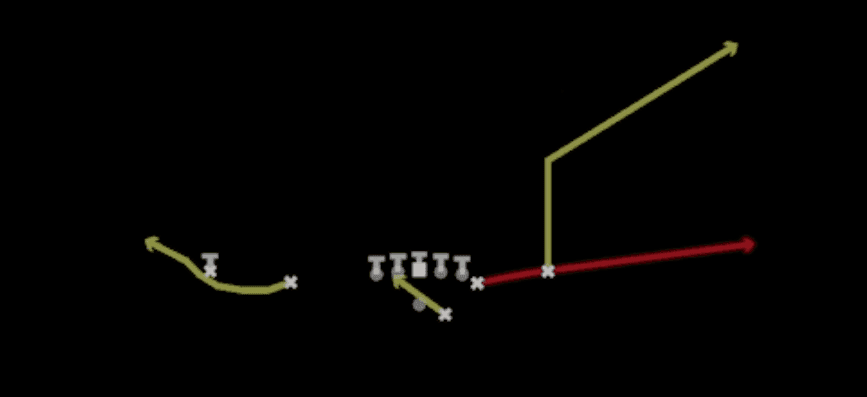
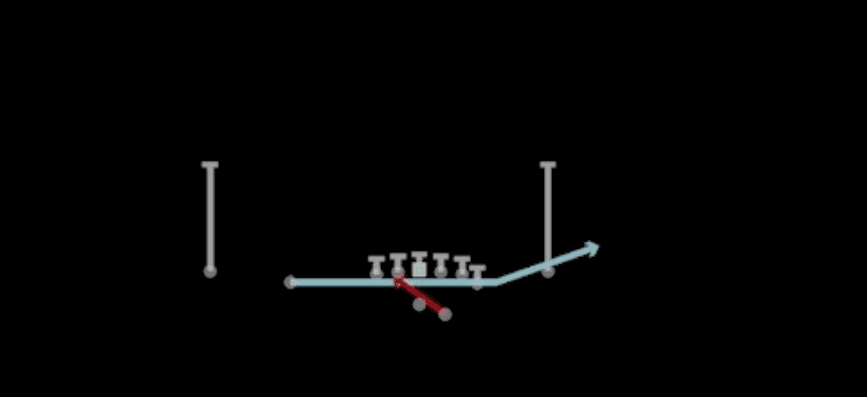
Concept variety is the separator. RPO Glance Slant, RPO Zone Alert Glance, and RPO Read Y Arrow give you three read option layers off the same Inside Zone blocking shell, so the defense sees identical presnap picture and identical run action. Zone Fake Jet, Jet Touch Pass, and PA Jet Sweep add horizontal misdirection that punishes users who overcommit their linebacker to the middle. Flood and Corner Strike are your dedicated zone attack plays, hitting three levels down the sideline and putting a high corner on the deep third respectively.

Strengths

  • RPO Glance Slant and RPO Zone Alert Glance give you a one read throw against single high looks: read the safety presnap, and if he is centered the Glance breaks in behind the linebacker level for a chunk gain with no progression required.
  • Compressed inside alignment creates natural rub traffic, so man coverage defenders on the tight end and slot get held up at the line and Slant, Arrow, and Corner routes separate immediately.
  • Flood floods one side with a three level stretch (deep, intermediate out, and back to the flat), which is a clean Cover 3 and Cover 2 zone beater since it puts the flat defender in a hard conflict.
  • Jet Touch Pass and PA Jet Sweep punish users who sit their controlled linebacker in the middle hook, and Zone Fake Jet sells the same motion for the inside handoff.
  • Isolated outside receivers let you hot route the X to a fade or streak on Inside Zone and RPO plays for a free shot when the corner presses with no deep safety help.
  • HB Slip Screen out of this alignment gets extra blockers because the compressed inside receivers are already close to the second level.

Weaknesses

  • Only one back and one tight end means limited extra protection, so A gap and overload nano blitzes get home before the RPO read or the deep Corner Strike develops.
  • Compressed spacing shrinks the field, which lets a user controlled safety or linebacker cover two inside routes at once without much travel.
  • The RPO concepts stall against two high looks and heavy man coverage, since the run read gets outnumbered and the Glance window closes with a safety sitting over the top.
  • Jet motion concepts telegraph themselves after a few reps, and a user who slides a defender toward the motion or hot routes an edge defender to blitz kills Jet Touch Pass for a big loss.
  • There is no true deep crossing or four vertical concept in the set, so if the opponent plays soft zone and squats on the intermediate levels you are forced into short completions and long field drives.

Usage Tips

Read the safety count presnap. One high or a rotated post safety means take the RPO Glance read; two high means hand it off on Inside Zone or check to a Jet concept to attack the edge.

Use Doubles Off Close on second and medium and third and short where the defense has to respect Inside Zone and Power HB action, then hit RPO Read Y Arrow with the tight end on the second level linebacker.

Motion the slot outward before the snap when you see press man to convert the compressed look into a spread look, which stretches the coverage and creates a one on one for your outside receiver.

Block your back or hot route the tight end to a quick in when you diagnose blitz pressure, since the base protection in 11 personnel will not hold up to a five or six man rush.

Alternate Corner Strike and Flood to the same side so the defense sees identical release patterns, then attack the flat defender when he starts bailing to the deep route.

Save Jet Touch Pass and PA Jet Sweep for after you have established Inside Zone, because the misdirection only works once the user is committed to the middle of the field.

Other Sets in Shotgun

4wr Pack Trips

18 Plays · 1 RB, 0 TE, 4 WR

4WR Trips Strong

18 Plays · 1 RB, 0 TE, 4 WR

5WR Flex Trey

16 Plays · 0 RB, 1 TE, 4 WR

5WR Tight

15 Plays · 0 RB, 0 TE, 5 WR

5WR Trio

31 Plays · 1 RB, 1 TE, 3 WR

5WR Trips

18 Plays · 0 RB, 0 TE, 5 WR

Ace

28 Plays · 1 RB, 2 TE, 2 WR

Ace Offset

17 Plays · 1 RB, 2 TE, 2 WR

Ace Slot

16 Plays · 1 RB, 2 TE, 2 WR

Ace Slot Offset

22 Plays · 1 RB, 2 TE, 2 WR

Box

18 Plays · 1 RB, 0 TE, 4 WR

Box HB Strong

6 Plays · 1 RB, 1 TE, 3 WR

Box Offset Wk

19 Plays · 1 RB, 1 TE, 3 WR

Box Y Off

12 Plays · 1 RB, 1 TE, 3 WR

Box Y Split

24 Plays · 1 RB, 1 TE, 3 WR

Bunch

54 Plays · 1 RB, 1 TE, 3 WR

Bunch HB Str

12 Plays · 1 RB, 1 TE, 3 WR

Bunch Offset

31 Plays · 1 RB, 1 TE, 3 WR

Bunch Offset Close

11 Plays · 1 RB, 1 TE, 3 WR

Bunch Open

9 Plays · 1 RB, 0 TE, 4 WR

Bunch Open Offset

19 Plays · 1 RB, 1 TE, 3 WR

Bunch Open TE

16 Plays · 1 RB, 1 TE, 3 WR

Bunch Quads

9 Plays · 1 RB, 1 TE, 3 WR

Bunch Quads Close

6 Plays · 1 RB, 1 TE, 3 WR

Bunch Quads Open

6 Plays · 1 RB, 1 TE, 3 WR

Bunch Spread

24 Plays · 1 RB, 1 TE, 3 WR

Bunch Spread Nasty

38 Plays · 1 RB, 1 TE, 3 WR

Bunch Str Nasty

33 Plays · 1 RB, 1 TE, 3 WR

Bunch Str Offset

46 Plays · 1 RB, 1 TE, 3 WR

Bunch TE

57 Plays · 1 RB, 1 TE, 3 WR

Bunch TE Str

13 Plays · 1 RB, 1 TE, 3 WR

Bunch TE Wk

18 Plays · 1 RB, 1 TE, 3 WR

Bunch Trio Open

12 Plays · 1 RB, 1 TE, 3 WR

Bunch Wide

29 Plays · 1 RB, 1 TE, 3 WR

Bunch Wide Nasty

23 Plays · 1 RB, 1 TE, 3 WR

Bunch X Nasty

61 Plays · 1 RB, 1 TE, 3 WR

Bunch Y-Flex

37 Plays · 1 RB, 1 TE, 3 WR

Bunch Y-Trips

15 Plays · 1 RB, 1 TE, 3 WR

Cluster

15 Plays · 1 RB, 1 TE, 3 WR

Cluster HB Str

18 Plays · 1 RB, 1 TE, 3 WR

Dbls Flex Y Off Close

24 Plays · 1 RB, 1 TE, 3 WR

Deebo Package

6 Plays · Unknown

Deuce

26 Plays · 1 RB, 2 TE, 2 WR

Deuce Close

53 Plays · 1 RB, 2 TE, 2 WR

Doubles

69 Plays · 1 RB, 1 TE, 3 WR

Doubles Flex

27 Plays · 1 RB, 1 TE, 3 WR

Doubles Flex WK Pats

13 Plays · Unknown

Doubles Flex Wk Swap

12 Plays · 1 RB, 1 TE, 3 WR

Doubles Flex Y Off Close

21 Plays · 1 RB, 1 TE, 3 WR

Doubles HB Wk

48 Plays · 1 RB, 1 TE, 3 WR

Doubles Hip

13 Plays · 1 RB, 1 TE, 3 WR

Doubles Off Close Wk

22 Plays · 1 RB, 1 TE, 3 WR

Doubles Offset

44 Plays · 1 RB, 1 TE, 3 WR

Doubles Offset Wk

57 Plays · 1 RB, 1 TE, 3 WR

Doubles Stack Clamp

27 Plays · 1 RB, 1 TE, 3 WR

Double Stack

21 Plays · 1 RB, 1 TE, 3 WR

Doubles Y-Flex

29 Plays · 1 RB, 1 TE, 3 WR

Doubles Y-Flex Offset

15 Plays · 1 RB, 1 TE, 3 WR

Doubles Y Off

73 Plays · 1 RB, 1 TE, 3 WR

Doubles Y Off Nasty

21 Plays · 1 RB, 1 TE, 3 WR

Doubles Y Off WK

29 Plays · 1 RB, 1 TE, 3 WR

Doubles Z Close

14 Plays · 1 RB, 1 TE, 3 WR

Doubles Z Close Wk

20 Plays · 1 RB, 1 TE, 3 WR

Double Wing

9 Plays · 2 RB, 3 TE, 0 WR

Duo Offset

19 Plays · Unknown

Duo Slot Open

19 Plays · 2 RB, 0 TE, 3 WR

Duo Twins Flex

9 Plays · 2 RB, 1 TE, 2 WR

Empty Ace

15 Plays · 1 RB, 2 TE, 2 WR

Empty Base

35 Plays · 1 RB, 1 TE, 3 WR

Empty Base Flex

35 Plays · 1 RB, 1 TE, 3 WR

Empty Base Trio

21 Plays · 1 RB, 1 TE, 3 WR

Empty Bunch

9 Plays · 1 RB, 1 TE, 3 WR

Empty Bunch Open

17 Plays · 1 RB, 1 TE, 3 WR

Empty Bunch Tight

12 Plays · 1 RB, 1 TE, 3 WR

Empty Bunch Wide

16 Plays · 1 RB, 1 TE, 3 WR

Empty Bunch Y Flex

9 Plays · 1 RB, 1 TE, 3 WR

Empty Chips

9 Plays · 1 RB, 1 TE, 3 WR

Empty Chips Nasty

12 Plays · 1 RB, 1 TE, 3 WR

Empty Chips Quads

9 Plays · 1 RB, 1 TE, 3 WR

Empty Chips Tight

11 Plays · 1 RB, 1 TE, 3 WR

Empty HB Wide

13 Plays · 1 RB, 1 TE, 3 WR

Empty Quads

9 Plays · 0 RB, 1 TE, 4 WR

Empty Sketch Stack

10 Plays · 1 RB, 1 TE, 3 WR

Empty Steeler

12 Plays · 1 RB, 1 TE, 3 WR

Empty Strong Slots

9 Plays · 1 RB, 1 TE, 3 WR

Empty Trey

21 Plays · 1 RB, 1 TE, 3 WR

Empty Trey Flex

12 Plays · Unknown

Empty Trey Stack

15 Plays · 1 RB, 1 TE, 3 WR

Empty Triple Stack

3 Plays · 1 RB, 1 TE, 3 WR

Empty Trips Speed

15 Plays · 1 RB, 1 TE, 3 WR

Empty Y Slot

15 Plays · 1 RB, 1 TE, 3 WR

Flanker Close

17 Plays · 1 RB, 0 TE, 4 WR

Flanker Close WK

9 Plays · 1 RB, 1 TE, 3 WR

Flex Y Off

20 Plays · 1 RB, 1 TE, 3 WR

Flex Y Off Close

19 Plays · 1 RB, 1 TE, 3 WR

Flex Y Off Wk

30 Plays · 1 RB, 1 TE, 3 WR

Gadget Backfield

6 Plays · 3 RB, 1 TE, 1 WR

Gadget Package

6 Plays · 3 RB, 1 TE, 1 WR

Go Go Twins Flex

9 Plays · 2 RB, 1 TE, 2 WR

Heavy Panther

9 Plays · 2 RB, 3 TE, 0 WR

Monster

3 Plays · 1 RB, 1 TE, 3 WR

Normal Flex Snug

17 Plays · 1 RB, 1 TE, 3 WR

Normal Flex Wing

12 Plays · 1 RB, 1 TE, 3 WR

Normal Off Close Wk

24 Plays · 1 RB, 1 TE, 3 WR

Normal Wing Pats Close

7 Plays · Unknown

Normal Y Off

64 Plays · 1 RB, 1 TE, 3 WR

Normal Y Off Close

62 Plays · 1 RB, 1 TE, 3 WR

Normal Y Off Wk

40 Plays · 1 RB, 1 TE, 3 WR

Open Flex

10 Plays · 1 RB, 1 TE, 3 WR

Slot Left

9 Plays · 1 RB, 1 TE, 3 WR

Slot Right

23 Plays · 1 RB, 1 TE, 3 WR

Slot WR Backfield

7 Plays · Unknown

Split Close

30 Plays · 2 RB, 0 TE, 3 WR

Split Close Pro

15 Plays · 2 RB, 1 TE, 2 WR

Split Cowboy

17 Plays · 1 RB, 1 TE, 3 WR

Split Flanker Close

9 Plays · 2 RB, 0 TE, 3 WR

Split Offset

34 Plays · 2 RB, 0 TE, 3 WR

Split Pro Near

18 Plays · 2 RB, 1 TE, 2 WR

Split Pro Offset Wk

6 Plays · 2 RB, 1 TE, 2 WR

Split Slot Offset

47 Plays · 2 RB, 0 TE, 3 WR

Split Slot Open

50 Plays · 2 RB, 0 TE, 3 WR

Split Twins

6 Plays · 2 RB, 1 TE, 2 WR

Split Twins Offset

13 Plays · 2 RB, 1 TE, 2 WR

Split Twins Offset Close

15 Plays · 2 RB, 1 TE, 2 WR

Split Twins Stack

6 Plays · 2 RB, 1 TE, 2 WR

Split U Off Close

9 Plays · 2 RB, 2 TE, 1 WR

Split Wing Nasty

6 Plays · 2 RB, 2 TE, 1 WR

Split WR Backfield

9 Plays · 1 RB, 1 TE, 3 WR

Split Y-Flex

33 Plays · 2 RB, 1 TE, 2 WR

Split Y Off

23 Plays · 2 RB, 1 TE, 2 WR

Split Y Off Close

10 Plays · 1 RB, 1 TE, 3 WR

Spread

85 Plays · 1 RB, 0 TE, 4 WR

Spread 4wr

1 Play · 1 RB, 1 TE, 3 WR

Spread Dbl Flex

43 Plays · 1 RB, 1 TE, 3 WR

Spread Dbl Flex Wk

22 Plays · 1 RB, 1 TE, 3 WR

Spread Flex

29 Plays · 1 RB, 1 TE, 3 WR

Spread Slots Close

22 Plays · 1 RB, 0 TE, 4 WR

Spread Y-Flex

69 Plays · 1 RB, 1 TE, 3 WR

Spread Y-Flex Wk

50 Plays · 1 RB, 1 TE, 3 WR

Spread Y-Slot

93 Plays · 1 RB, 1 TE, 3 WR

Spread Y-Slot Wk

56 Plays · 1 RB, 1 TE, 3 WR

Stack HB WK

15 Plays · 1 RB, 1 TE, 3 WR

Stack Y-Flex

16 Plays · 1 RB, 1 TE, 3 WR

Stack Y Off

17 Plays · 1 RB, 1 TE, 3 WR

Tackle Over

9 Plays · 1 RB, 1 TE, 3 WR

Tackle Over Trips

10 Plays · 1 RB, 1 TE, 3 WR

Tight

34 Plays · 1 RB, 1 TE, 3 WR

Tight Base Flex

9 Plays · 2 RB, 1 TE, 2 WR

Tight Doubles

19 Plays · 1 RB, 1 TE, 3 WR

Tight Flex

25 Plays · 1 RB, 1 TE, 3 WR

Tight Flex Offset

15 Plays · 1 RB, 1 TE, 3 WR

Tight Flex Wk

24 Plays · 1 RB, 1 TE, 3 WR

Tight Offset TE

18 Plays · 1 RB, 1 TE, 3 WR

Tight Open

55 Plays · 1 RB, 1 TE, 3 WR

Tight Slot Flip

9 Plays · 1 RB, 1 TE, 3 WR

Tight Slot Open

10 Plays · 1 RB, 1 TE, 3 WR

Tight Slots

40 Plays · 1 RB, 1 TE, 3 WR

Tight Slots HB Wk

19 Plays · 1 RB, 1 TE, 3 WR

Tight Y Off

43 Plays · 1 RB, 1 TE, 3 WR

Tight Y Off Wk

54 Plays · 1 RB, 1 TE, 3 WR

Trey

12 Plays · 1 RB, 1 TE, 3 WR

Trey 4WR

21 Plays · 1 RB, 0 TE, 4 WR

Trey Offset

24 Plays · 1 RB, 1 TE, 3 WR

Trey Open

85 Plays · 1 RB, 1 TE, 3 WR

Trey Open HB Str

48 Plays · 1 RB, 1 TE, 3 WR

Trey Open Offset

42 Plays · 1 RB, 1 TE, 3 WR

Trey Y-Flex

47 Plays · 1 RB, 1 TE, 3 WR

Trey Y-Flex Str

22 Plays · 1 RB, 1 TE, 3 WR

Trey Y Iso

15 Plays · 1 RB, 1 TE, 3 WR

Trio

30 Plays · 1 RB, 1 TE, 3 WR

Trio 4wr Str

15 Plays · 1 RB, 0 TE, 4 WR

Trio HB Wk

30 Plays · 1 RB, 1 TE, 3 WR

Trio Offset

18 Plays · 1 RB, 1 TE, 3 WR

Trio Offset Wk

17 Plays · 1 RB, 1 TE, 3 WR

Trio Rt Open

1 Play · 1 RB, 1 TE, 3 WR

Trio Y-Flex

32 Plays · 1 RB, 1 TE, 3 WR

Trips

49 Plays · 1 RB, 0 TE, 4 WR

Trips HB Wk

61 Plays · 1 RB, 0 TE, 4 WR

Trips Slots Close

27 Plays · 1 RB, 0 TE, 4 WR

Trips TE

65 Plays · 1 RB, 1 TE, 3 WR

Trips TE Flex

25 Plays · 1 RB, 1 TE, 3 WR

Trips TE Flex Close WK

30 Plays · 1 RB, 1 TE, 3 WR

Trips TE Offset

24 Plays · 1 RB, 1 TE, 3 WR

Trips TE Offset Wk

25 Plays · 1 RB, 1 TE, 3 WR

Trips X Nasty

23 Plays · 1 RB, 1 TE, 3 WR

Trips X Nasty Offset WK

12 Plays · 1 RB, 1 TE, 3 WR

Trips X Nasty Off Wk

12 Plays · 1 RB, 1 TE, 3 WR

Trips Y-Flex

22 Plays · 1 RB, 1 TE, 3 WR

Trips Y Iso

12 Plays · 1 RB, 1 TE, 3 WR

Trips Y Slot Str

6 Plays · 1 RB, 1 TE, 3 WR

U Off Stack

13 Plays · 1 RB, 2 TE, 2 WR

U Off Trips

30 Plays · 1 RB, 2 TE, 2 WR

U Off Trips Flex

15 Plays · 1 RB, 2 TE, 2 WR

U Off Trips Wk

23 Plays · 1 RB, 2 TE, 2 WR

Wide 5wr

24 Plays · Unknown

Wide Doubles Y Off WK

10 Plays · 1 RB, 1 TE, 3 WR

Wide Normal Y Off

6 Plays · 1 RB, 1 TE, 3 WR

Wide Slot Left

16 Plays · Unknown

Wide Slot Right WK

16 Plays · 1 RB, 1 TE, 3 WR

Wide Trips

15 Plays · 1 RB, 0 TE, 4 WR

Wide Trips HB WK

16 Plays · 1 RB, 0 TE, 4 WR

Wide Y Off Trips

11 Plays · 1 RB, 1 TE, 3 WR

Wide Y Trips WK

16 Plays · Unknown

Wing

15 Plays · 1 RB, 2 TE, 2 WR

Wing Close Offset

10 Plays · Unknown

Wing Flex Offset

27 Plays · 1 RB, 2 TE, 2 WR

Wing Flex Offset Wk

24 Plays · 1 RB, 2 TE, 2 WR

Wing HB Wk Close

9 Plays · 1 RB, 2 TE, 2 WR

Wing Pair

16 Plays · 1 RB, 3 TE, 1 WR

Wing Slot Offset

75 Plays · 1 RB, 2 TE, 2 WR

Wing Slot Offset WK

21 Plays · 1 RB, 2 TE, 2 WR

Wing Slot Wk

50 Plays · 1 RB, 2 TE, 2 WR

Wing Stack

21 Plays · 1 RB, 2 TE, 2 WR

Wing Stack Wk

26 Plays · 1 RB, 2 TE, 2 WR

Wing Tight

16 Plays · 1 RB, 3 TE, 1 WR

Wing Tight Flip

12 Plays · 1 RB, 3 TE, 1 WR

Wing Tight Nasty

6 Plays · 1 RB, 3 TE, 1 WR

Wing Tight Z

10 Plays · 1 RB, 3 TE, 1 WR

Wing Trio

18 Plays · 1 RB, 1 TE, 3 WR

Wing Trips WK

30 Plays · 1 RB, 1 TE, 3 WR

Wing Trips Wk Nasty

16 Plays · 1 RB, 1 TE, 3 WR

Wing Trips WK Nasty Mug

20 Plays · Unknown

Y Off Trio Close

35 Plays · 1 RB, 1 TE, 3 WR

Y Off Trio Close WK

21 Plays · 1 RB, 1 TE, 3 WR

Y Off Trio Wk

55 Plays · 1 RB, 1 TE, 3 WR

Y Off Trips

64 Plays · 1 RB, 1 TE, 3 WR

Y Off Trips Close

31 Plays · 1 RB, 1 TE, 3 WR

Y Off Trips Nasty

15 Plays · 1 RB, 1 TE, 3 WR

Y Off Trips Pats

32 Plays · Unknown

Y Off Trips Stack

3 Plays · Unknown

Y Off Trips Wk

68 Plays · 1 RB, 1 TE, 3 WR

Y Trio Offset Wk

23 Plays · 1 RB, 1 TE, 3 WR

Y Trips

4 Plays · 1 RB, 1 TE, 3 WR

Y Trips 1 Slot

1 Play · 1 RB, 1 TE, 3 WR

Y Trips Offset

25 Plays · 1 RB, 1 TE, 3 WR

Y Trips Offset Wk

15 Plays · 1 RB, 1 TE, 3 WR

Y Trips Wk

100 Plays · 1 RB, 1 TE, 3 WR