Playbooks

Overview
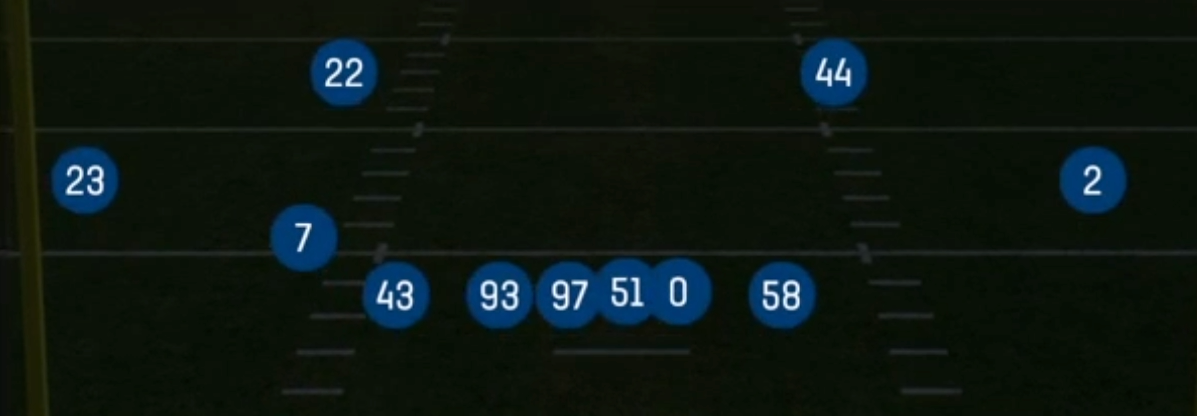
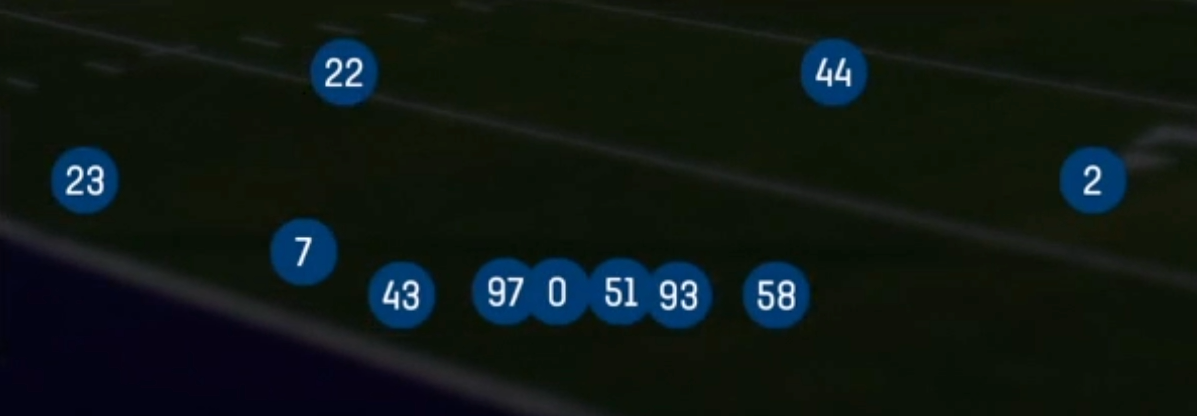
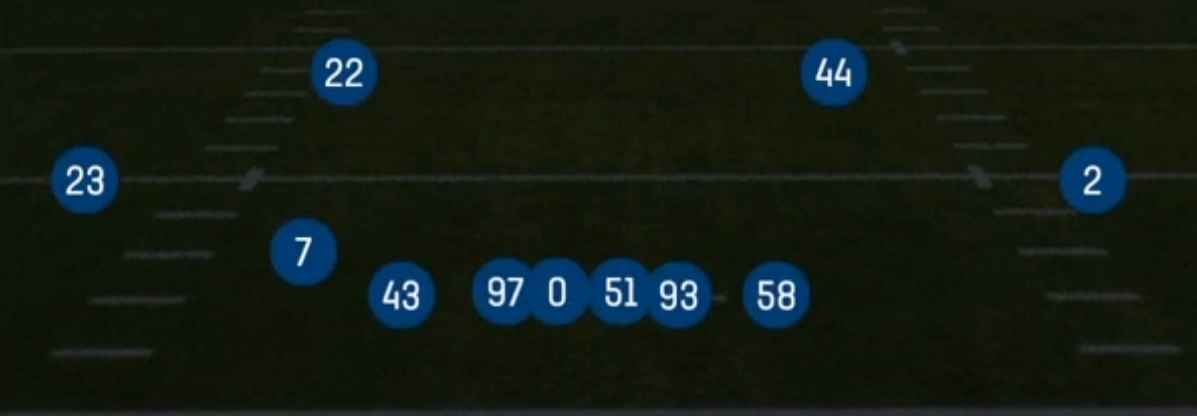
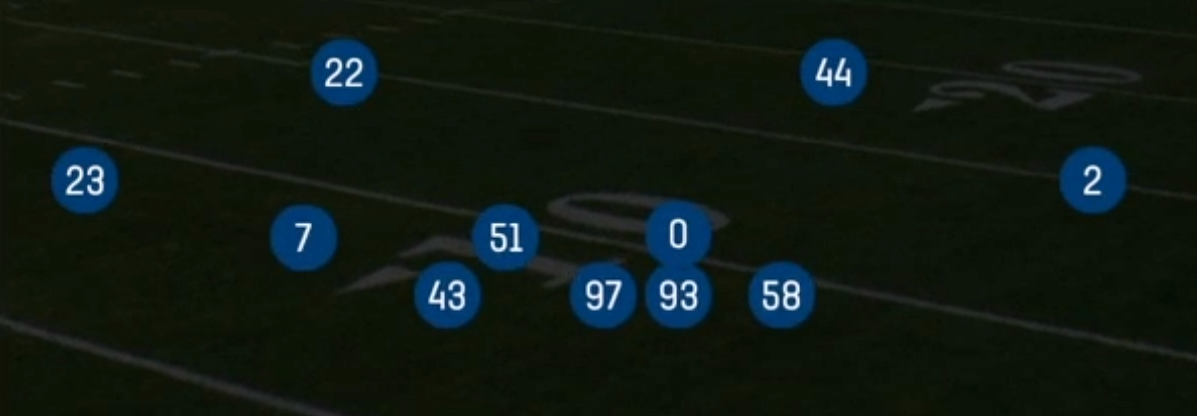
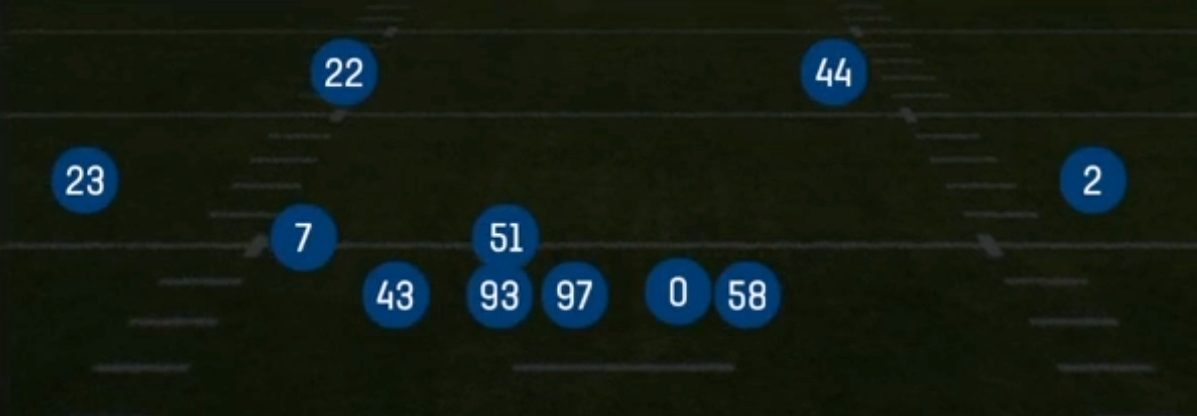
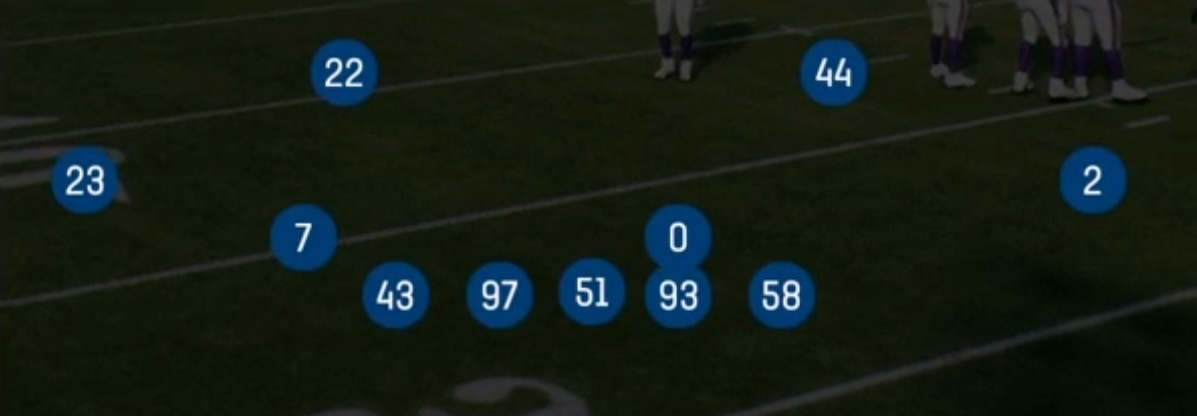
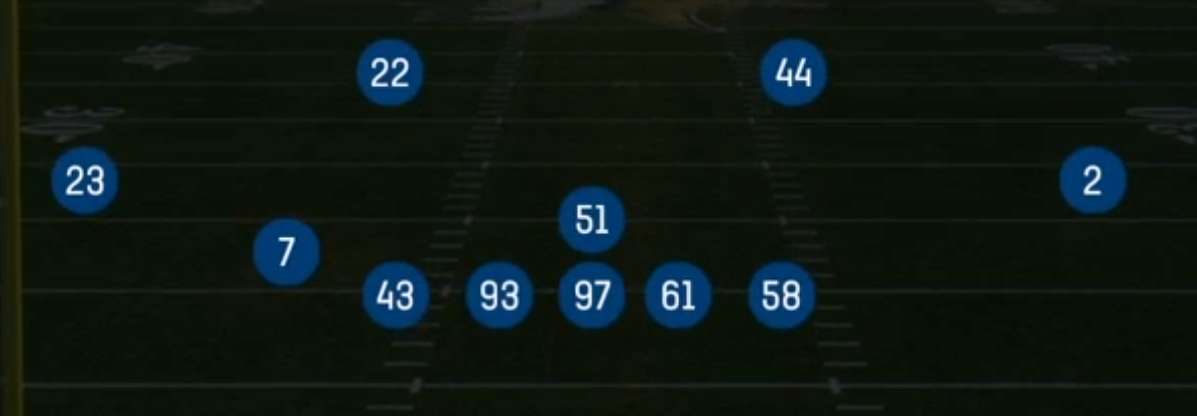
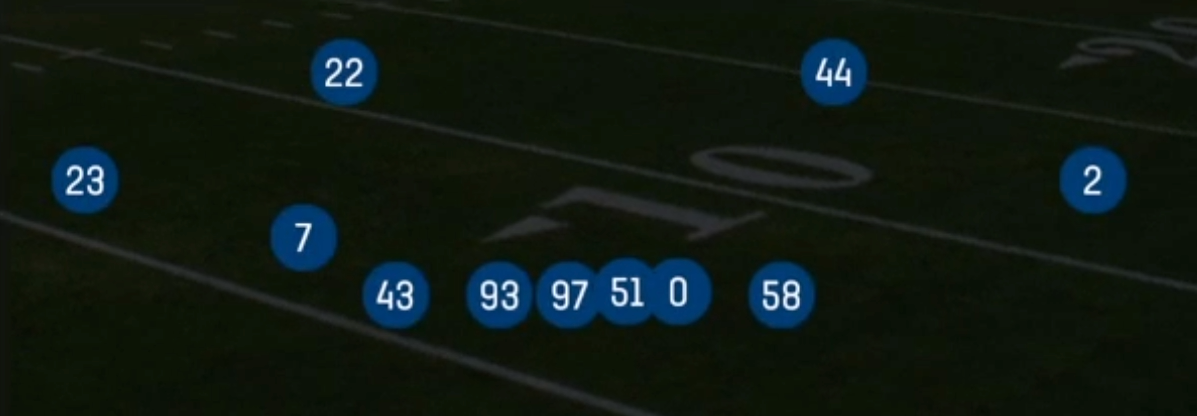
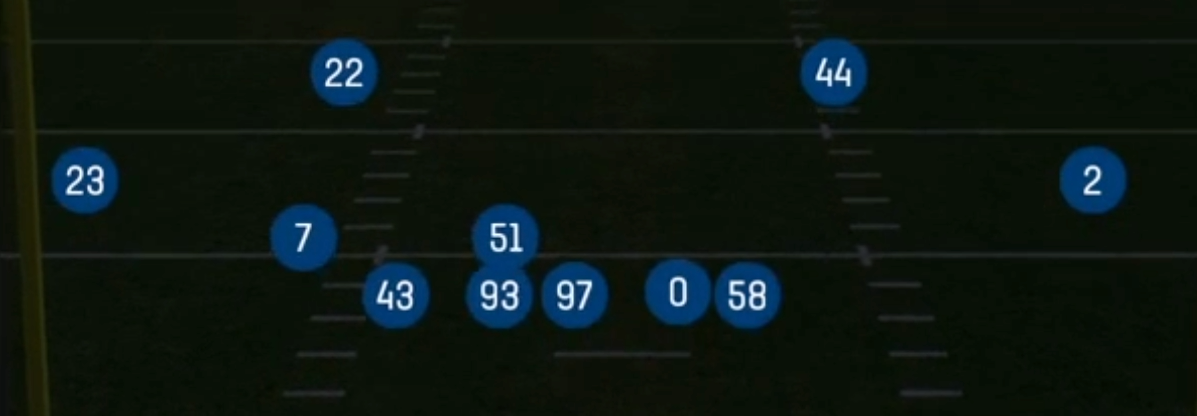
Load Dbl Mug is a pressure-first look within the Nickel formation. Both off-ball linebackers walk up and mug the A gaps over the center, while the Big Nickel 4-2-5 personnel keeps a third safety on the field instead of a pure slot corner. Standard Nickel sets let the offense read the front and coverage before the snap. This set puts six potential rushers at the line, so the protection has to account for every mugged defender before the ball is snapped. The Load tag signals a safety rolled down into the box, which adds a run fit and a disguised rusher without giving up the speed of a five DB package.
The play list is built around simulated pressure and loop stunts: Blitz Loop Sim 3, Nickel Sim 2, Guard Key Sim 2, CB Bench Sim 2, and 1 Dt LB Loop. Each one shows six or seven at the line but rushes four or five, dropping a mugged linebacker or tackle into the hook or hole. Redzone Dt Drop takes this further by dropping an interior lineman into a short zone. That is a strong answer to quick slants and drag concepts near the goal line. When you need real pressure, Blitz Loop 0, Cover 1 LB Blitz, LB Blitz 6, and Side Blitz send overload heat behind the same pre-snap picture.
The personnel creates matchup advantages against 11 and 12 personnel. The third safety can carry a flexed tight end in man coverage, and the slot corner (SLCB) stays on the shifty slot receiver. Because the rush can come from either A gap, a pass-catching back and an inline tight end get kept in to block. That isolates the outside receivers against Cover 3 Match, Cover 3 Sky, and Tampa 2 shells, where the corners and deep safeties already have help.
Strengths
- Double A gap mug forces the offense to slide protection or keep the back in, which erases a check release option and shrinks the route tree on every snap
- Sim pressures like Blitz Loop Sim 3, Nickel Sim 2, and Guard Key Sim 2 show Cover 0 pre-snap but play three deep zone, baiting quick hot routes and slants into dropping linebackers
- Blitz Loop 0 and Cover 1 LB Blitz share the same alignment as the sim looks, so opponents cannot tell true zero pressure from a four man rush with robbers
- Big Nickel personnel with a third safety matches up with flexed tight ends in man coverage and still fits the run from a Load alignment, making the set viable against 12 personnel
- Redzone Dt Drop and Tampa 2 take away inside breaking routes and drags near the goal line, clogging the throwing lanes offenses rely on in tight red zone windows
Weaknesses
- Mugged linebackers leave the second level thin against inside zone and counter, so a quick hitting run through the A gap can reach the safeties before any second level help arrives
- True pressure calls like Blitz Loop 0 and LB Blitz 6 leave no deep help, making them vulnerable to hot routed fades, quick outs, and max protect with a deep post
- Smart opponents motion a back or tight end out of the backfield to empty, which stresses the mugged linebackers into wide man assignments against quicker receivers
- Loop stunts take time to develop, so quick game concepts like slant flat and snag get the ball out before the looping tackle or end ever reaches the pocket
- A stretch run or outside zone toward the Load side can seal the rolled down safety, and the end loops leave the edge soft against jet motion and sweep
Usage Tips
Call Blitz Loop Sim 3 or Nickel Sim 2 on third and medium when the offense shows five man protection. The mugged look baits hot routes into your dropping linebackers
Mix Cover 1 LB Blitz and Blitz Loop 0 with the sim calls from the same look so your opponent cannot key the rush count off the pre-snap alignment
User the dropping linebacker or the rolled down safety in the hook zone on sim pressures to jump slants, drags, and quick digs thrown hot
If the offense lines up in heavy run formations or keeps the back in, back out the linebackers with a coverage audible or switch to Cover 3 Match to protect the second level
In the red zone, pair Redzone Dt Drop with Tampa 2 to take away quick inside breakers. Shade the coverage outside if they show fade tendencies to the boundary
Plays (14)
 1 Dt LB LoopCover 1, Line Stunt, Man Coverage
 Blitz Loop 0Cover 0, Blitz, Line Stunt +2
 Blitz Loop 3Cover 3, Blitz, Line Stunt +1
 Blitz Loop Sim 3Cover 3, Blitz, Simulated Pressure +2
 CB Bench Sim 2Cover 2, Corner Blitz, Simulated Pressure +2
 Cover 1 LB BlitzCover 1, Blitz, LB Blitz +1
 Cover 3 MatchCover 3, Cover 3 Match, Zone Coverage
 Cover 3 SkyCover 3, Cover 3 Sky, Zone Coverage
- Guard Key Sim 2
- LB Blitz 6
 Nickel Sim 2Cover 2, DB Blitz, Simulated Pressure +2
 Redzone Dt DropZone Blitz, Blitz
 Side BlitzBlitz
 Tampa 2Cover 2, Tampa 2, Zone Coverage