Playbooks

Quick Reference
In 2 playbooks
Receiver routes
Depth-chart slots are shown as they line up in the base package for this set.
| Player | Side | Route |
|---|---|---|
| HB1 | Middle | Pass Block |
| TE1 | Middle | Pass Block |
| WR1 | Left | Deep Cross |
| TE2 | Middle | Flat |
| WR2 | Right | Corner Stop |
Read progression
- TE2, Flat
- WR2 right, Corner Stop
- WR1 left, Deep Cross
Breakdown
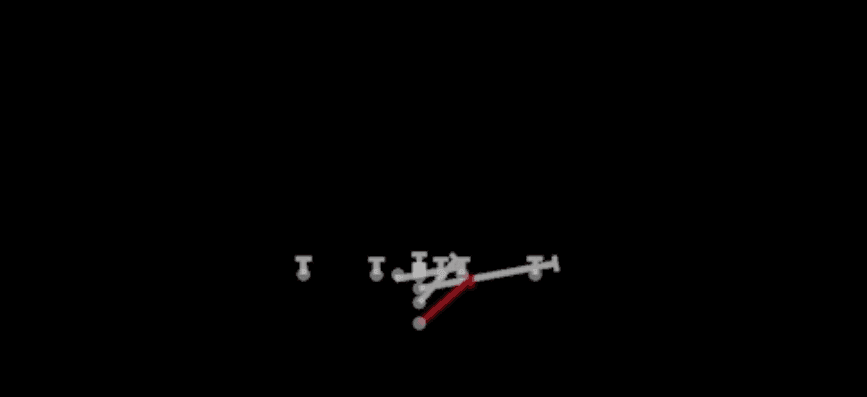
PA Boot out of Maryland I Close uses 12 personnel with a full play-action fake to hold the linebackers before the QB boots to the right. TE2 works the flat as the immediate outlet, WR2 runs a Corner Stop to sit down in the zone hole, and WR1 comes across the formation on a Deep Cross to work away from the rollout for a backside chase play. With HB1 and TE1 staying in to pass protect alongside the offensive line, this is a play-action boot designed to attack zone coverage by isolating the flat and hook defenders while giving the QB a moving pocket.
Defensive Reads
Pre-snap, identify single high versus two high safeties since Cover 3 and Cover 1 leave the flat vulnerable to TE2 right after the play fake. Watch the flat defender's depth and leverage, if he sits too deep the flat is wide open for an easy completion and the drive-killing conversion. Track the hook or curl zone defender because he determines whether WR2's Corner Stop has a window or gets undercut by a lurking linebacker. Man coverage with an aggressive slot corner can jump the flat route, so be ready to climb the progression to the Deep Cross which crosses away from the rollout and creates natural separation against man defenders trailing from behind. Watch for a delayed edge blitz off the boot side since a contained defensive end or outside linebacker can collapse the pocket before the QB gets to his third read.
Usage Tips
Run this out of Maryland I Close on early downs so the run action from Power O and HB Lead Dive out of the same set keeps linebackers honest on the play fake.
Check the flat defender before the snap, if a linebacker or slot corner is sitting hard outside, know that TE2 may be covered and you will need to work through progression quickly.
Use the boot action to buy time against overload blitzes since the rollout naturally escapes pressure from the play side edge.
Pair this with SFT PA Sprint HB Flat and PA FB Sail in your call sheet to keep defenses guessing on which flat or corner route is the real threat off similar play-action shells.
On third and medium, trust the Corner Stop from WR2 to sit down in a soft spot versus zone, but expect it to be tightly covered against man since it lacks natural separation.
Other Plays in Close
 DBL OutsOut, Pass Play, Angle +2
 DuoDuo, Run Play, Power Run
 HB Lead DiveDive, Run Play
 HB TossToss, Run Play
 Mesh HB RailMesh, Pass Play, Man Beater +4
 PA FB SailPlay Action, Sail, Pass Play +7
 PA Power OPlay Action, Pass Play, Post +4
 Power OPower, Run Play, Power Run
 SFT HB Zone WkMotion, Inside Zone, Run Play +1
- Sft Mtn PA Sprint HB FlatPlay Action, Flat, Motion +5
- Sft Mtn Zone WKInside Zone, Motion, Run Play +1
 SFT PA Double CrossPlay Action, Motion, Pass Play +5
 SFT PA Sprint HB FlatPlay Action, Flat, Motion +1