Playbooks

Quick Reference
Receiver routes
Depth-chart slots are shown as they line up in the base package for this set.
| Player | Side | Route |
|---|---|---|
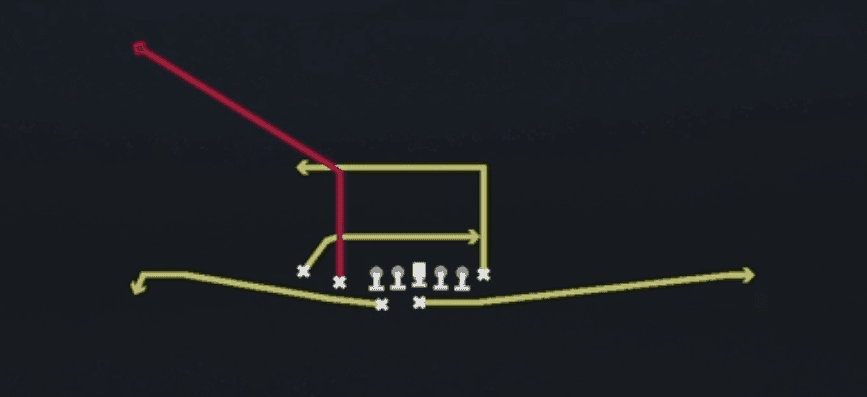
| HB1 | Left | Swing |
| FB1 | Middle | Swing |
| WR2 | Left | Drag |
| WR1 | Left | Corner |
| TE1 | Right | Drag |
Read progression
- WR2 left, Drag
- WR1 left, Corner
- TE1 right, Drag
- HB1 left, Swing
- FB1, SwingCheck-down
Breakdown
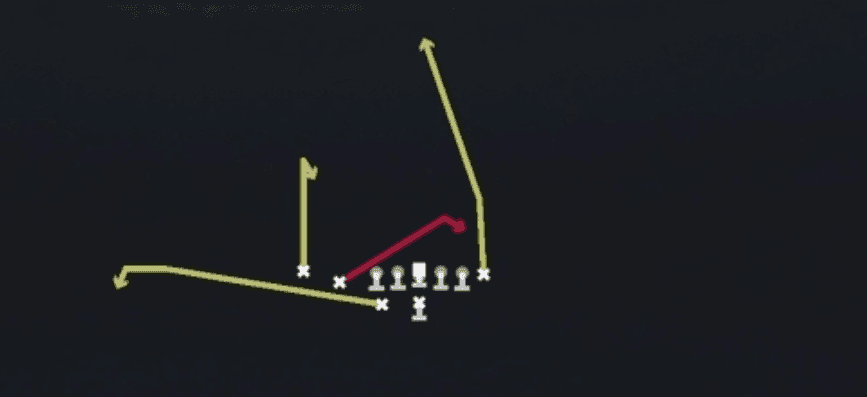
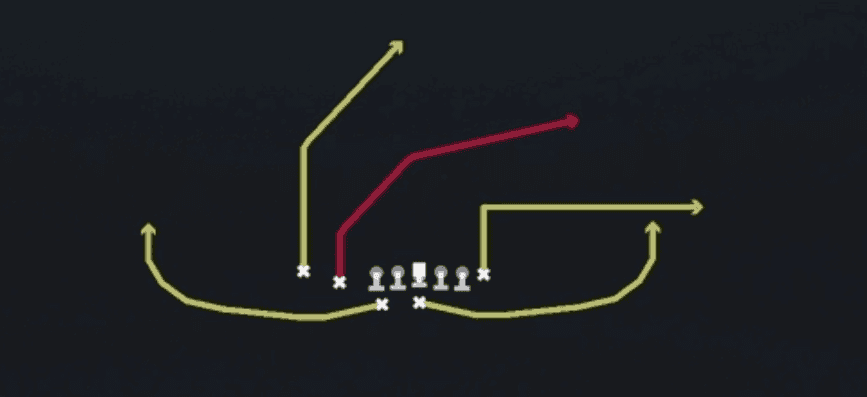
Mesh out of Tight Slot Far uses a classic crossing concept with WR2 and TE1 running drags in opposite directions underneath while WR1 clears the middle on a corner route. Both HB1 and FB1 release to the flats on swing routes for a five level stretch, and the full five man line stays home to pass protect, giving the quarterback a clean pocket to work through his reads. This is a premier man beater since the natural rub created by the crossing drags forces defenders to fight through traffic, but it also holds up against zone thanks to the layered horizontal and vertical spacing.
Defensive Reads
Identify the middle linebacker depth at the snap, since a shallow drop or blitz look opens up both drags immediately for an easy completion. Watch for a user controlled defender sitting in the shallow zone or lurking near the mesh point, as that is the biggest threat to jumping the drag routes and taking them the other way. Check safety alignment before the snap, since a single high safety often signals man coverage that plays into the mesh concept, while two deep safeties suggest zone drops that make the corner route from WR1 the higher value target. Against Cover 3 or Cover 4 shells, be ready to check to the swing routes from HB1 and FB1 since the flats can be vacated late by zone defenders reacting to the crossers. Blitz heavy defenses that bring extra rushers off the edge are dangerous here since the line stays in to protect, so watch pocket integrity closely and be ready to check down quickly to the swing routes if pressure arrives fast.
Usage Tips
Look for man coverage indicators pre-snap like press corners or a single high safety, since the mesh point between the two drags is designed to create natural picks against man defenders. If you see off coverage or a two high shell, trust the layered spacing and work the sideline to sideline stretch instead of forcing the crossers. Use motion across the formation to identify man versus zone before the snap, since a defender following the motion man confirms man coverage and green lights the drag concept. This play thrives on third and medium to third and long where the horizontal stretch can pick up first downs in chunks. Pair it in a sequence with Curl Drag or Slot Corner to keep the defense guessing between mesh crossers and vertical shots off similar formation looks, and mix in HB Dive or FB Dive as run checks if the defense starts sitting on the pass heavy tendencies from this set.