Playbooks
Likely unavailable in the playbook builder
Quick Reference
Not in any team playbook.
Breakdown
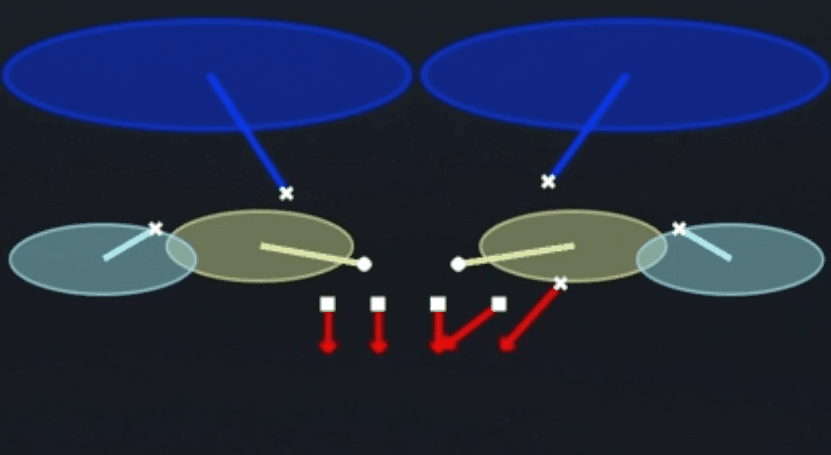
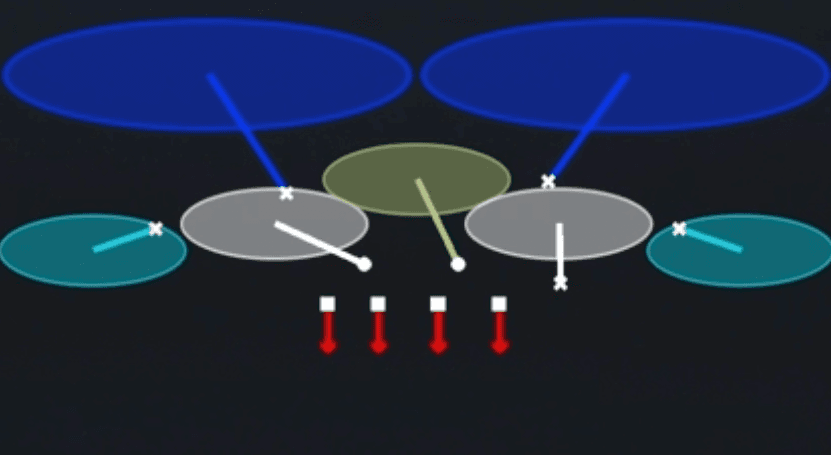
Sam Blitz 2 is a Cover 2 zone blitz out of the Under, Big Nickel 4-2-5 personnel that brings a linebacker off the edge while dropping extra defenders into underneath zones. The diagram shows both outside linebackers rushing off the edges while the two interior defenders sink into short hook/curl zones, with the deep safeties (blue ellipses) splitting the field in two-deep halves behind them. This is a zone blitz designed to disrupt the quarterback's timing on the primary read progression, forcing a quick decision into the shallow zones before receivers can uncover down the field against the two-deep shell.
Defensive Reads
Pre-snap, identify if the offense is in a spread empty set, since that gives the protection enough bodies to pick up the extra rusher and neutralize the blitz. Watch the running back's alignment: if he stays in to block, your edge rush has a much better chance of getting home before the quarterback can climb the pocket. Post-snap, key the shallow crossers and drag routes since the hook zone defenders are responsible for those quick in-breaking routes underneath the blitz. This beats teams that rely on deep digs or comeback routes since the two-deep safeties are sitting on top of those breaks. Man beater route combos with quick slants or option routes against zone can hurt this call if the hook defender bites on play-action, so stay disciplined with your zone drop depth before triggering on the run fake.
Usage Tips
Call this on passing downs where you expect a quick game or timing throw, since the edge pressure is designed to disrupt rhythm before deep routes develop.
Check the offensive formation pre-snap for trips or bunch sets that could overload one of the shallow hook zones, and consider shifting the Big Nickel defender to match.
Disguise the blitz by showing a two-high shell before the snap, then let the edge rushers fire off the ball once the ball is snapped to keep the quarterback guessing.
Pair this with Cover 2 Invert or Tampa 2 in your play-calling sequence so the offense sees similar pre-snap looks but gets different post-snap rotations.
Avoid calling this against empty backfield sets or heavy shotgun spread looks where the extra pass rusher can be picked up easily by a sixth blocker, since the hook zones can get exposed on quick outs.
Other Plays in Under
 2 Invert Hard FlatCover 2, Inverted Coverage, Zone Coverage
 Cover 1 FS FireCover 1, Blitz, Safety Blitz +1
 Cover 1 HoleCover 1, Cover 1 Hole, Man Coverage
 Cover 1 Slant CrashCover 1, Line Slant, Line Stunt +1
 Cover 2 InvertCover 2, Inverted Coverage, Zone Coverage
 Cover 2 ManCover 2 Man, Man To Man, Man Coverage
 Cover 3 MatchCover 3, Cover 3 Match, Zone Coverage
 Cover 3 Sky WkCover 3, Cover 3 Sky, Zone Coverage
 Cover 4 QuartersCover 4, Quarters, Zone Coverage
 Free FireBlitz
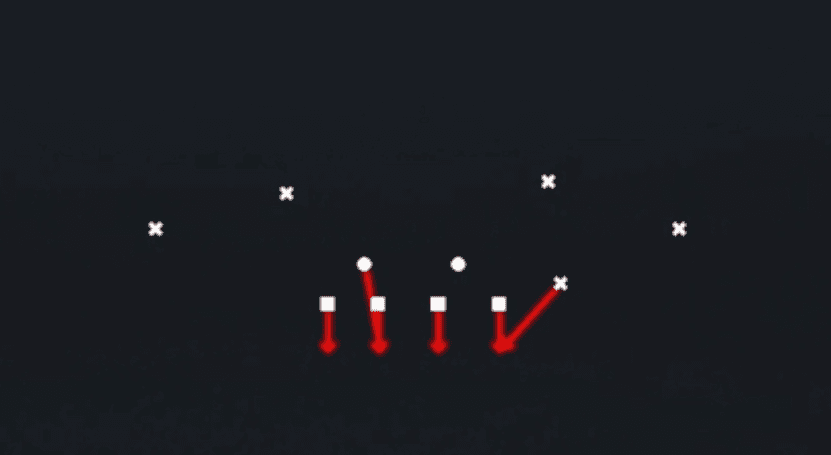 Hammer O BlastBlitz, Safety Blitz
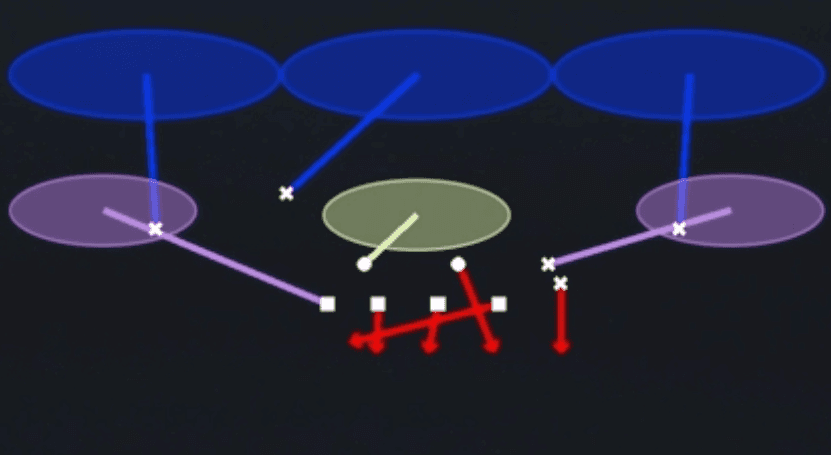 Mike Sam Crash PressLB Blitz, Line Stunt, Blitz
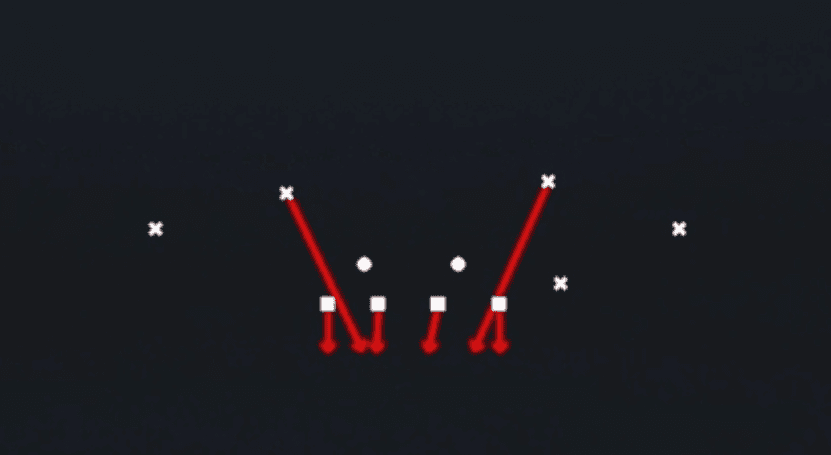 Safety BlitzBlitz, Safety Blitz
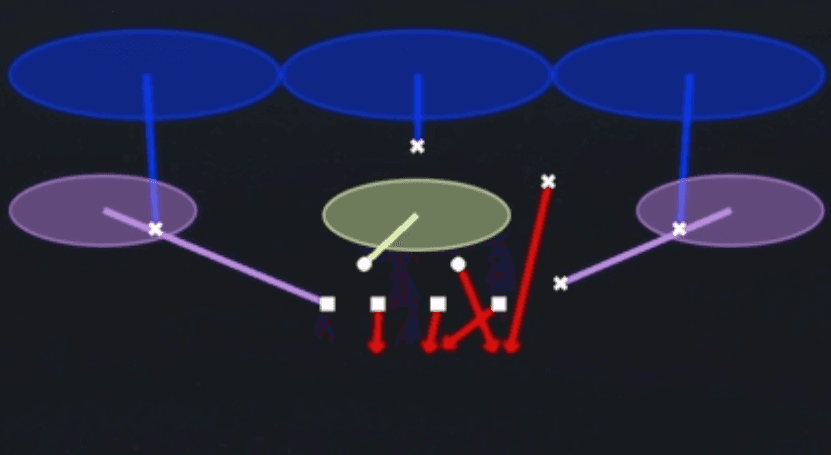 SS Sam Crash PressLB Blitz, Line Stunt, Blitz
 Tampa 2Cover 2, Tampa 2, Zone Coverage
 Will Go Fire 3Cover 3, Blitz, LB Blitz +1
 Wk Corner BlitzBlitz, Corner Blitz