Playbooks

At a Glance
Overview
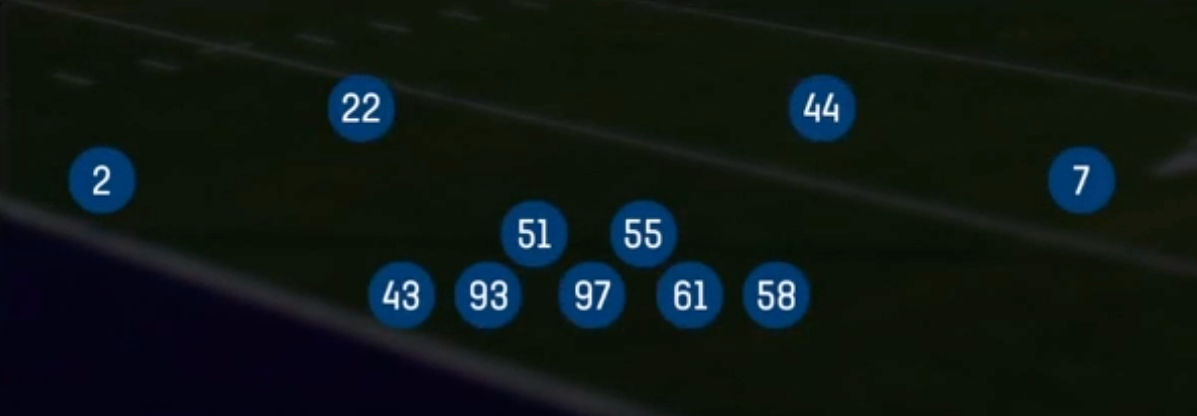
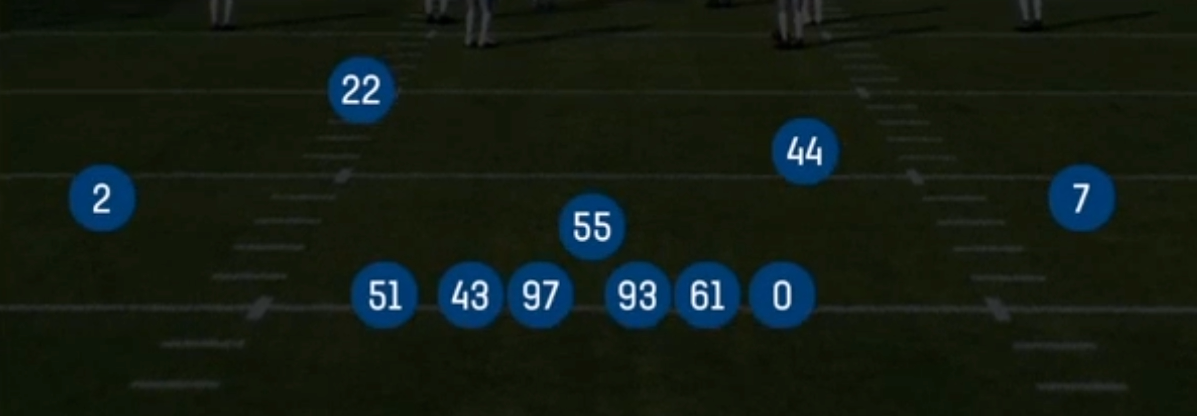
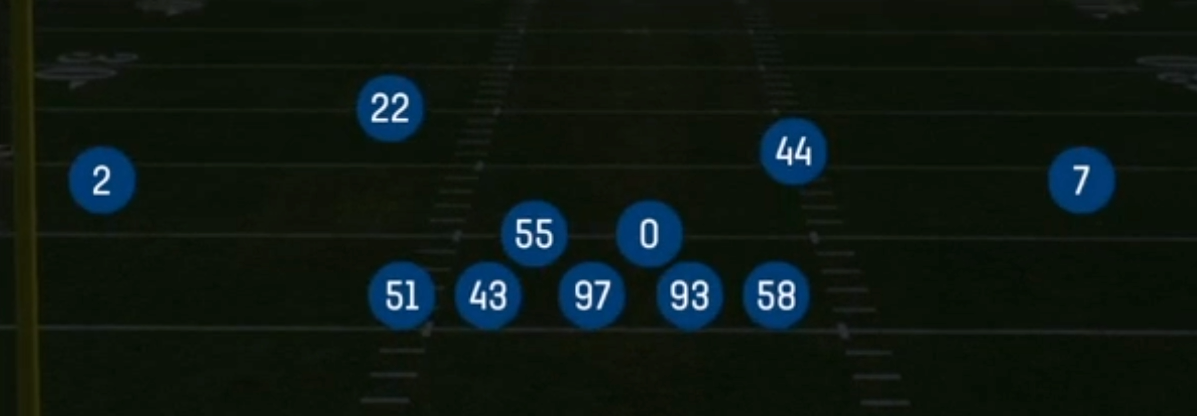
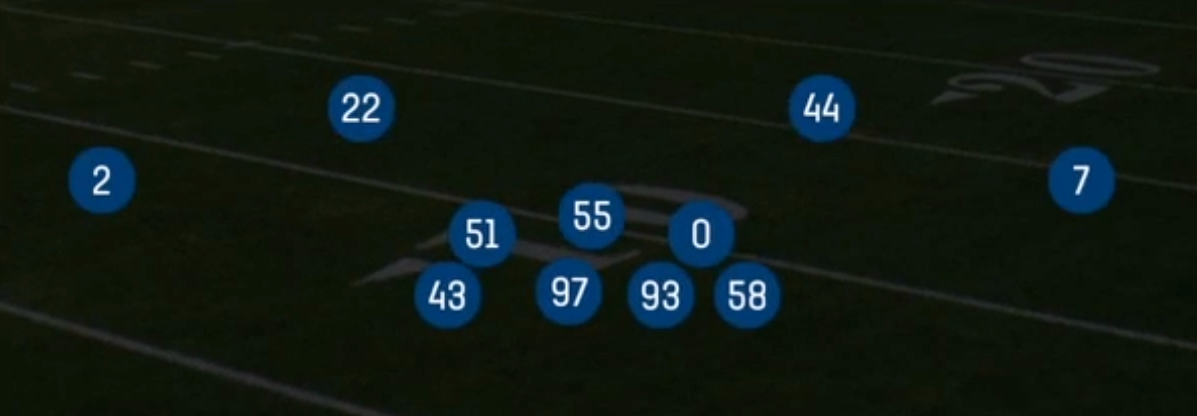
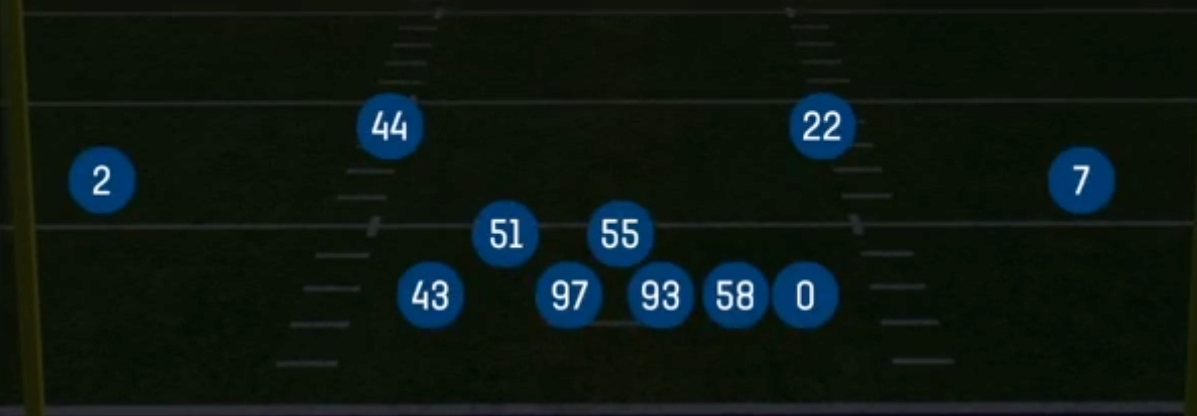
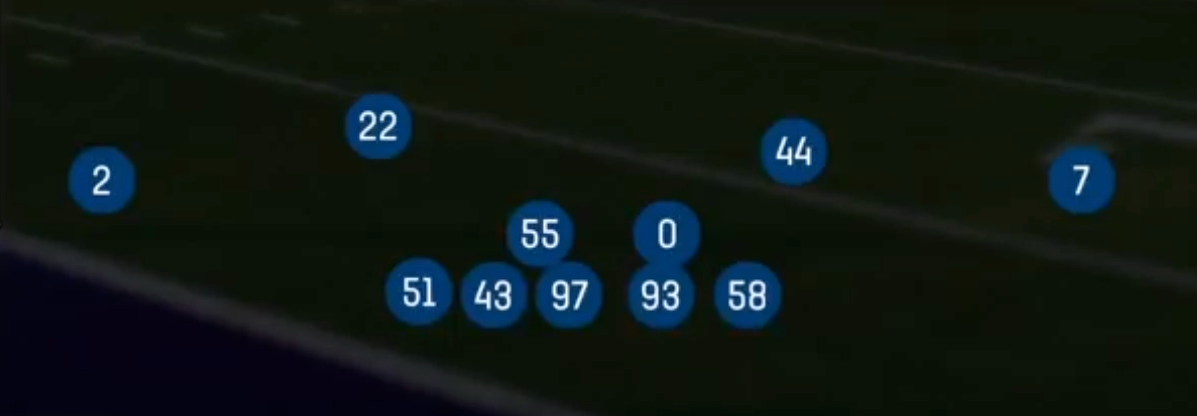
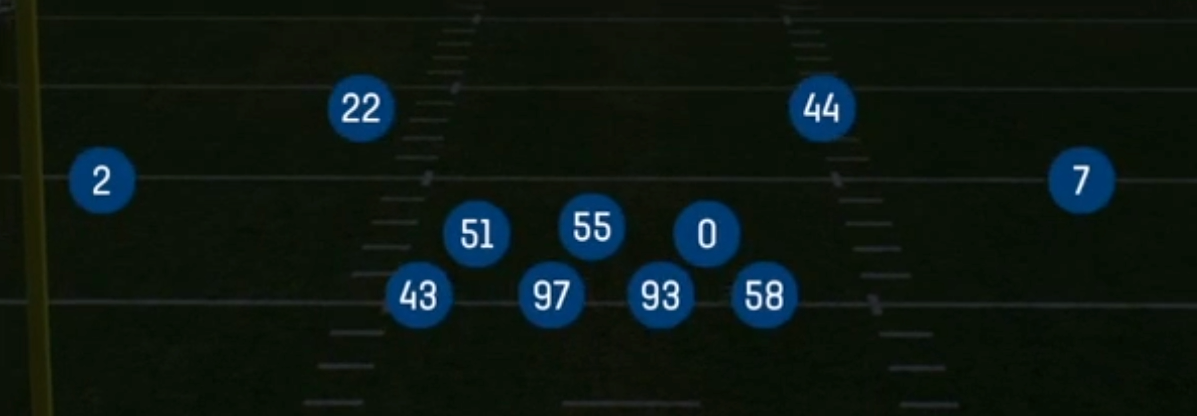
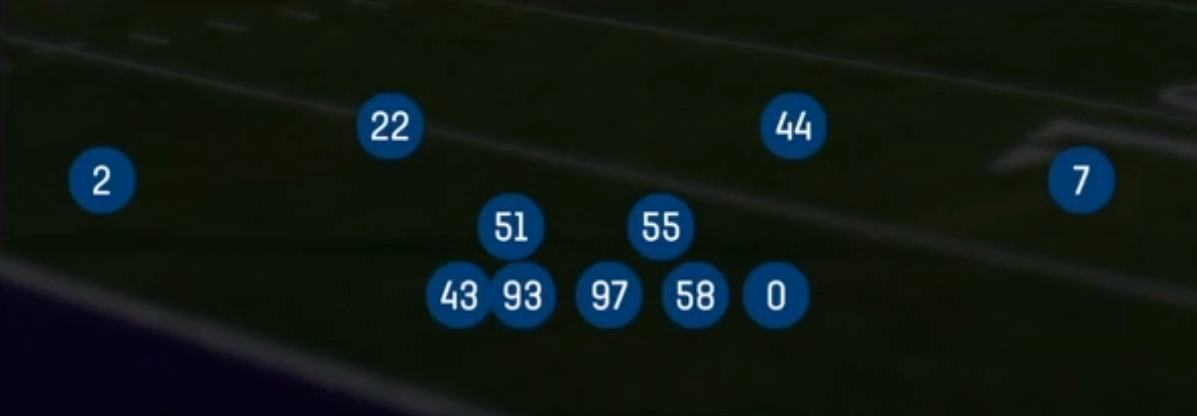
Tite Leo is a run-stopping, pressure-disguising front inside the 4-3 formation that uses the Base 5-2 personnel package. It uses a Tite alignment: a nose tackle (NT) head up or shaded on the center, two interior ends pinched into 4i techniques on the inside shoulders of the tackles, and two rush ends (RLE and RRE) set wide on the edges. Standard 4-3 Over and Under sets rely on a traditional four-man line with three linebackers. Tite Leo puts a fifth body near the line and plays two linebackers behind it. The result is that the A and B gaps are clogged before the snap, the guards cannot climb cleanly to the second level, and the linebackers are free to scrape and fill.
The 5-2 structure changes what offenses can do against you. Inside zone, duo, and power concepts run straight into the nose and the 4i ends, which forces the ball to bounce outside toward the rush ends and the force defenders. Because each edge has a true rush end, offenses lose the easy chip-and-release option on tight ends. Opponents usually have to keep a back or tight end in protection, which caps their route count and makes isolating a receiver harder.
The play list is built around disguise. The Saw Blitz family (0, 1, 2, and 3) sends the same pressure look but changes the coverage behind it. Field Blitz 3 and Hot Blitz 3 bring pressure from different angles while keeping three-deep safety help. SS 2 Trap, Cover 4 Drop, Cover 6, Tampa 2, Cover 3 Match, and Cover 3 Sky give you a full set of zone shells from an identical pre-snap picture. The quarterback cannot tell whether he is facing Cover 0 heat or a soft quarters shell until after the snap.
Strengths
- The Tite interior (NT plus two 4i ends) shuts down inside zone, duo, and counter, forcing ball carriers to bounce into the rush ends and pursuit.
- The Saw Blitz 0, 1, 2, and 3 variations share the same pre-snap look, so offenses cannot hot route to beat the pressure or read the coverage before the snap.
- SS 2 Trap baits quarterbacks into throwing flats and outs against a squatting corner, which makes it a strong call against smash, spacing, and quick out combos.
- Cover 6 and Cover 4 Drop split the field and cap four verts, seams, and post-wheel concepts while keeping a deep defender over the most dangerous vertical threat.
- Two true rush ends (RLE and RRE) threaten both edges, so tight ends and backs are forced to stay in protection, which limits five-man route concepts.
Weaknesses
- With only two linebackers, the underneath zones thin out against spread and empty sets. Mesh, drive, and shallow cross concepts can find the voids, especially in Cover 3 Sky and Cover 3 Match.
- The 4i ends pinch tight, which leaves the perimeter vulnerable to outside zone, stretch, and toss if the rush ends lose contain or get kicked out.
- Against 11 or 10 personnel, the Base 5-2 package can leave a linebacker or even a lineman matched on a slot receiver. That is an easy man beater target on Saw Blitz 0 and Saw Blitz 1.
- Saw Blitz 0 has no deep help, so quick slants, drags, and quick-game hot routes to a slot receiver can go for a big play if the pressure does not get home.
- Pre-snap motion can reveal man versus zone. Savvy opponents use jet or orbit motion to identify Saw Blitz 1 and Saw Blitz 0 and then check into a man beater.
Usage Tips
Deploy Tite Leo against 12, 21, and 22 personnel and in short-yardage or goal-line downs, where the five-man front wins the interior run game and eliminates quarterback sneaks and inside dives.
Rotate the Saw Blitz family on 3rd and medium, alternating Saw Blitz 3 and Saw Blitz 2 with Saw Blitz 1 so the same look produces different coverage. This punishes opponents who pre-read the blitz and hot route a slant.
User the MLB or a robber-depth safety in Tampa 2 and Cover 3 Match to take away the middle hole. This covers the biggest gap left by having only two linebackers.
Against trips or spread sets, check into Cover 6 or Cover 3 Match instead of man blitzes. Consider shading the coverage toward the passing strength so the linebackers are not isolated on slot receivers.
Call SS 2 Trap after an opponent completes a flat or out route. The squat corner jumps the same throw, which makes it a strong interception call in the red zone and on 2nd and short.
Plays (12)
 Cover 3 MatchCover 3, Cover 3 Match, Zone Coverage
 Cover 3 SkyCover 3, Cover 3 Sky, Zone Coverage
 Cover 4 DropCover 4, Zone Coverage
 Cover 6Cover 6, Zone Coverage
 Field Blitz 3Cover 3, Blitz, Zone Coverage
 Hot Blitz 3Cover 3, Blitz, Zone Coverage
 Saw Blitz 0Cover 0, Blitz, Man Coverage +1
 Saw Blitz 1Cover 1, Blitz, Man Coverage
 Saw Blitz 2Cover 2, Blitz, Zone Coverage
 Saw Blitz 3Cover 3, Blitz, Zone Coverage
 SS 2 TrapCover 2, Trap Coverage, Zone Coverage
 Tampa 2Cover 2, Tampa 2, Zone Coverage