Playbooks
Likely unavailable in the playbook builder
Quick Reference
Not in any team playbook.
Breakdown
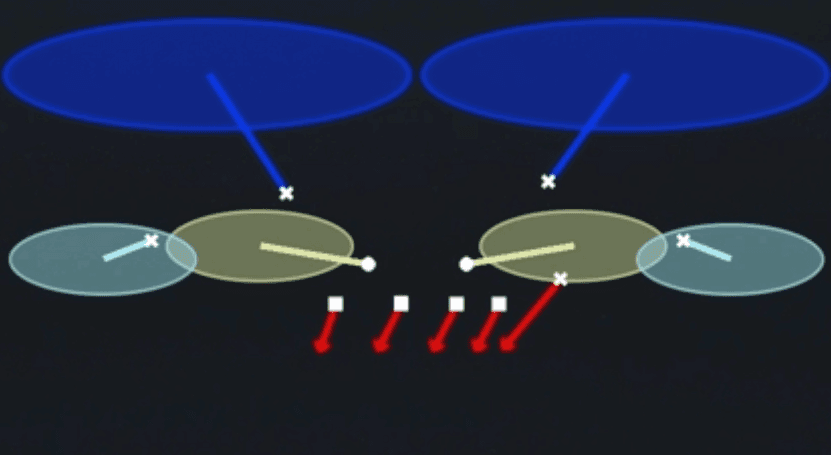
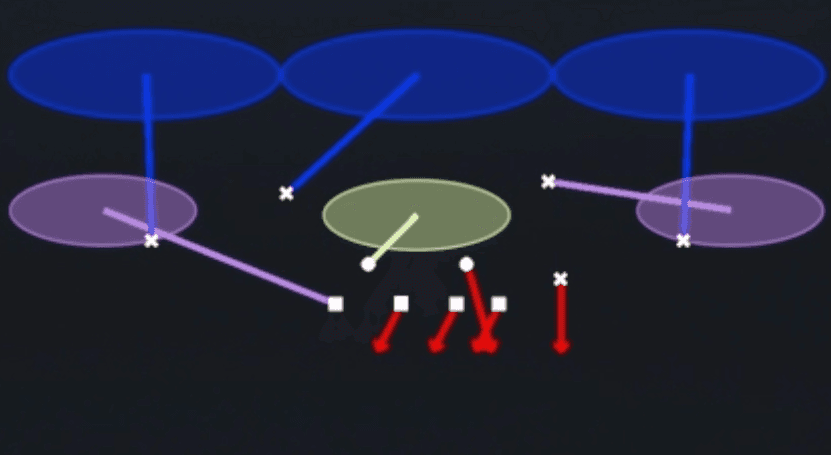
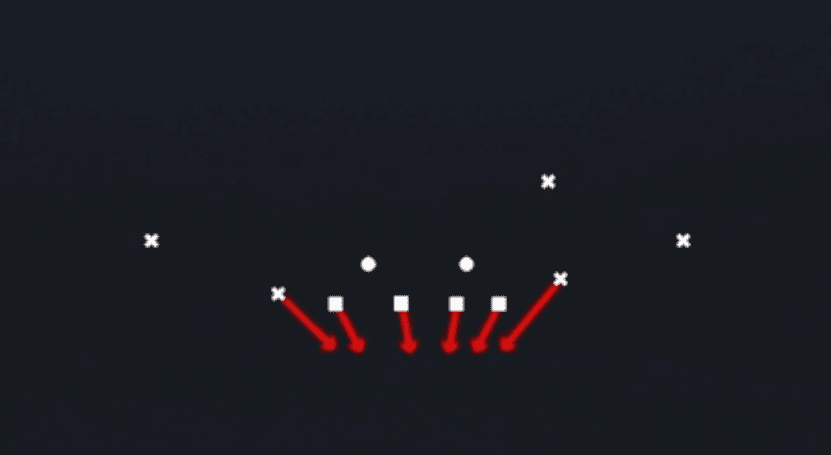
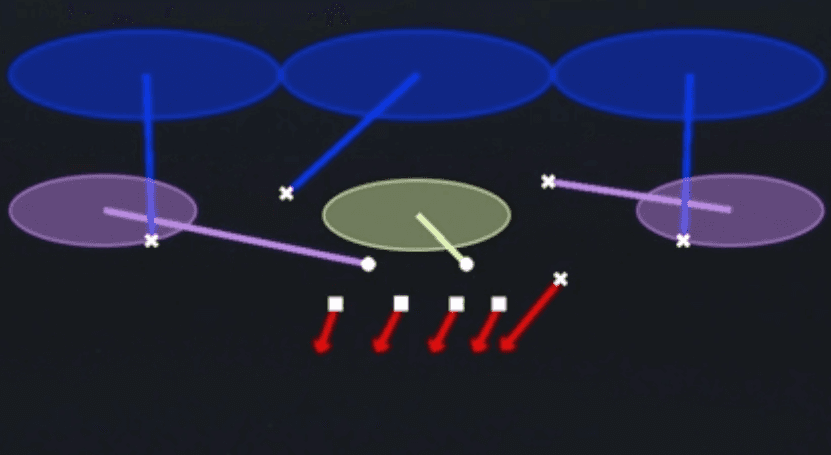
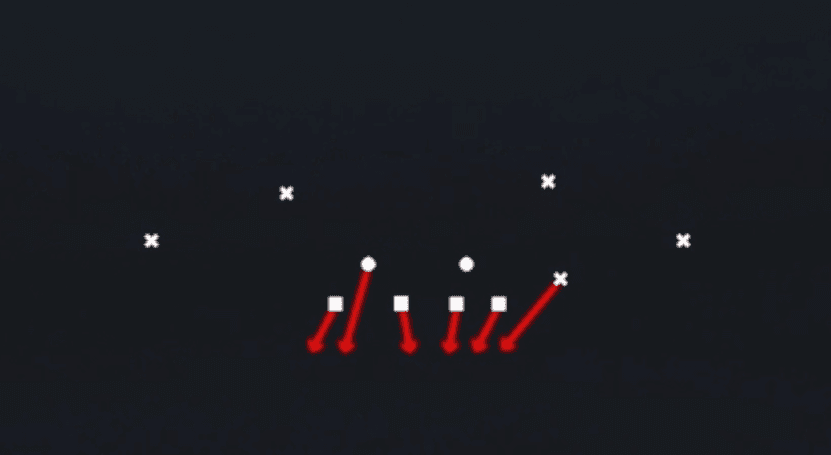
SS Blitz 2 is a Cover 2 zone blitz out of the Big Nickel Over G set that sends the strong safety on a downhill blitz off the edge while dropping five defenders into a two deep, five underneath shell. The two deep safeties rotate over the top to bracket the field in halves, the outside corners sink into their shallow zones with an X key showing them latch onto the widest receiver before settling, and the underside linebackers and nickel spin into short and intermediate zones to clog the middle of the field. This is a zone blitz designed to disguise pressure while still protecting the deep half against verticals, and the primary read progression for the defense is to trigger the blitzer first, then work zone leverage on any quick game or curl-flat combo the offense throws underneath.
Defensive Reads
Pre-snap, check safety depth and alignment. If both safeties are showing deep halves with no rotation, that confirms the Cover 2 shell and tells you the sideline throws behind the corners are the vulnerable zone. Post-snap, watch the strong safety blitz path off the edge. If the offensive tackle or tight end climbs to pick him up late, expect the throw to come out quick to beat the extra rusher. This play beats teams that sit in quick game or three step drops because the underneath zone defenders can close on curls and flats before the ball arrives. It gets exposed by hot routes into the vacated blitz lane and by any concept with a route sitting in the void behind the underneath zone but in front of the deep safeties, so key on receivers settling in that soft spot. Man beater concepts with a receiver working away from the blitz side flat and into open grass can stress the zone if the underneath defenders are late rotating, so track leverage of the nickel and linebackers immediately after the snap.
Usage Tips
Call this on early downs or second and medium when you expect play action or quick game since the two deep shell caps verticals while the SS blitz punishes slow developing drops.
Pre-snap, identify the offensive formation strength and make sure the safety blitz is coming from the side with the fewest blockers to avoid a free lane getting picked off by a tight end or running back check release.
User the strong safety blitzer immediately at the snap to control his rush angle, then be ready to spy or peel to a leaking back if the offense has a check release built in.
Combine this with Cover 2 or Cover 2 Contain earlier in a series to sell the same shell look, then dial up SS Blitz 2 to catch the offense settling into hot routes against what they think is a standard two deep zone.
Avoid calling this against empty or spread formations where the extra blitzer opens up too much grass underneath for a hot route to slot receivers.
Other Plays in Over G
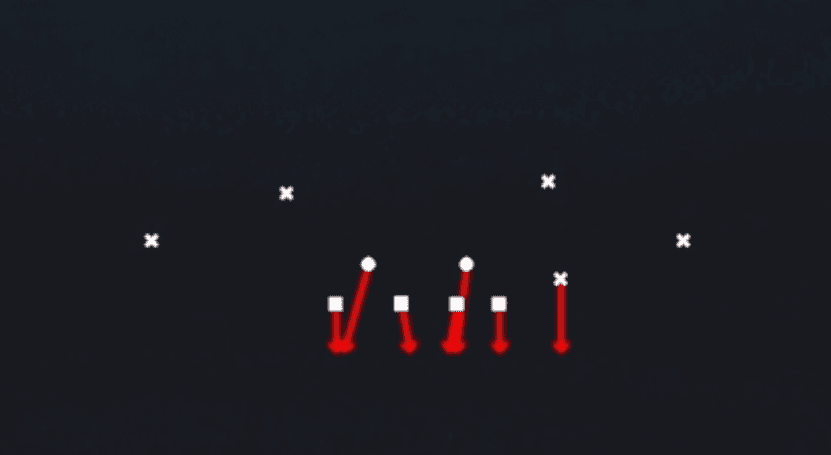 Casino BlitzBlitz
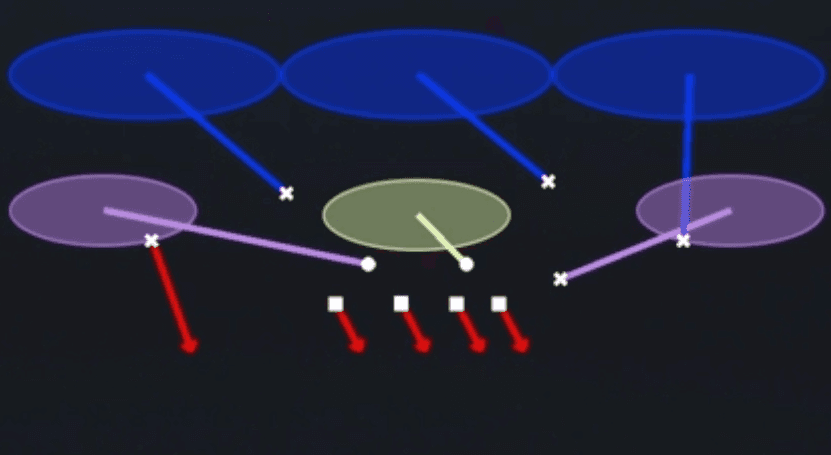 Corner Blitz 3Cover 3, Blitz, Corner Blitz +1
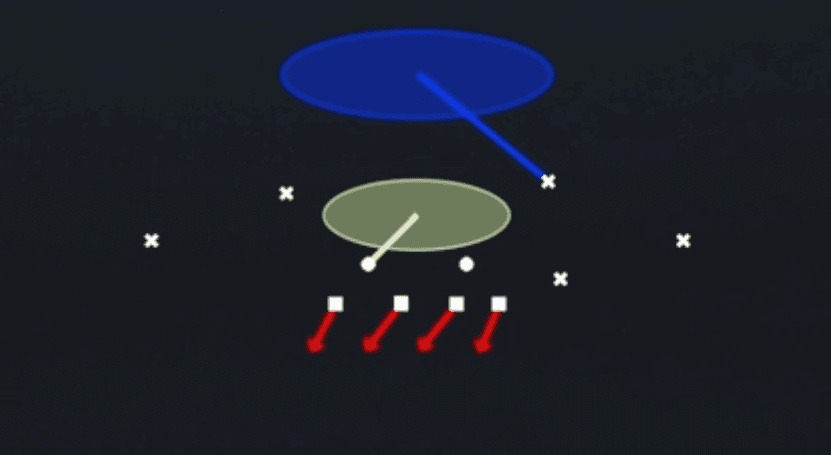 Cover 1 HoleCover 1, Cover 1 Hole, Man Coverage
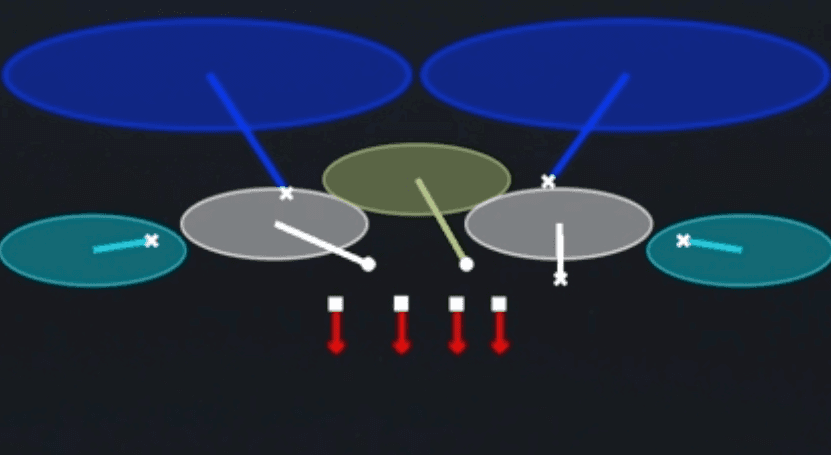 Cover 2Cover 2, Zone Coverage
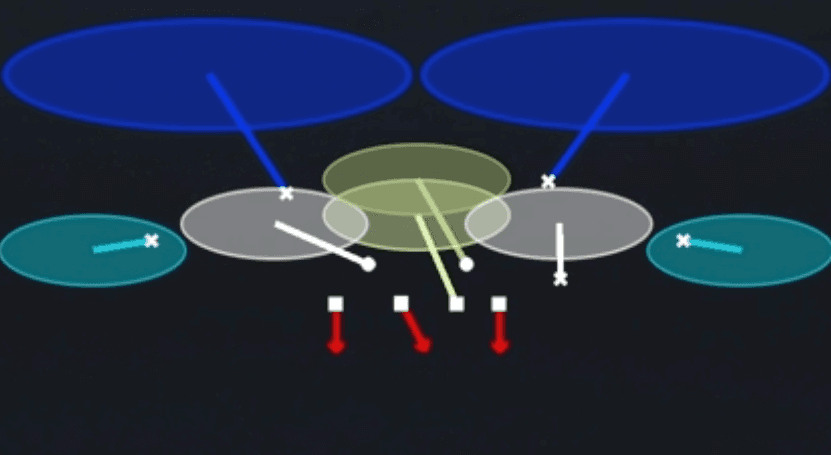 Cover 2 ContainCover 2, Contain, Zone Coverage
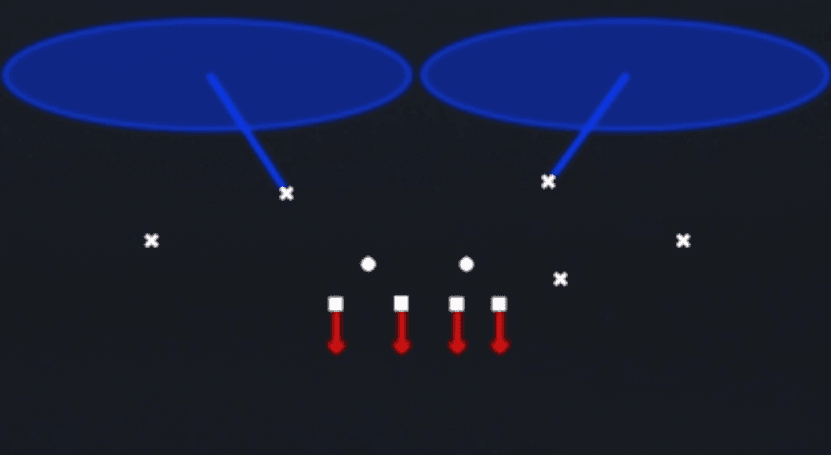 Cover 2 ManCover 2 Man, Man To Man, Man Coverage
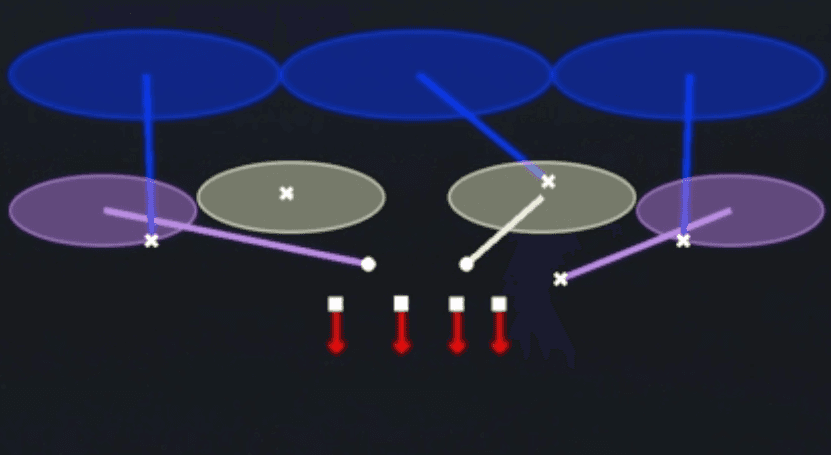 Cover 3 Buzz MatchCover 3, Cover 3 Buzz, Cover 3 Match +1
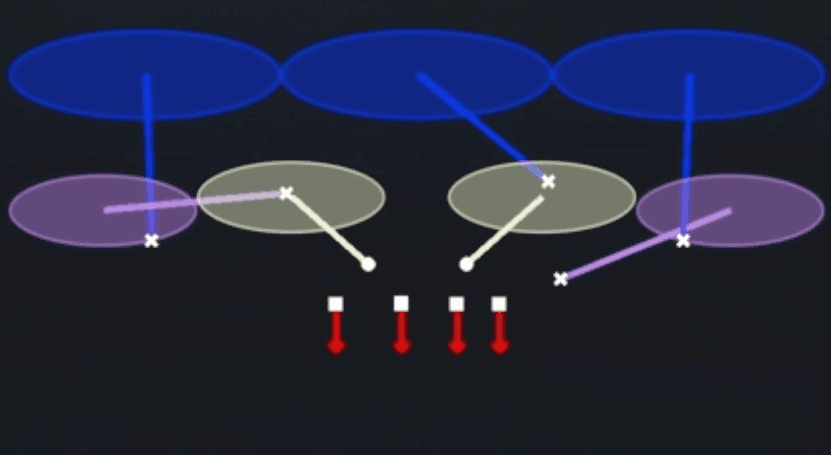 Cover 3 MatchCover 3, Cover 3 Match, Zone Coverage
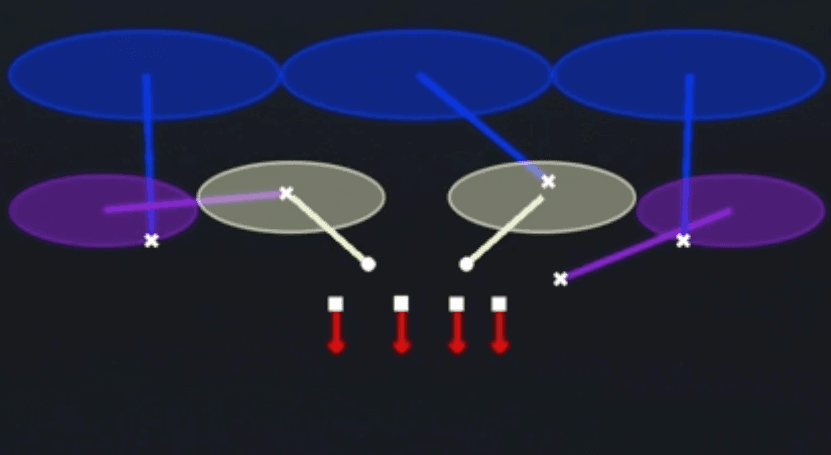 Cover 3 SkyCover 3, Cover 3 Sky, Zone Coverage
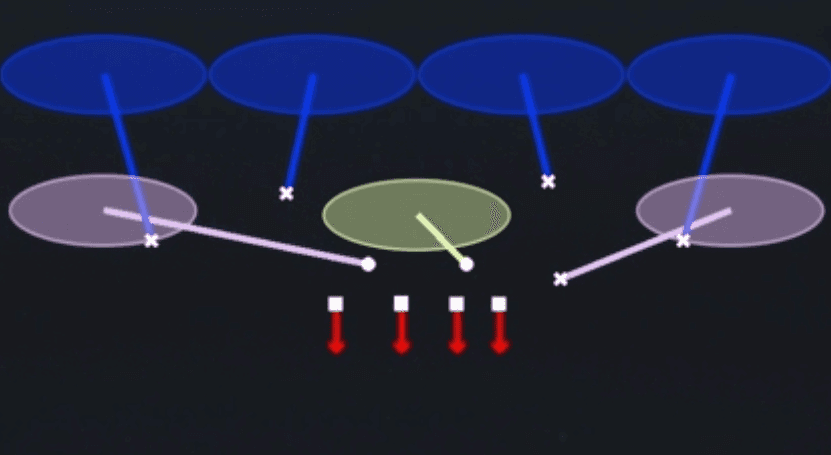 Cover 4 PalmsCover 4, Cover 4 Palms, Zone Coverage
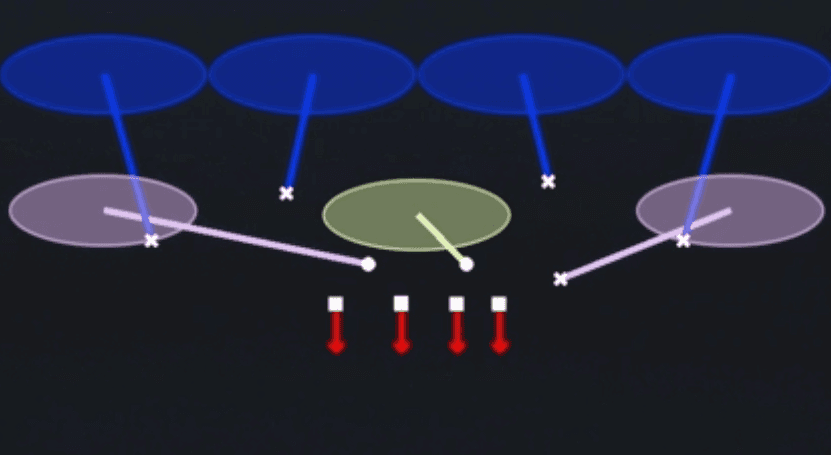 Cover 4 QuartersCover 4, Quarters, Zone Coverage
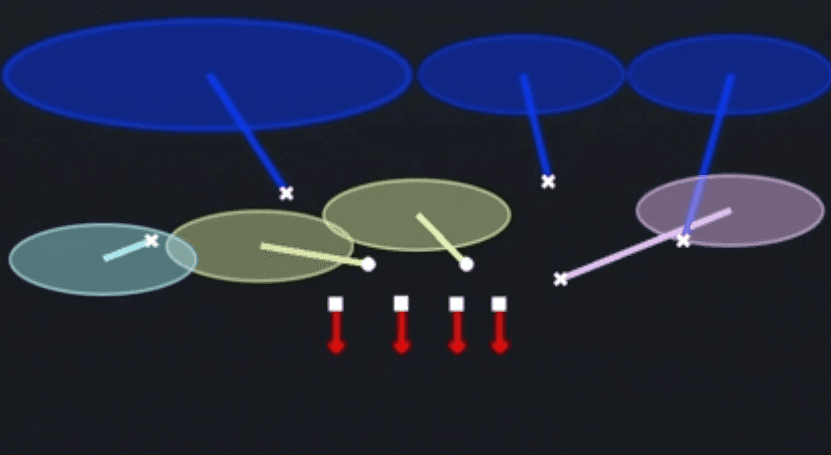 Cover 6Cover 6, Zone Coverage
 Cover 6 InvertCover 6, Inverted Coverage, Zone Coverage
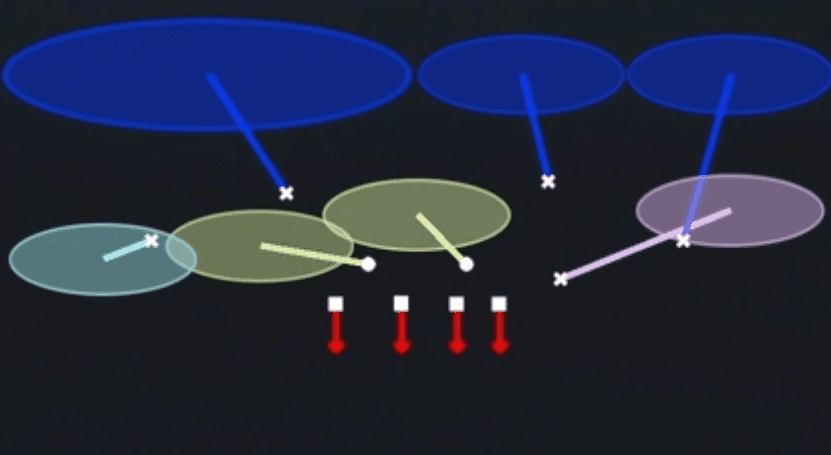 Cover 6 TrapCover 6, Trap Coverage, Zone Coverage
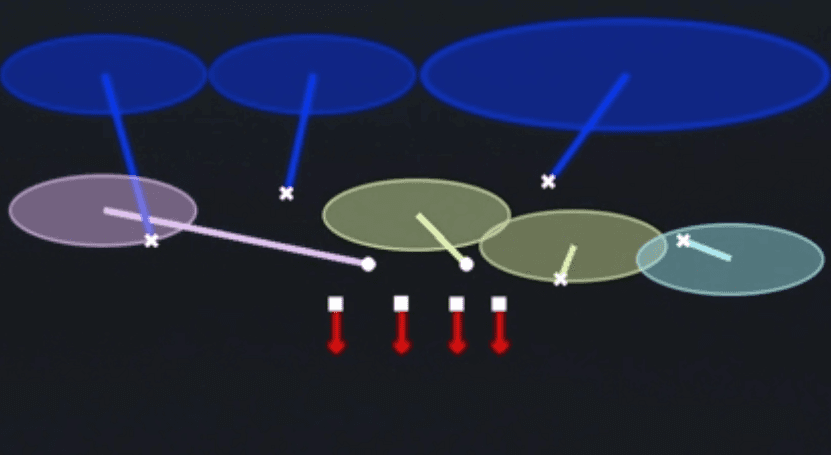 Cover 9Cover 9, Zone Coverage
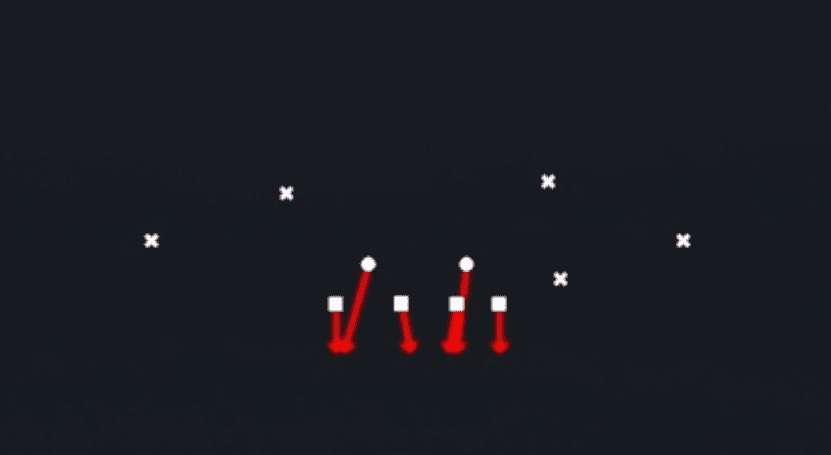 LB BlitzBlitz, LB Blitz
 Mike SS 3Cover 3, Zone Coverage
 Pinch BlitzBlitz, Pinch
 SS Blitz 3Cover 3, Blitz, Safety Blitz +1
 SS LB BlitzBlitz, LB Blitz, Safety Blitz
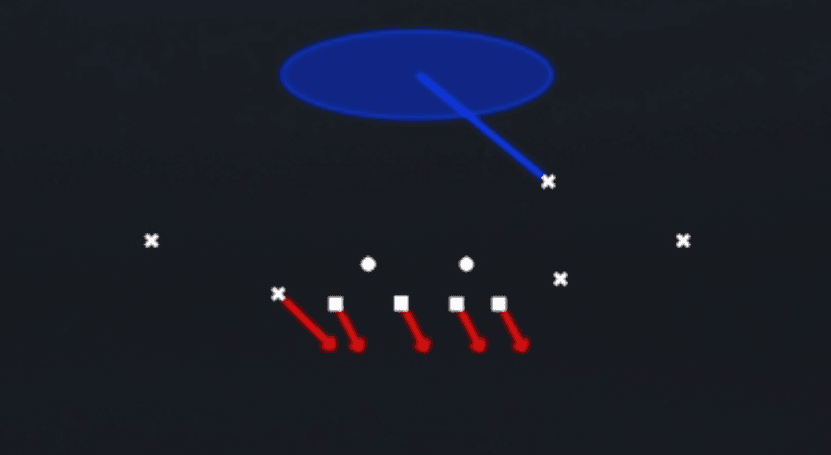 WS Blitz 1Cover 1, Blitz, Safety Blitz +1
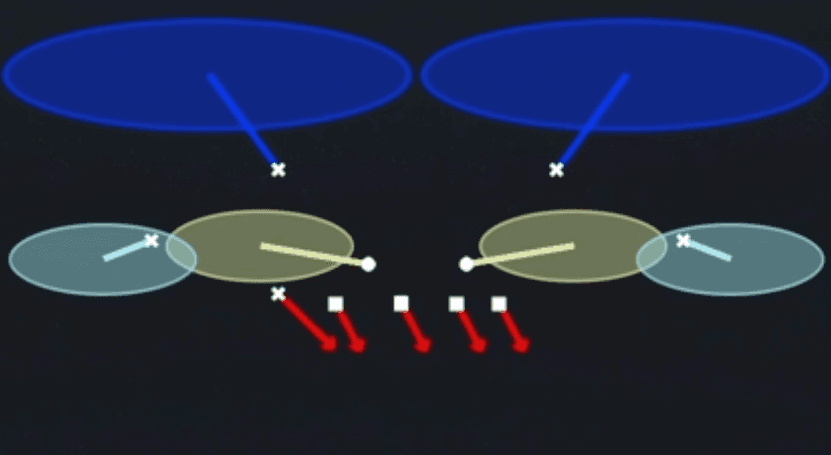 WS Blitz 2Cover 2, Blitz, Safety Blitz +1
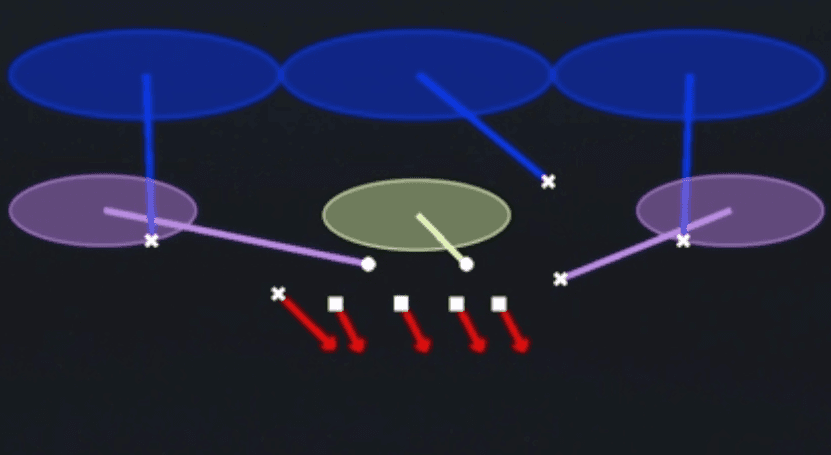 WS Blitz 3Cover 3, Blitz, Safety Blitz +1