Playbooks
Over G
At a Glance
Not in any team playbook.
Overview
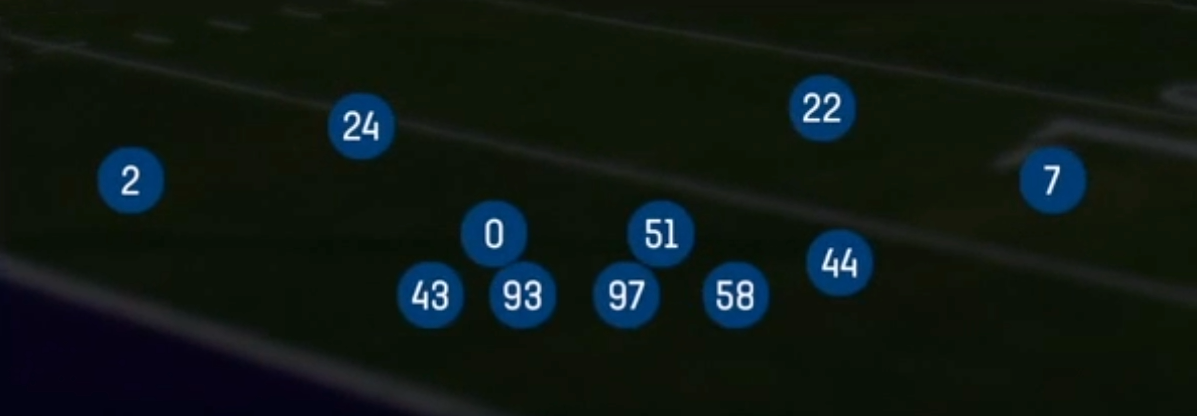
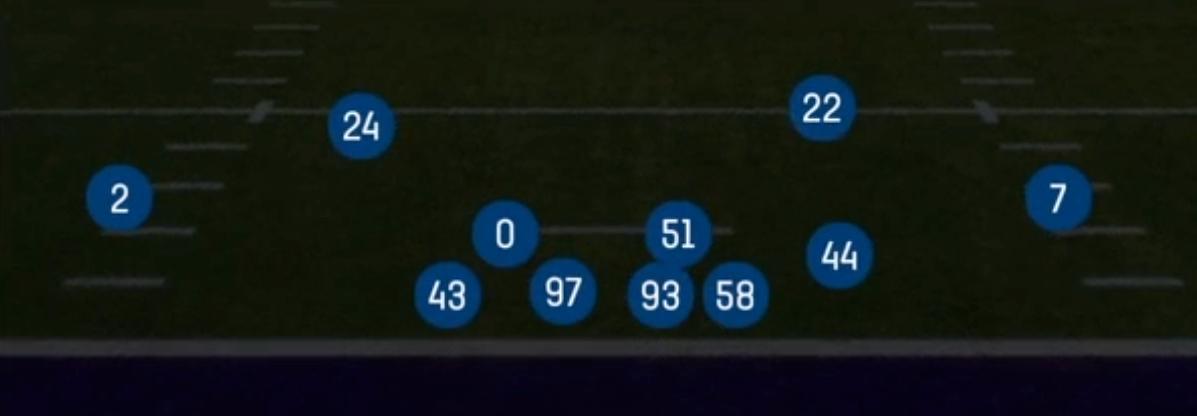
Over G is a defensive set within the Big Nickel formation, so it defends against offensive concepts rather than creating them. The Big Nickel 4-2-5 package replaces the traditional nickel corner with a third safety, giving you four down linemen, two linebackers, two corners and three safeties. The Over G front shifts the defensive line toward the offensive strength, with the strongside end in a tight alignment and the interior tackles slanted to the strong side. This gives you a heavier, run-sound look to the tight end side than the standard Big Nickel sets while keeping five defensive backs on the field. Compared to base nickel sets that use a slot corner, Over G trades some man coverage speed in the slot for size, tackling and run fit reliability from the third safety.
The real value of this set is the matchup it creates against 11 and 12 personnel. When offenses line up with a flexed tight end or a big slot, the third safety can carry that player in man or match the seam in zone without surrendering size. Against RPOs and play-action, having safeties at the second level lets you fit the run with defensive backs who still carry vertical routes, which takes away the easy read on the overhang defender. The playbook depth here is excellent: Cover 3 Buzz Match, Cover 3 Match, Cover 4 Palms, Cover 6 Invert and Cover 9 give you pattern-matching answers to four verticals, flood and smash concepts, while Cover 1 Hole and Cover 2 Man handle man-beater situations.
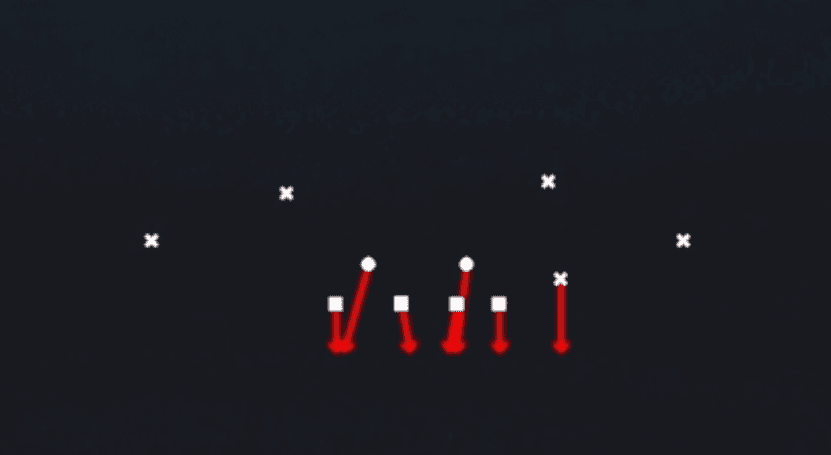
The blitz package is where Over G separates itself. SS Blitz, WS Blitz, Mike SS 3, SS LB Blitz, Pinch Blitz and Casino Blitz bring pressure from multiple safety alignments, so the offense cannot key a single rusher pre-snap. Because all three safeties can walk down or bail, you can show a two-high shell, rotate late, and bring a safety off the edge without changing personnel. This makes Over G one of the most disguise-friendly sets available against offenses that rely on reading the safety rotation before the snap.
Strengths
- Three-safety personnel matches up well against tight ends and big slots, letting you cover a flexed TE with a safety in Cover 1 Hole or Cover 2 Man without giving up a size mismatch on seam and corner routes.
- The Over G front loads the strong side, clogging inside zone, power and counter to the TE side while the safeties provide fast run support from depth against outside zone and toss.
- Deep safety blitz menu (SS Blitz 2, SS Blitz 3, WS Blitz 1, WS Blitz 2, WS Blitz 3, Mike SS 3, SS LB Blitz) lets you bring pressure from either side with identical pre-snap shells, breaking the offense's ability to set protection with a slide or a back hot route.
- Match coverages like Cover 3 Buzz Match, Cover 3 Match, Cover 4 Palms and Cover 6 Invert shut down common zone beaters such as four verticals, flood, smash and Levels by passing off and carrying routes instead of dropping to static landmarks.
- Cover 6 Trap and Cover 6 Invert give you rotation disguises that bait quarterbacks into throwing corner routes and outs into a sitting defender, creating interception opportunities against offenses that read the shell presnap.
Weaknesses
- Only two corners on the field means spread 10 personnel, empty and 4-wide sets can isolate a fast slot receiver on a safety, so crossers, whips and angle routes become easy man beaters against Cover 1 Hole or blitz looks.
- The line is shifted to strength, so weakside runs, counter away from the tight end and outside zone to the open side can hit the bubble created by the Over G alignment, especially if the weakside linebacker is blitzing.
- Aggressive safety blitzes vacate the deep middle or flat, leaving Mesh, drag and slant-flat combos open for quick completions; smart opponents will hot route a running back to a quick out or put a WR on a slant the moment they see a safety creep.
- With only two linebackers, heavy 21 and 22 personnel with a lead blocker can outnumber you at the point of attack, forcing a safety to take on a fullback in the hole.
- User-controlled skill matters: if you are not comfortable manning the middle hole or robber spot, a sharp offense will attack the zone voids between the two linebackers with dig and curl routes, especially in Cover 2 and Cover 2 Contain.
Usage Tips
Deploy Over G against 11 and 12 personnel when the offense has a quality tight end; check into Cover 1 Hole or Cover 2 Man to put a safety on the TE, and audible out to a dime look if they motion into empty or bring in a fourth receiver.
On 3rd and medium, show a two-high shell and call SS Blitz 3 or WS Blitz 3 to rotate late, forcing the quarterback to throw hot against the look he saw pre-snap rather than the coverage he actually faces.
User the middle safety or Mike linebacker against Mesh and drag heavy offenses, and use shade inside or underneath coverage adjustments to take away the slant and crossing lanes when bringing pressure.
Against RPO and play-action heavy opponents, favor Cover 3 Buzz Match and Cover 4 Palms so your safeties fit the run while still carrying vertical releases, then mix in Cover 6 Trap to punish quarterbacks throwing to the boundary flat.
In the red zone, lean on Cover 2 Contain, Cover 4 Quarters and Casino Blitz to compress throwing windows, and pinch the defensive line or use a pinch call on Pinch Blitz when the offense shows a heavy run tendency near the goal line.
Plays (24)
 Casino BlitzBlitz
 Corner Blitz 3Cover 3, Blitz, Corner Blitz +1
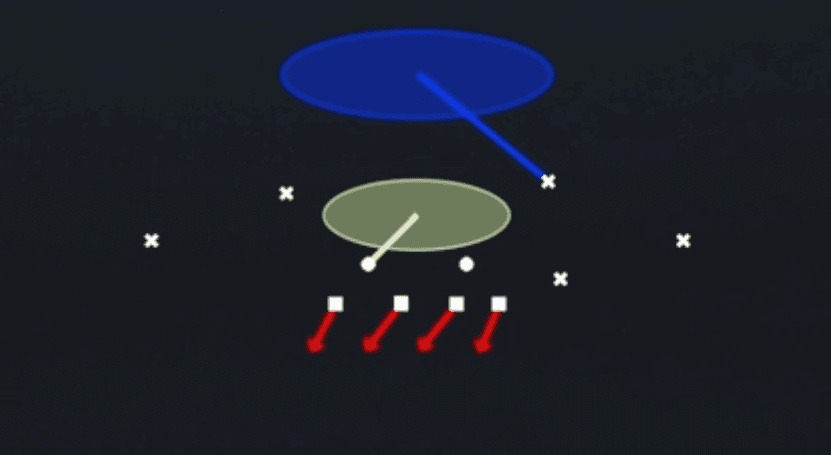 Cover 1 HoleCover 1, Cover 1 Hole, Man Coverage
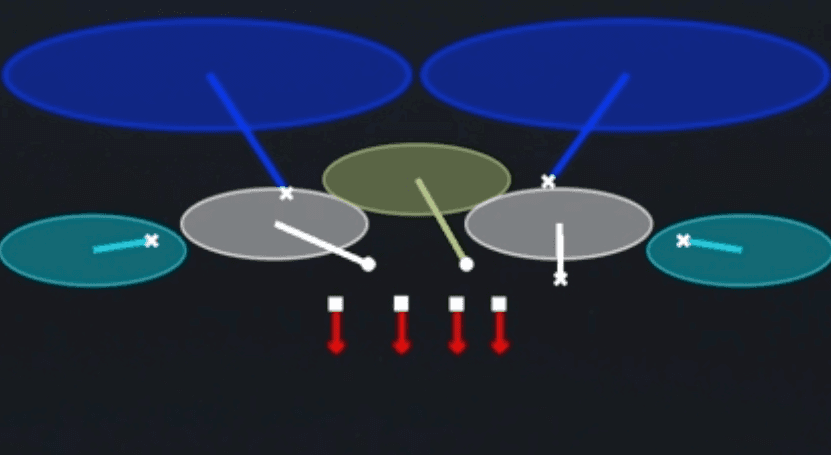 Cover 2Cover 2, Zone Coverage
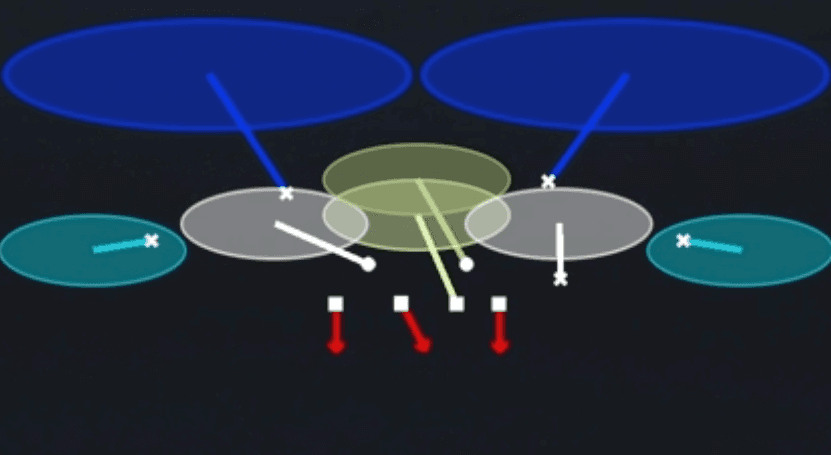 Cover 2 ContainCover 2, Contain, Zone Coverage
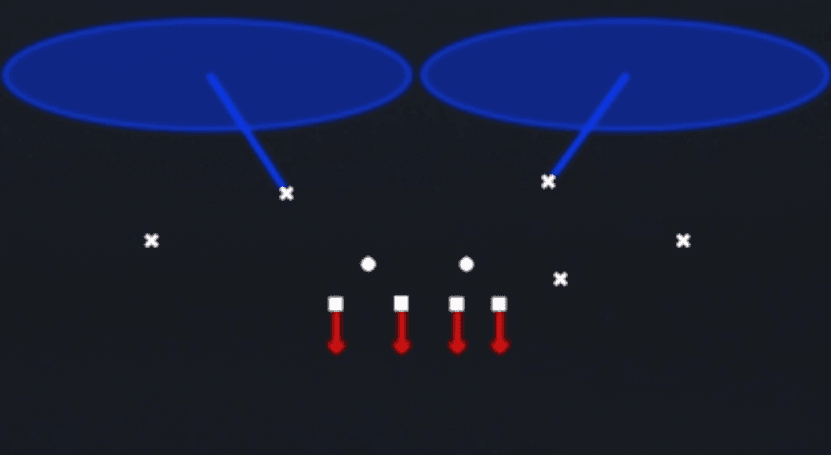 Cover 2 ManCover 2 Man, Man To Man, Man Coverage
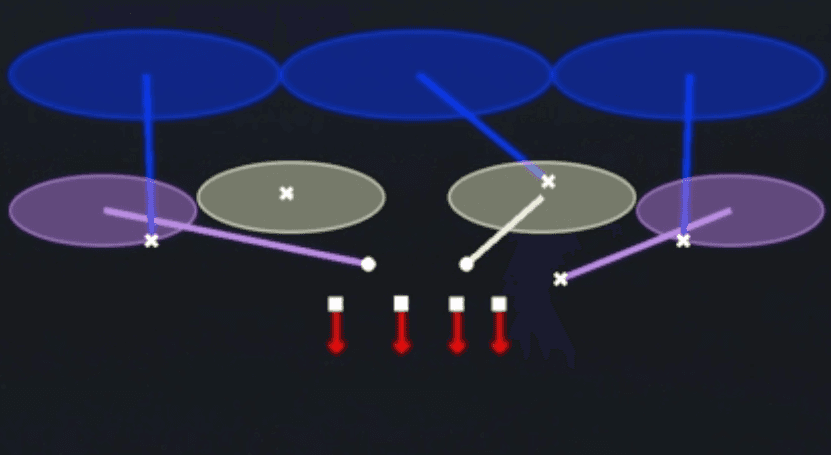 Cover 3 Buzz MatchCover 3, Cover 3 Buzz, Cover 3 Match +1
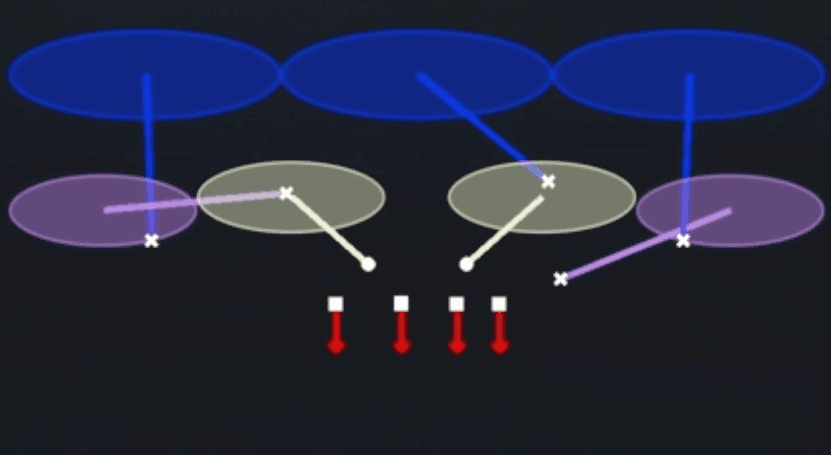 Cover 3 MatchCover 3, Cover 3 Match, Zone Coverage
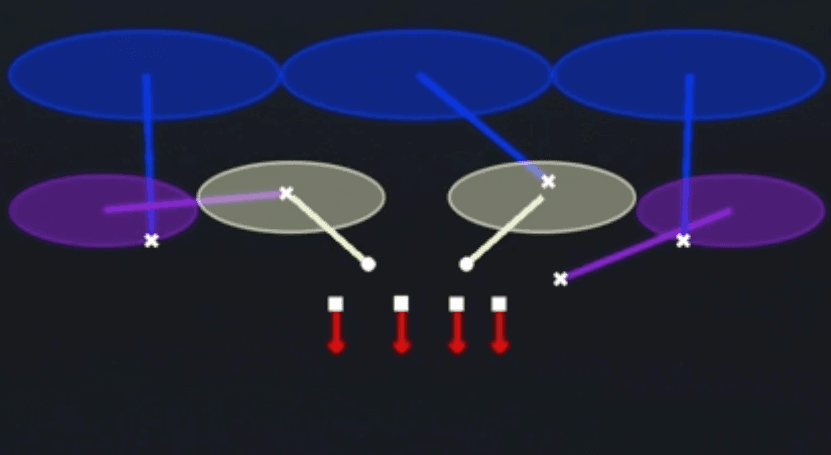 Cover 3 SkyCover 3, Cover 3 Sky, Zone Coverage
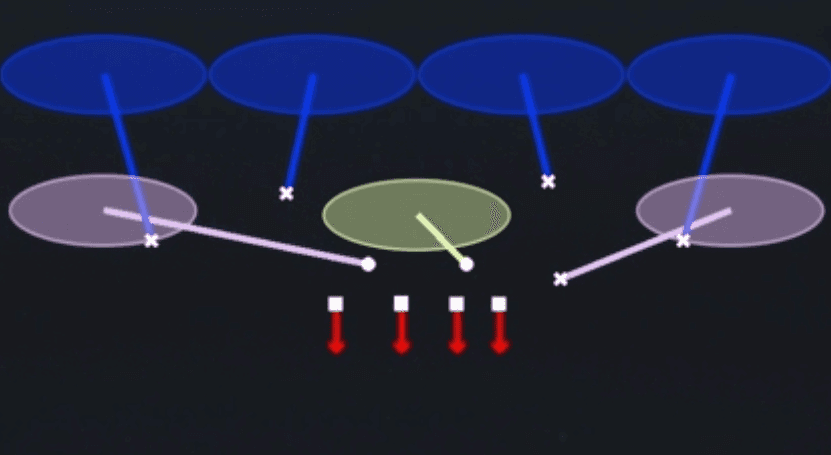 Cover 4 PalmsCover 4, Cover 4 Palms, Zone Coverage
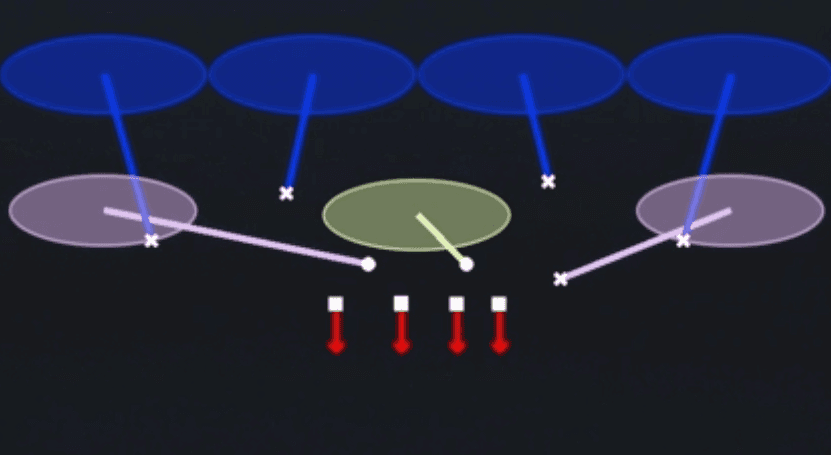 Cover 4 QuartersCover 4, Quarters, Zone Coverage
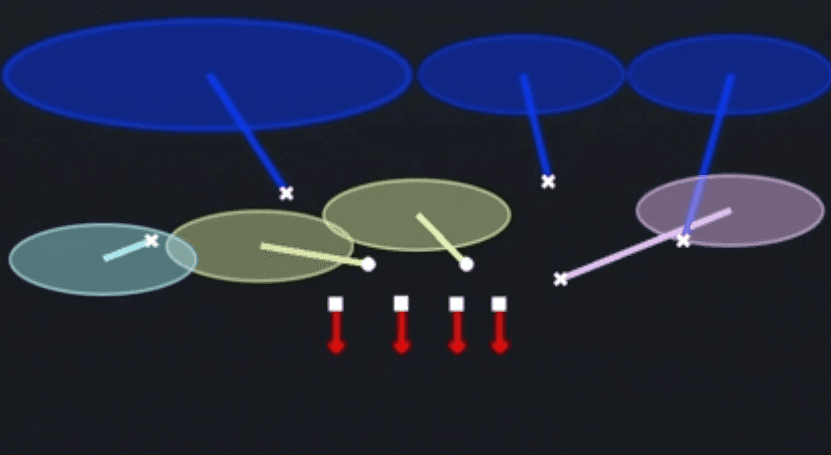 Cover 6Cover 6, Zone Coverage
 Cover 6 InvertCover 6, Inverted Coverage, Zone Coverage
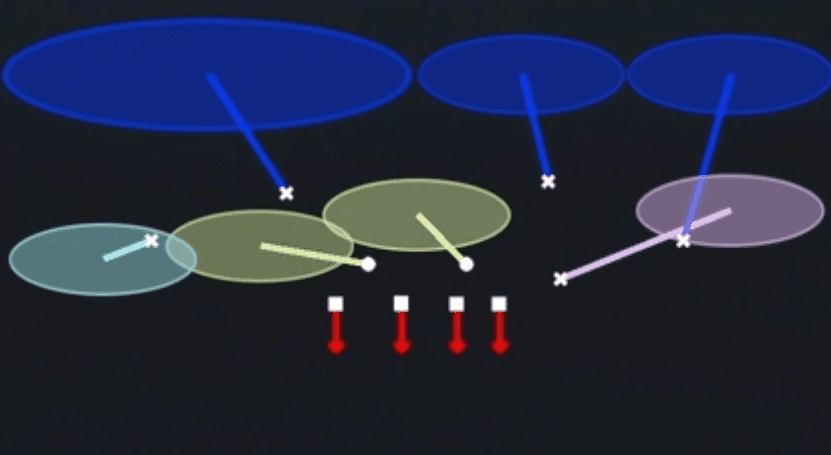 Cover 6 TrapCover 6, Trap Coverage, Zone Coverage
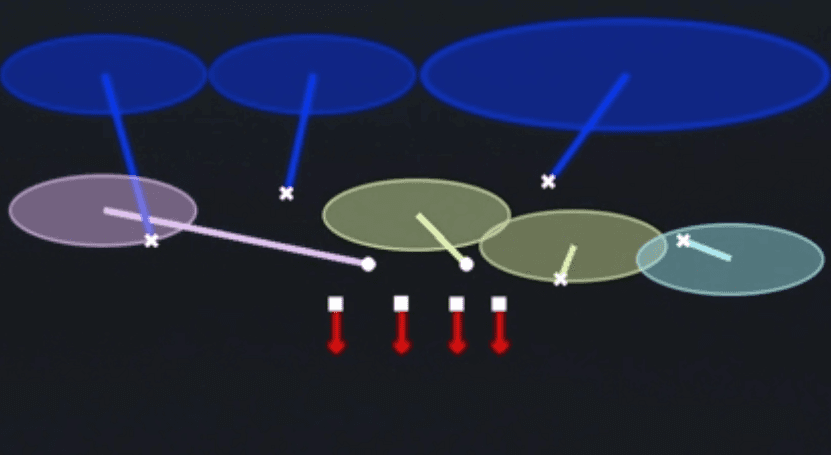 Cover 9Cover 9, Zone Coverage
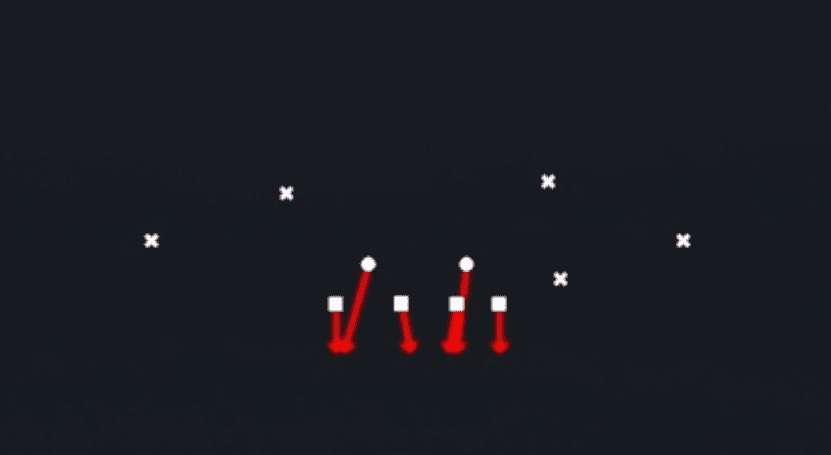 LB BlitzBlitz, LB Blitz
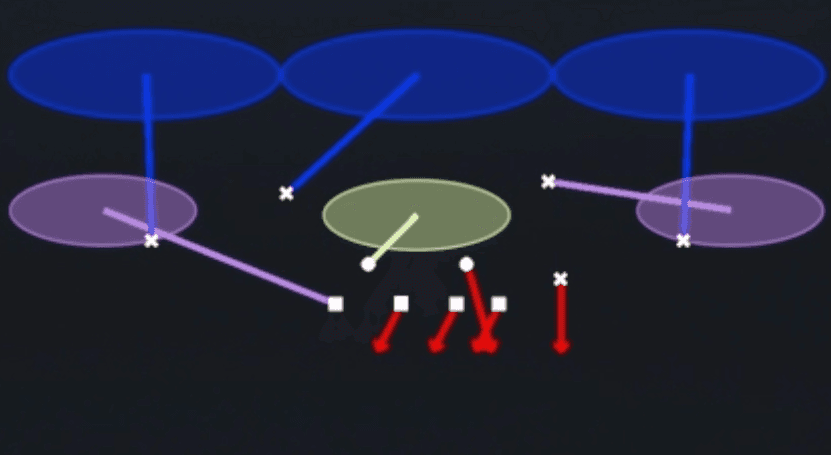 Mike SS 3Cover 3, Zone Coverage
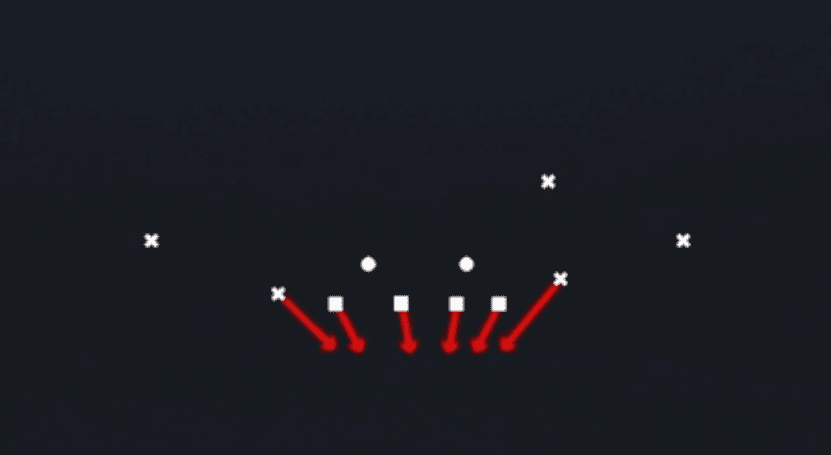 Pinch BlitzBlitz, Pinch
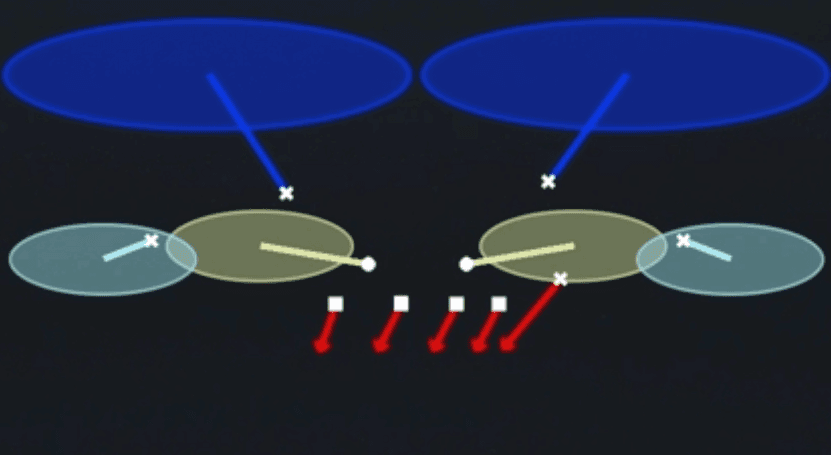 SS Blitz 2Cover 2, Blitz, Safety Blitz +1
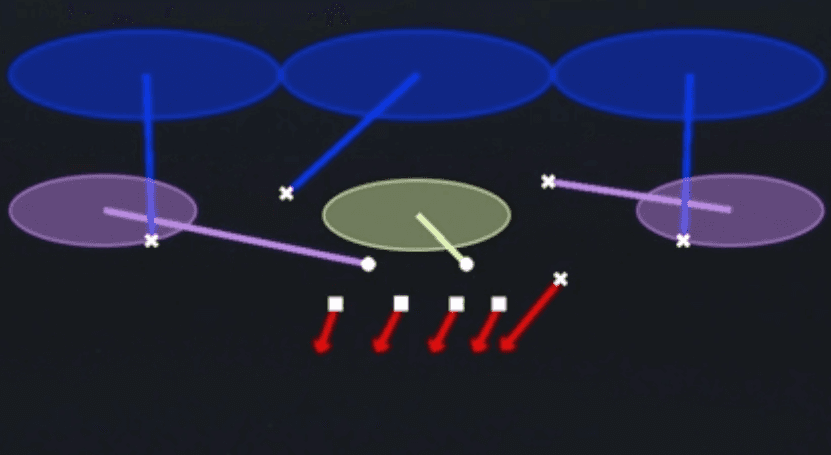 SS Blitz 3Cover 3, Blitz, Safety Blitz +1
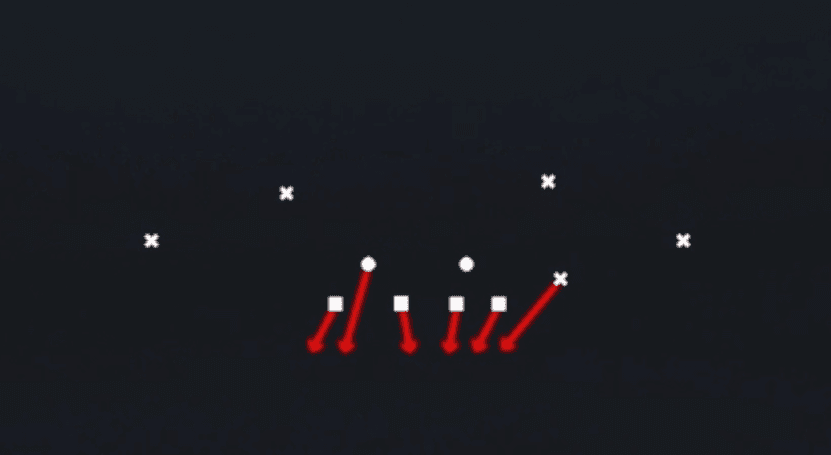 SS LB BlitzBlitz, LB Blitz, Safety Blitz
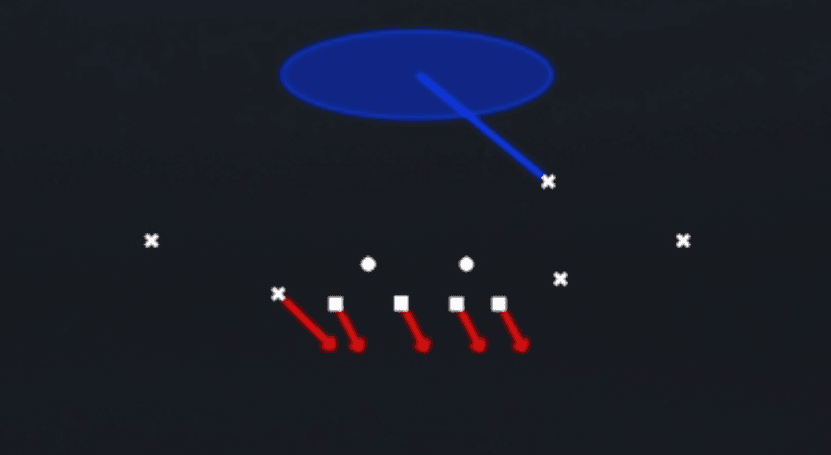 WS Blitz 1Cover 1, Blitz, Safety Blitz +1
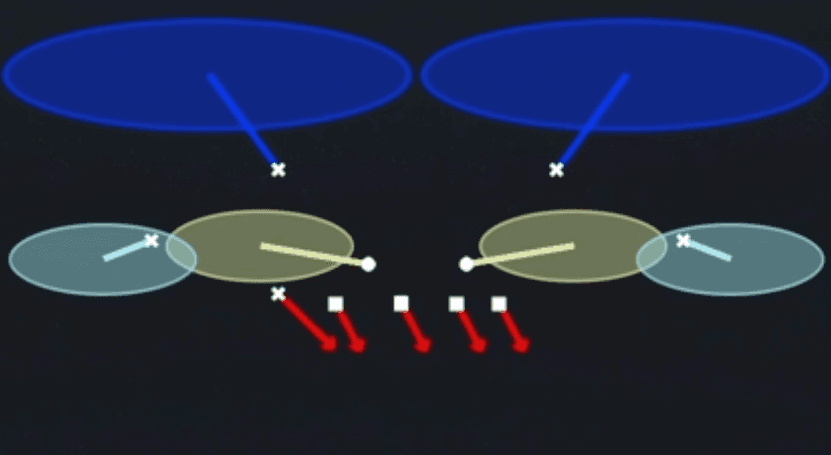 WS Blitz 2Cover 2, Blitz, Safety Blitz +1
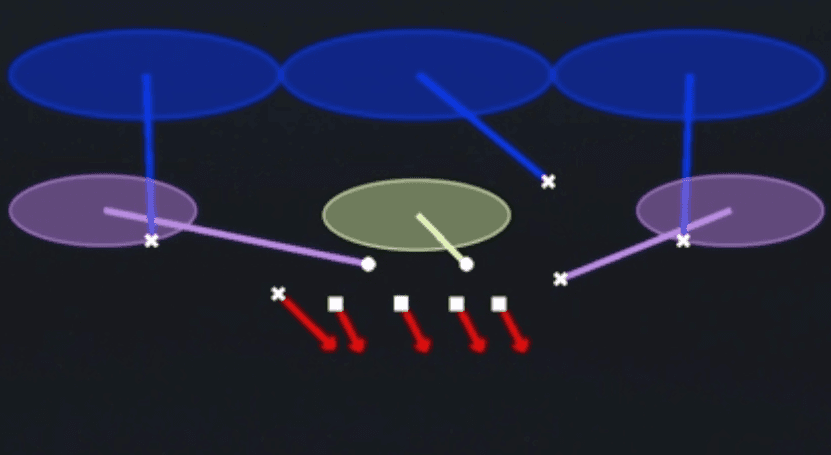 WS Blitz 3Cover 3, Blitz, Safety Blitz +1