Playbooks

At a Glance
Overview
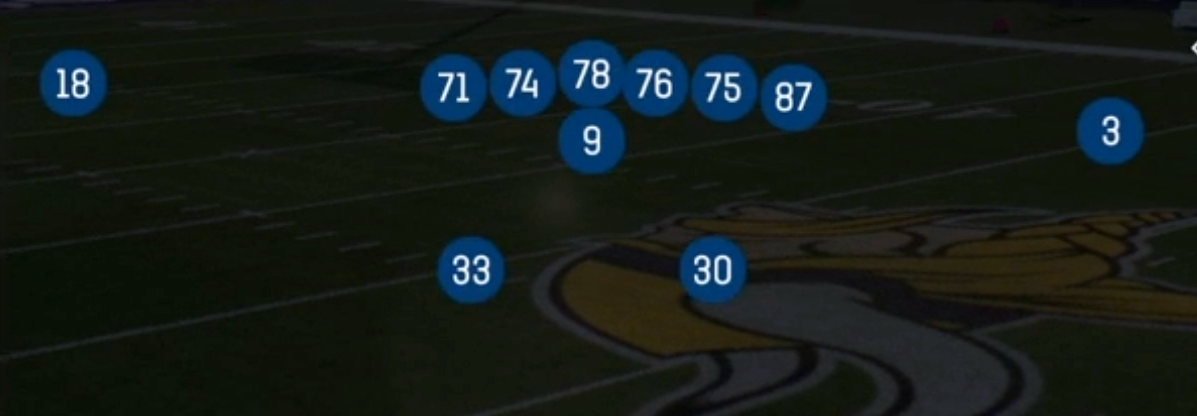
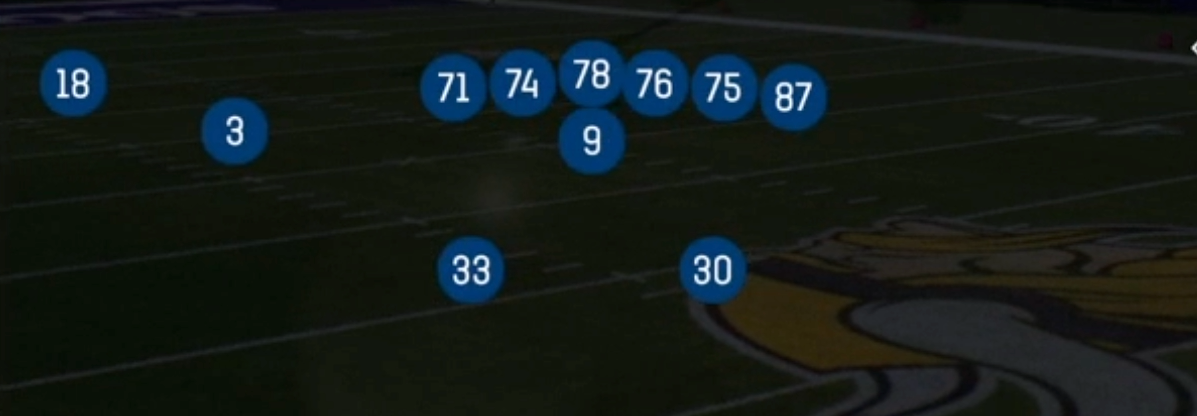
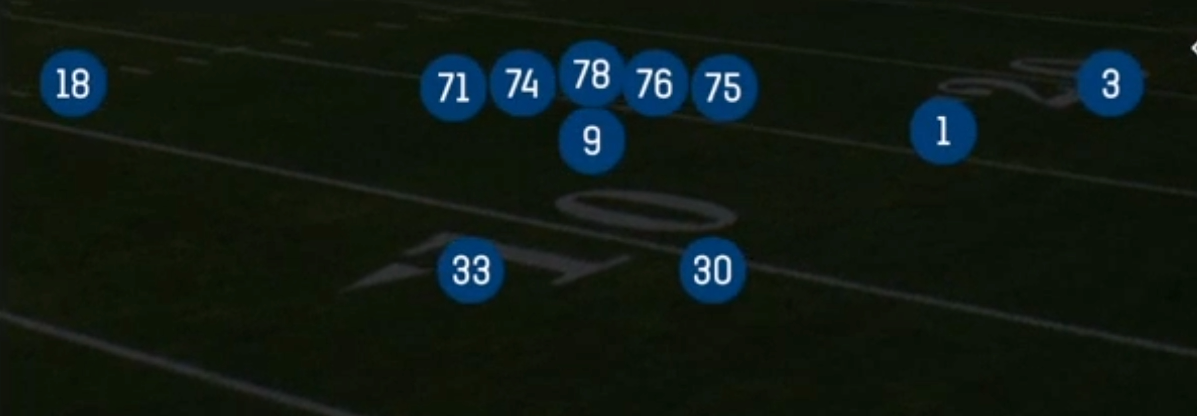
Offset Wing Close is the most compact, run-heavy look in the Split Backs formation. Two running backs align side by side behind the quarterback in 21 personnel (2 RB 1 TE), and the tight end sets up in a tight wing alignment just outside the end man on the line. This condensed structure pulls the receivers and tight end closer to the core of the formation. It gives you an extra gap-control blocker on the strong side and still keeps two backs available as immediate threats on either side of the ball. Other Split Backs sets spread the tight end or receivers wider. Offset Wing Close invites the defense to load the box, and then punishes that commitment with backfield releases and condensed route combos.
The dual-back alignment is the core of this set's identity. Because both backs start level, the defense cannot key a single ball carrier pre-snap. FB Dive and HB Off Tackle look identical at the snap, and PA Slide sells that same downhill action before the quarterback rolls away from the flow. The wing tight end can seal the edge on outside runs, climb to the second level, or slip into the flat off play-action. Linebackers and safeties have to read him honestly on every snap.
In the passing game, Offset Wing Close creates mismatches by releasing backs against linebackers. Bench H-Angle and Bench Switch put a back on an angle or switch release that a Mike or Will has to carry in man coverage, which is a mismatch with a 3DRB who has quality route running. Mesh Rail pairs shallow crossers with a back running the rail up the sideline. Mills Backs Cross combines a post-dig concept with crossing backs that drag underneath defenders out of position. The Power HB and Gadget tags reflect how this set blends physical downhill running with misdirection built from backfield action.
Strengths
- Identical split backs alignment disguises FB Dive, HB Off Tackle, and PA Slide, so linebackers have no pre-snap tell on run direction or play-action.
- Bench H-Angle is an elite man beater: the back's angle route breaks inside against a linebacker in man, and it becomes a near-automatic completion against Cover 1 and Cover 0 with a 3DRB.
- Mesh Rail attacks both man and zone: the mesh crossers create natural rubs against man, and the rail route stresses flat defenders in Cover 3 and Cover 4 when the curl-flat player jumps the shallow.
- Mills Backs Cross floods intermediate zones with the post-dig combo while crossing backs pull hook defenders down, opening throwing windows behind the second level against Cover 2 and quarters shells.
- The wing tight end gives you an extra edge blocker for Power HB runs, and his close alignment makes him a quick hot route option (drag or flat) when the defense brings pressure off the strong side.
Weaknesses
- The compressed alignment lets defenses crowd the box with eight or nine defenders, and Bear or Mug fronts can overwhelm FB Dive and HB Off Tackle when no one is spreading them out.
- Only two wide receivers are on the field, so press man on the outside combined with a robber or user-controlled safety can take away the vertical and intermediate throws in Mills Backs Cross.
- Slot and edge blitzes are dangerous when both backs release on Bench H-Angle or Mesh Rail, because the quarterback is left with a five-man protection that often cannot pick up a nano blitz.
- A user-controlled linebacker sitting in the shallow middle can jump mesh crossers and angle routes, which turns the set's best man beaters into turnover risks.
- Heavy play-calling tendencies stand out: opponents who read 21 personnel in a condensed look will sell out against the run, so the set becomes predictable if you do not mix in PA Slide and the Bench concepts.
Usage Tips
Use FB Dive and HB Off Tackle on short yardage and early downs against light boxes (six or fewer defenders). Audible to PA Slide when the defense shows a single-high safety creeping down.
Call Bench H-Angle against Cover 1 and Cover 0 on third and medium. Read the linebacker assigned to the back pre-snap and hit the angle as it breaks inside, and hot route the opposite back to block if you see a blitzing slot defender.
Against Cover 3 and Cover 2 shells, go to Mesh Rail and read the rail first: if the flat defender squeezes the shallow, the rail opens on the sideline for an easy chunk gain.
Bench Switch is a strong red zone call against man coverage because the switch release forces defenders to communicate through traffic. Motion the tight end to shift leverage and create free releases.
After establishing Power HB runs, call PA Slide on second and short to exploit linebackers who bite hard. Hot route the tight end to a corner or streak if the safety drops down to fill the run fit.